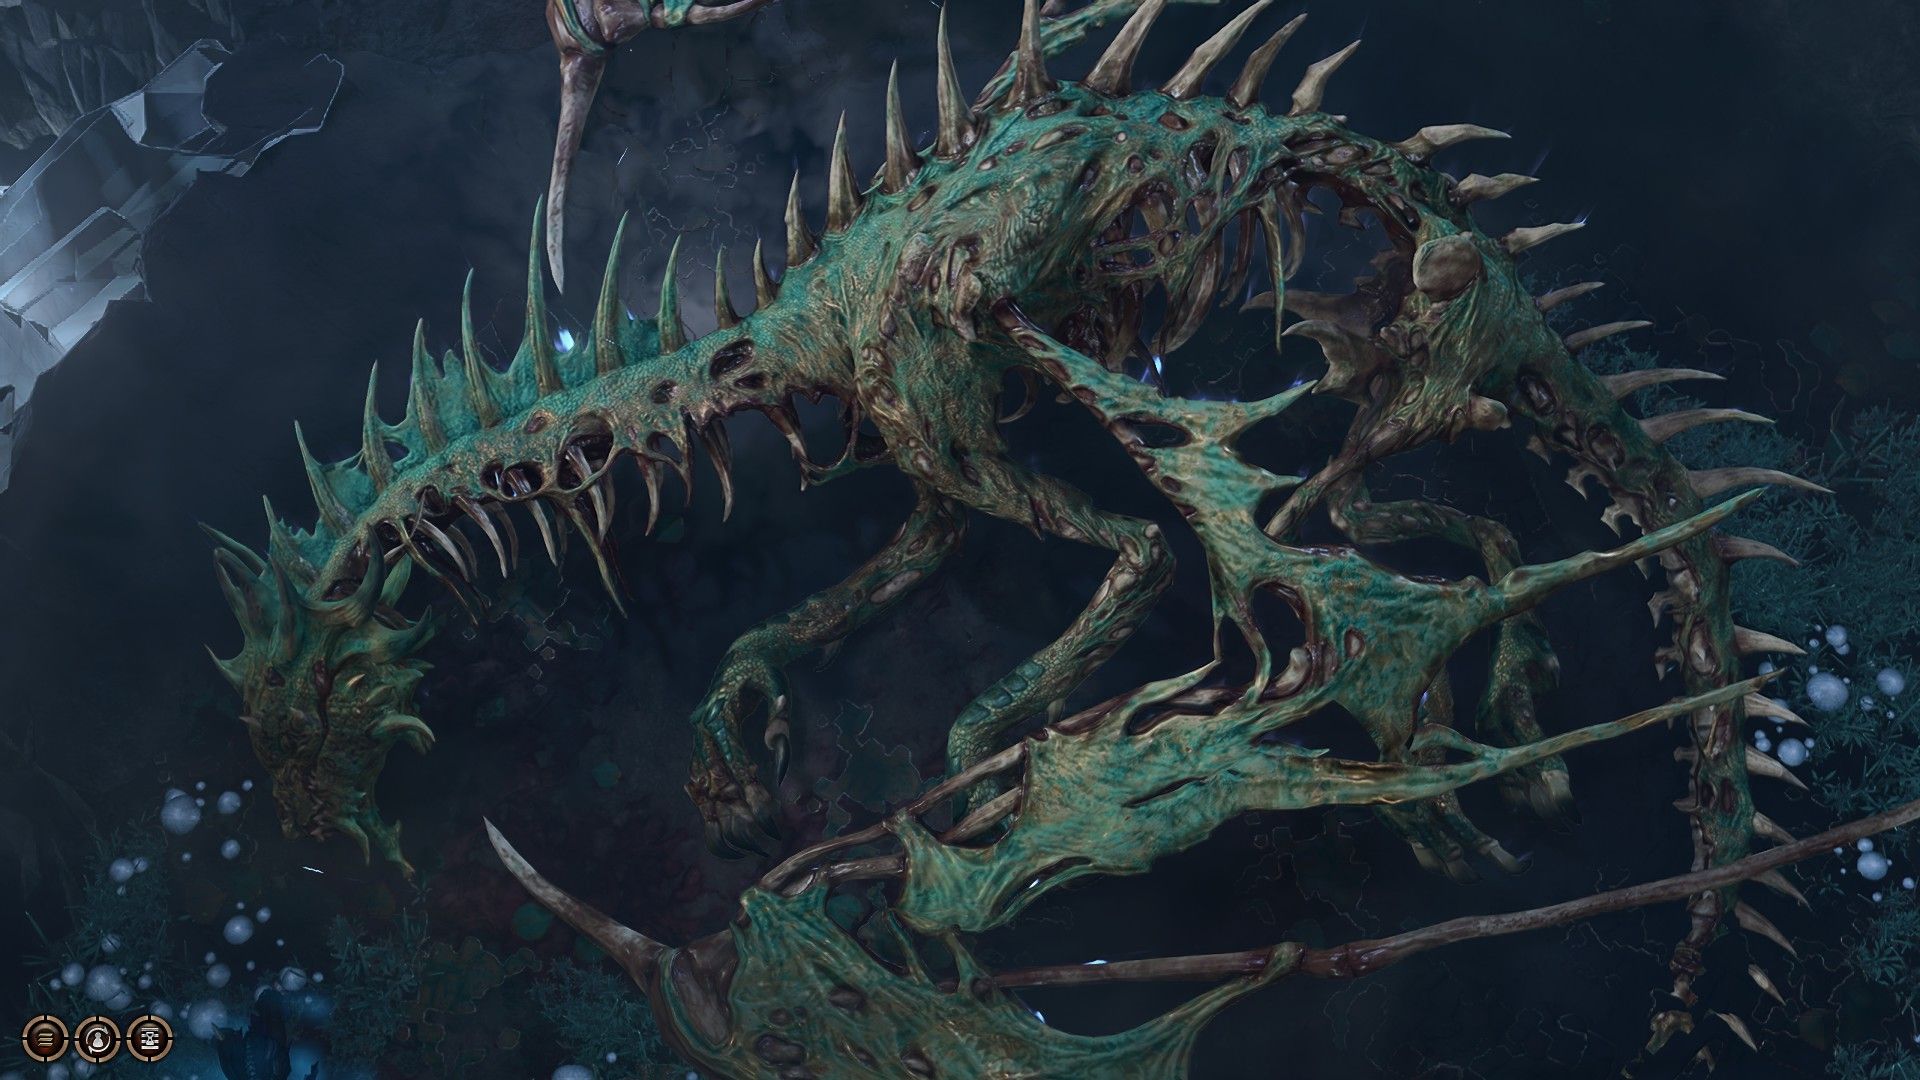
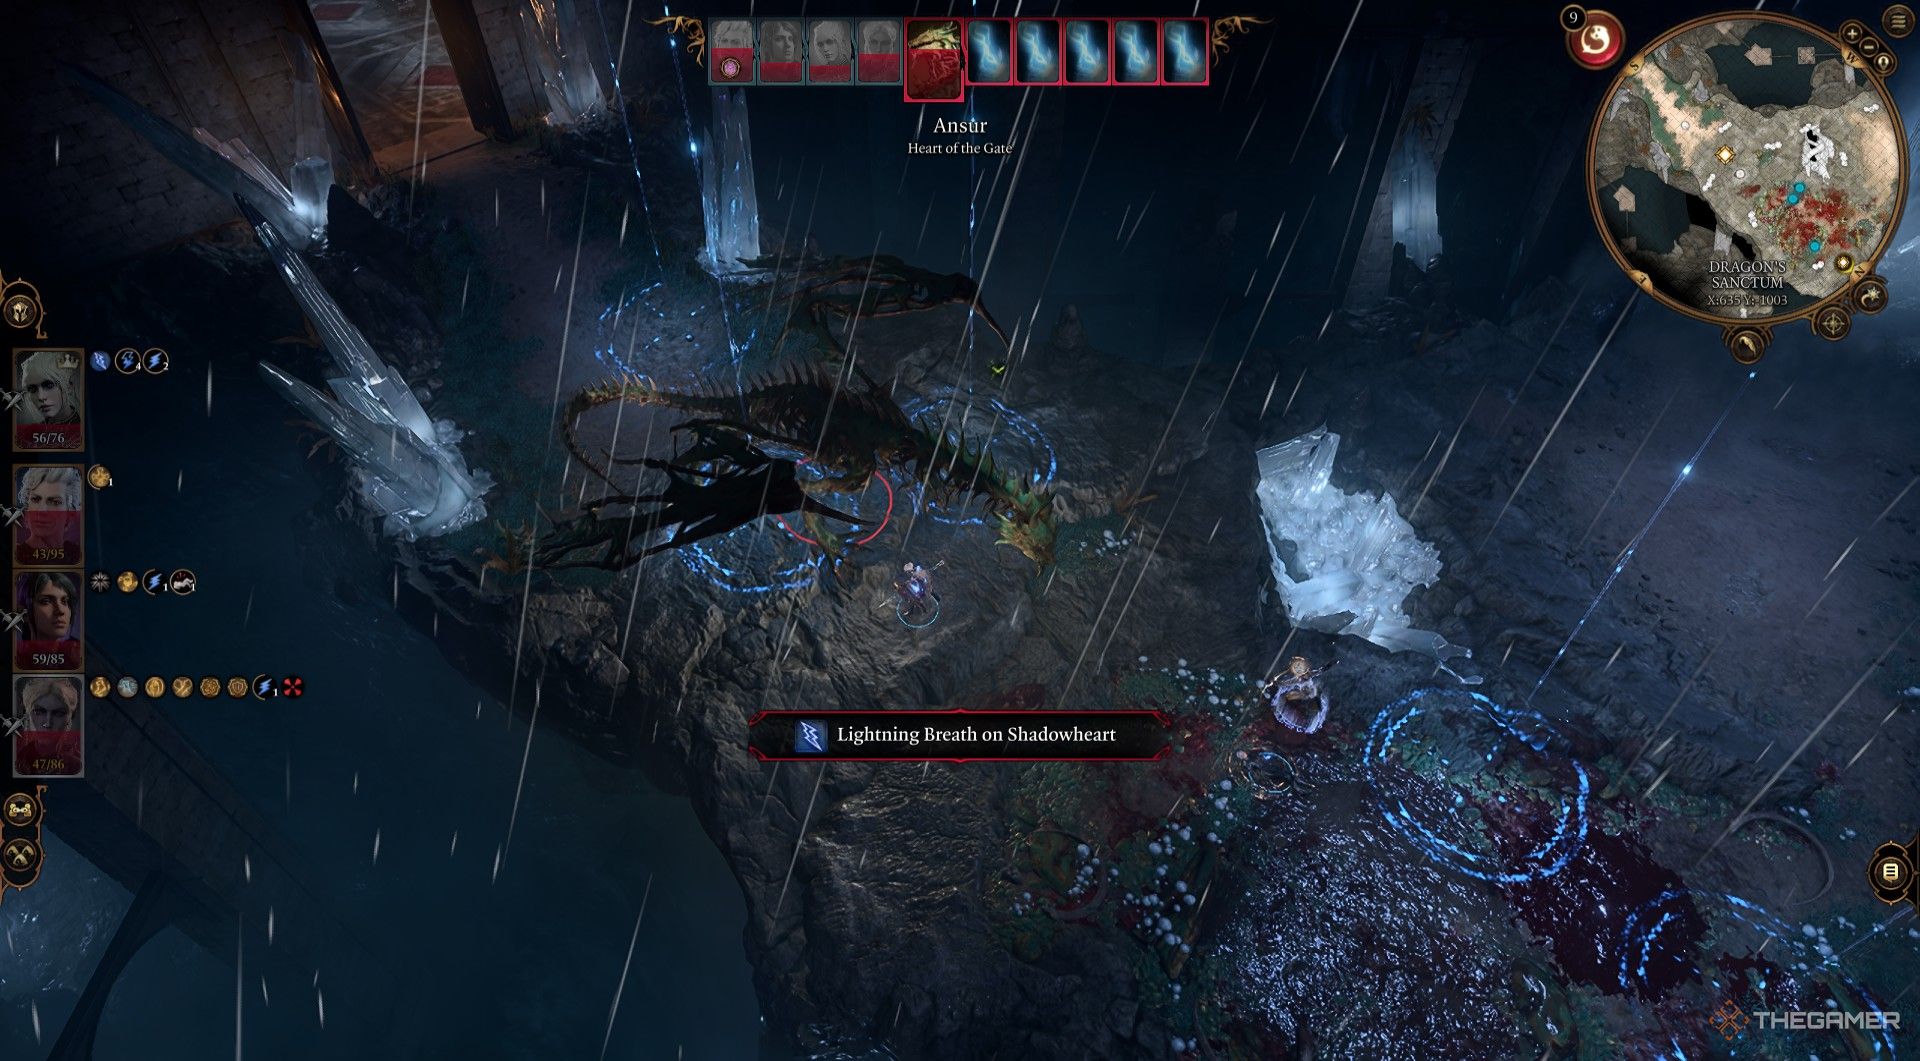
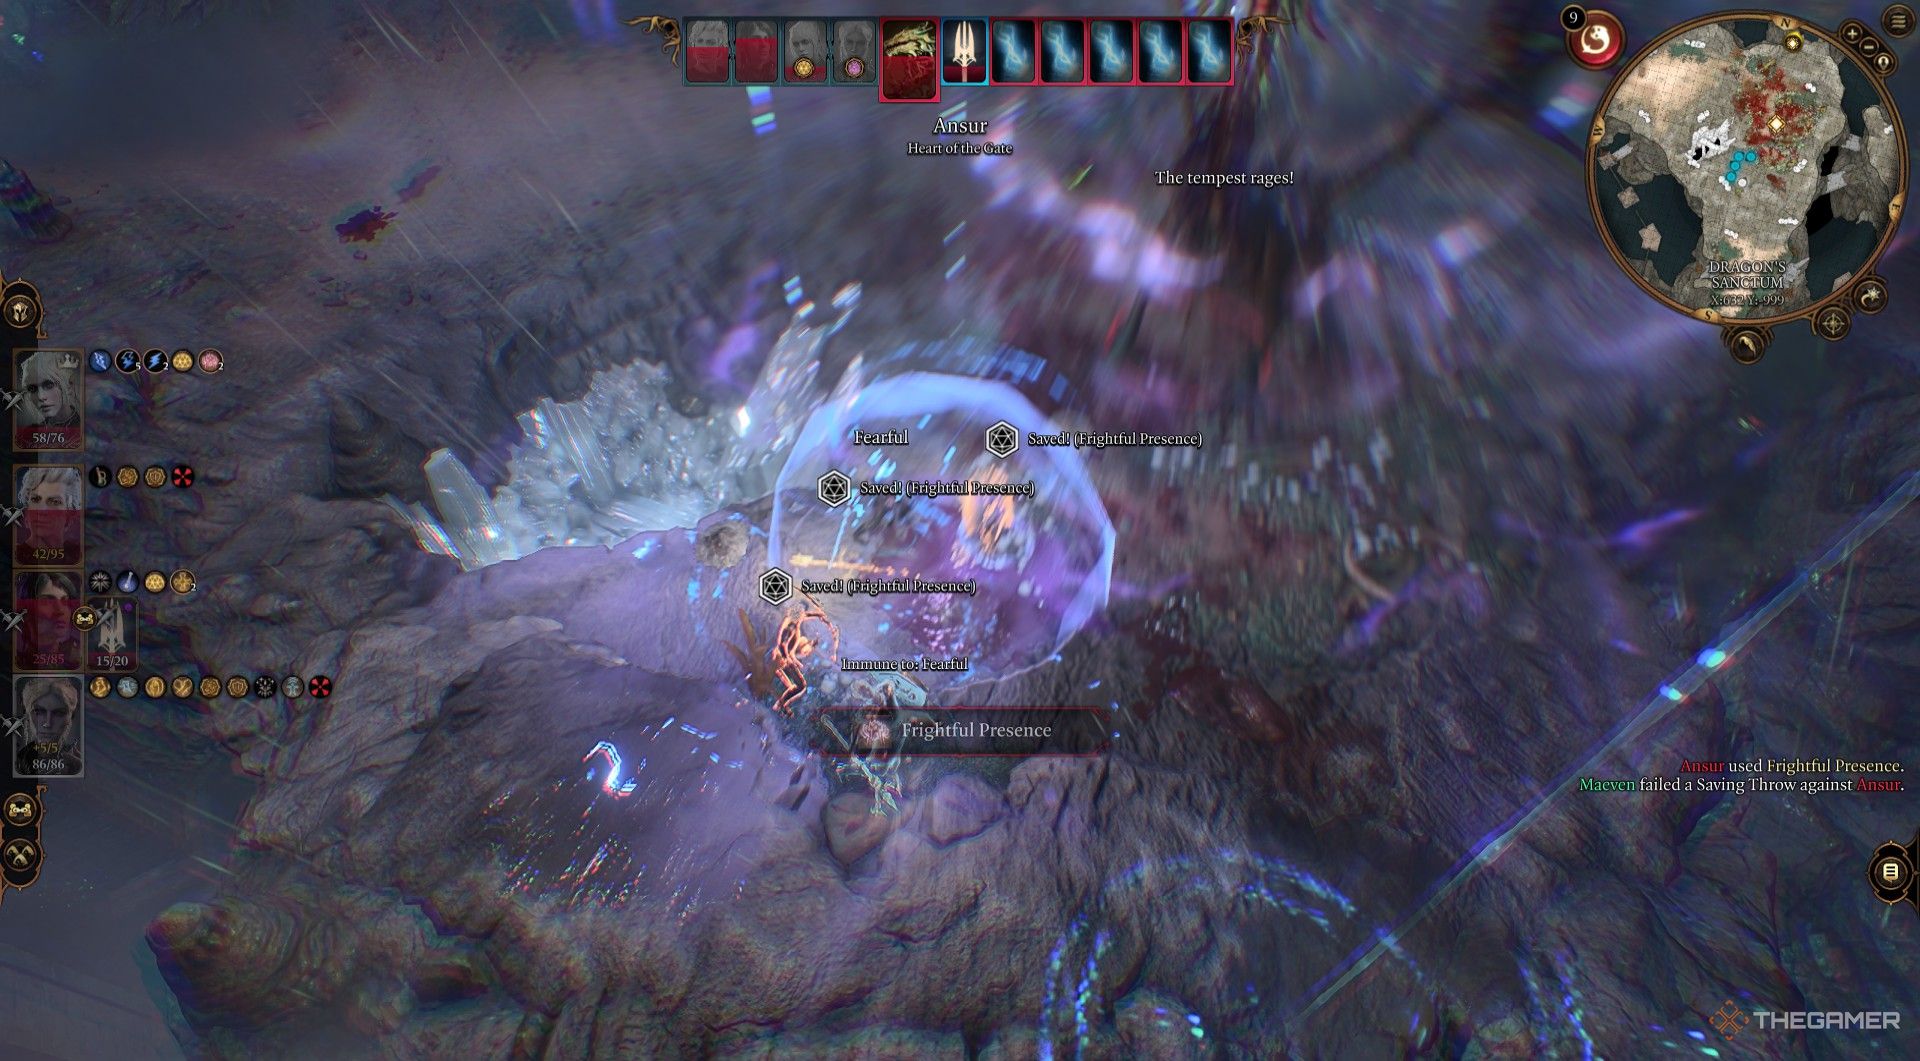
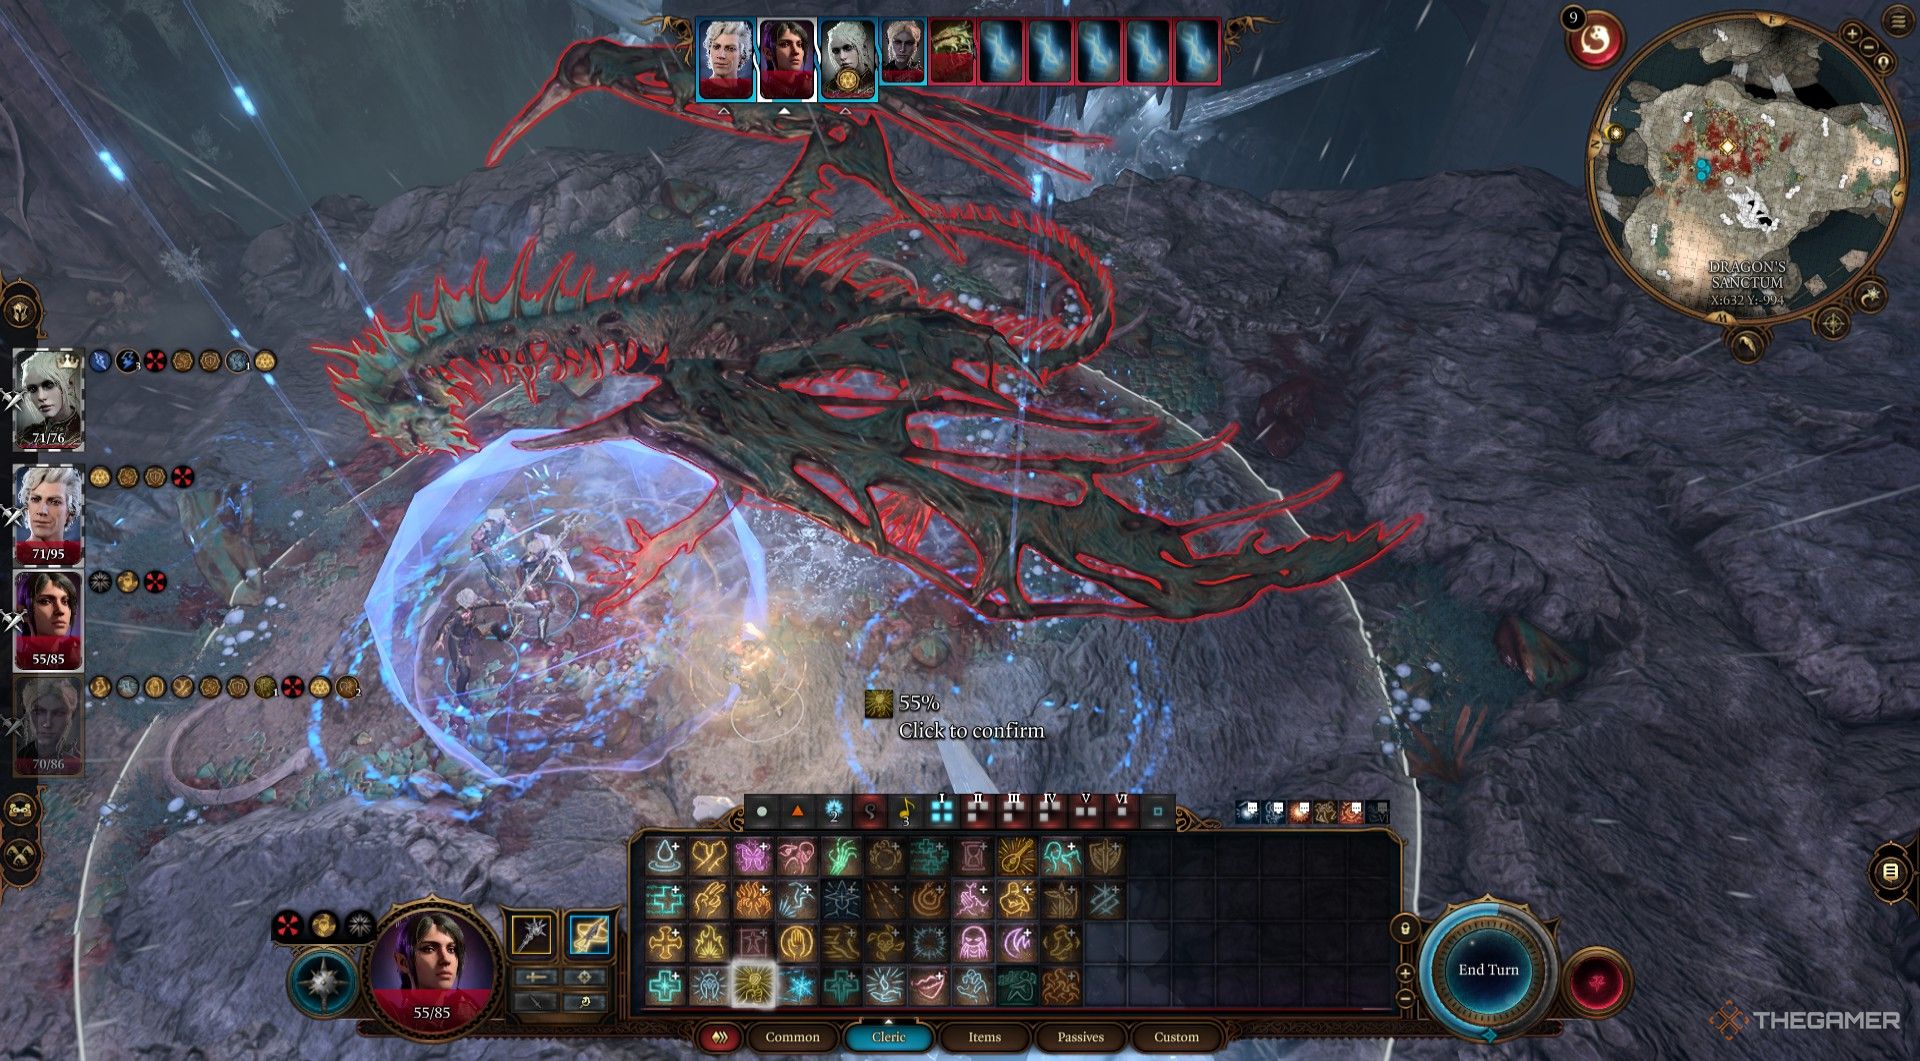
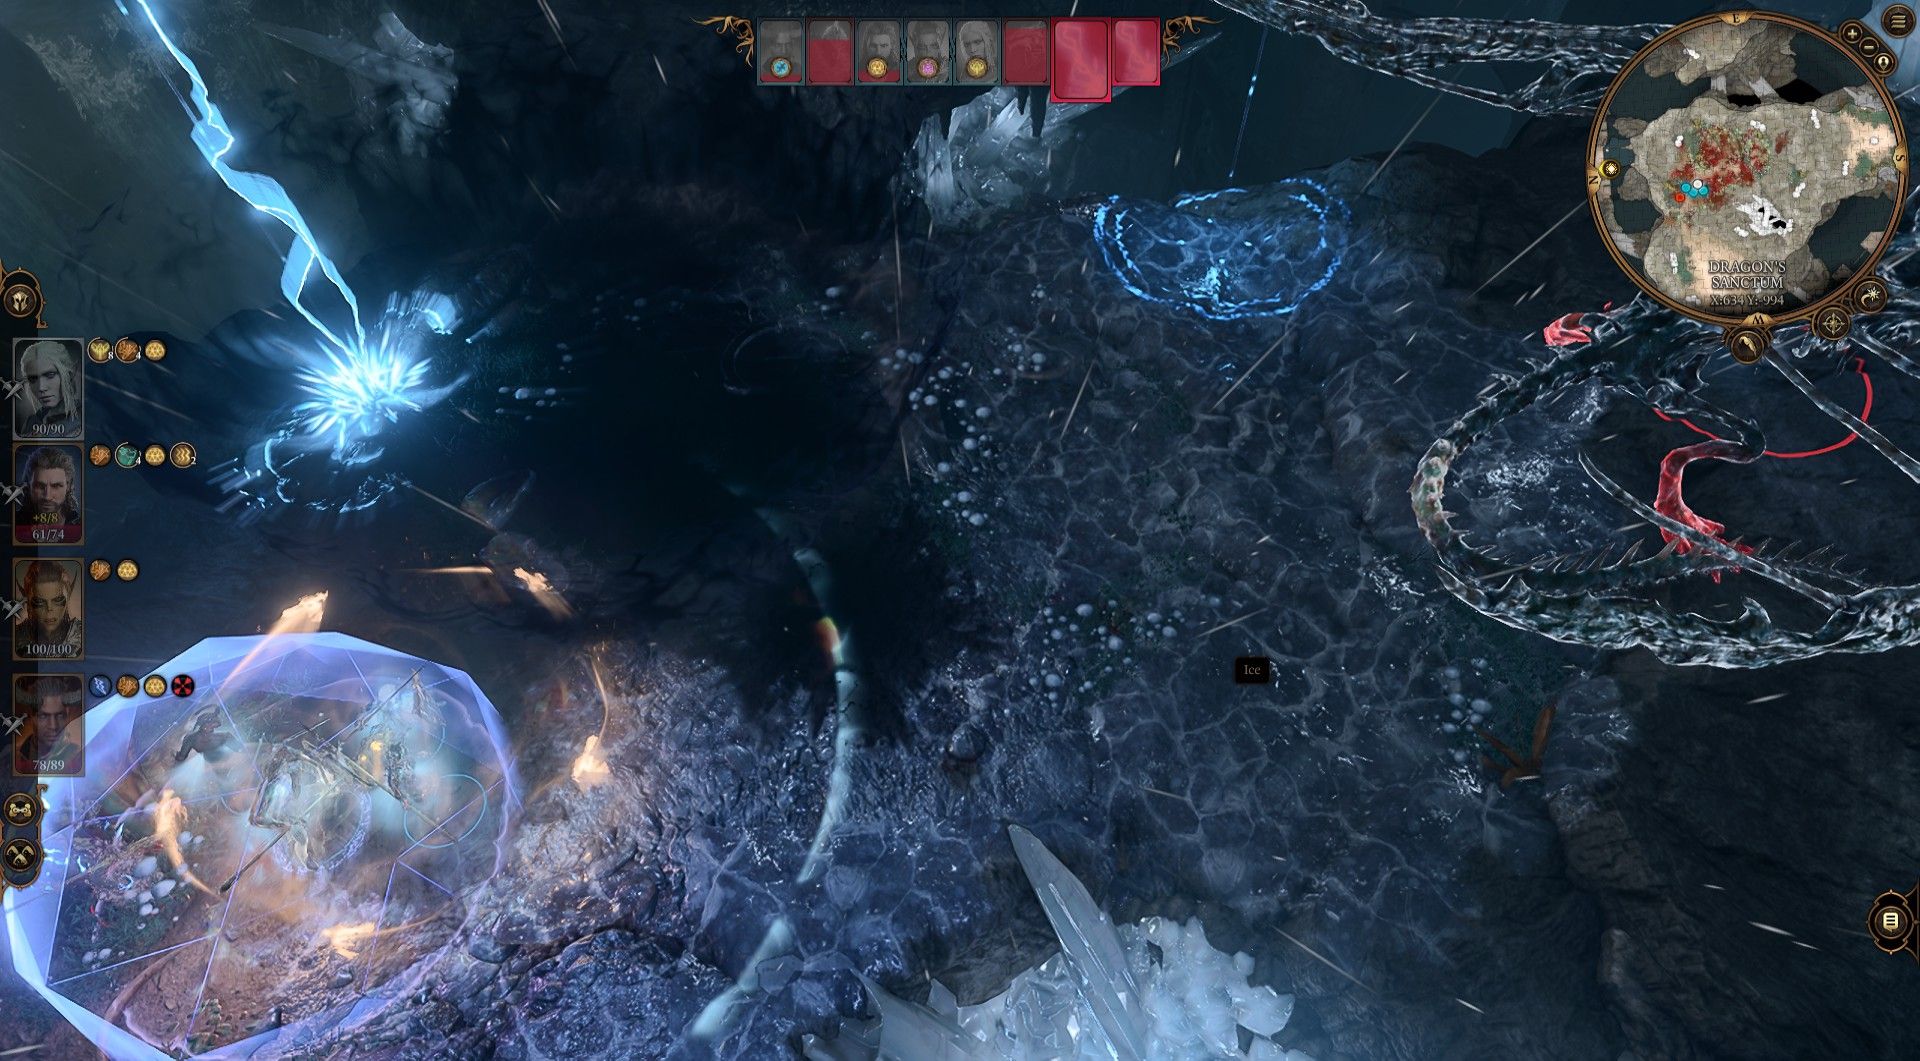
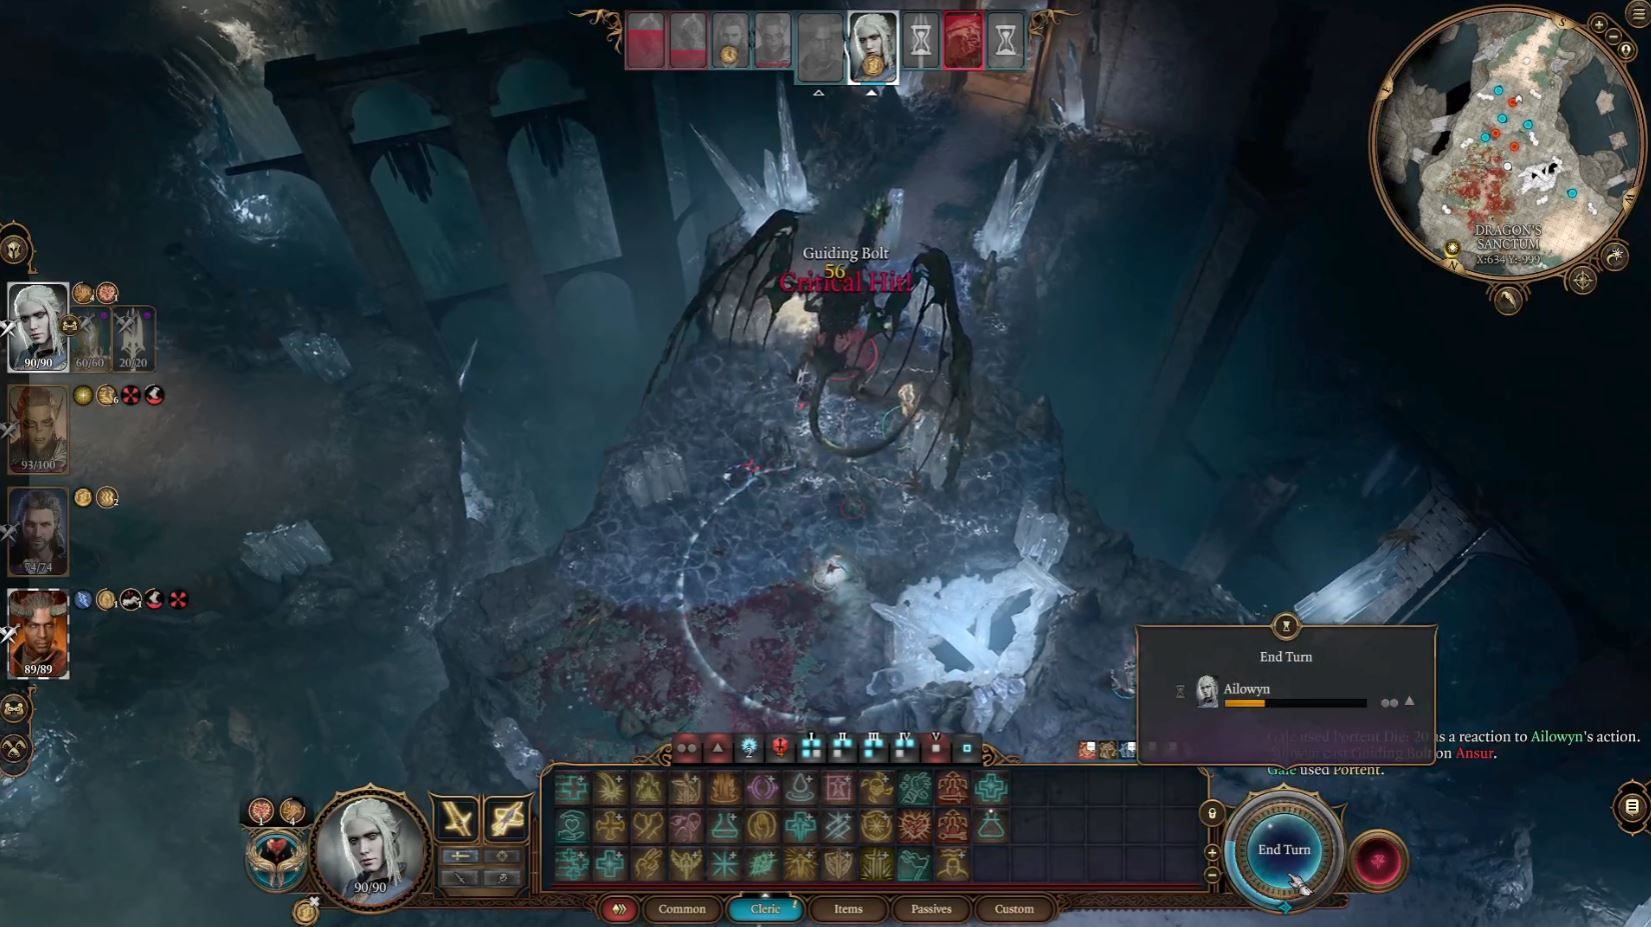
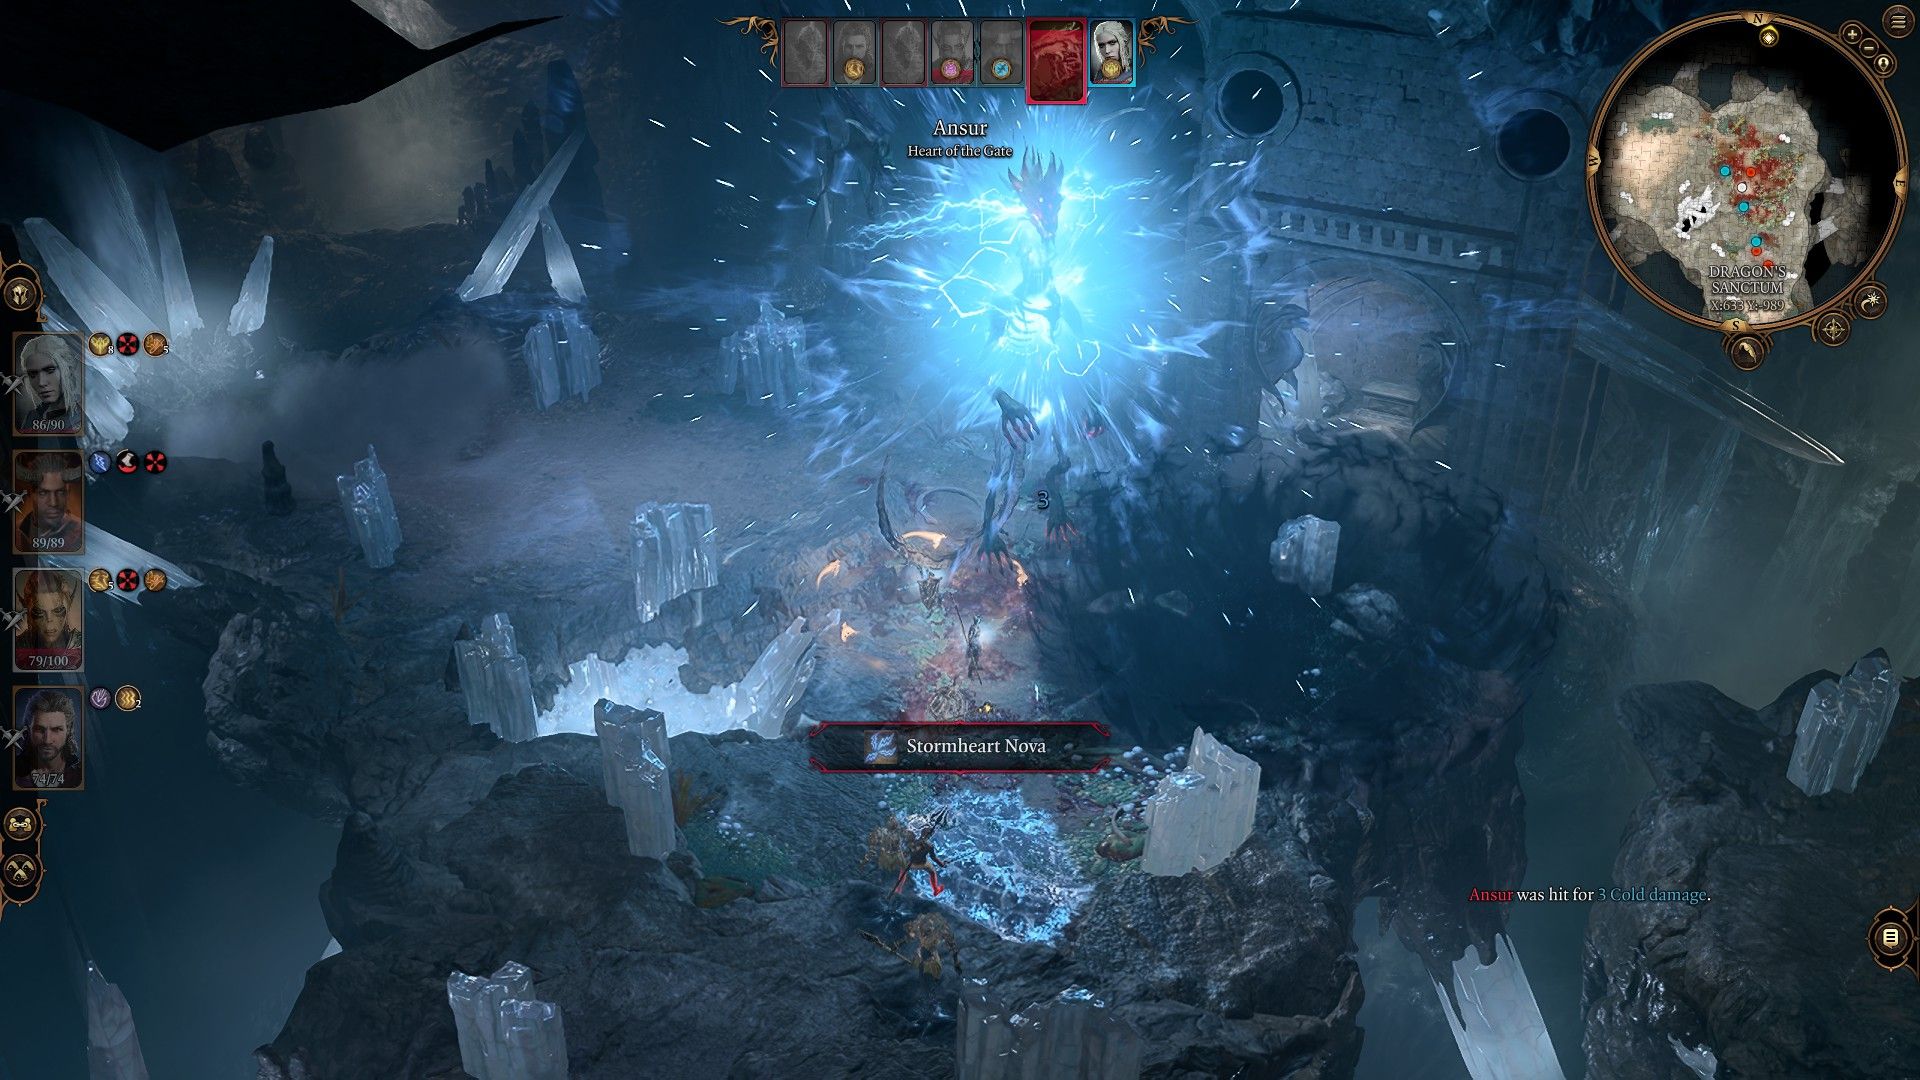
No boss battle in Baldur’s Gate 3 can hold a candle to the epic encounter that is your fight against Ansur, Heart of the Gate, and The One Who Roars. And no boss can quite humble you as quickly, either. In a charged, electrifying combat that’ll leave you wishing you brought rubber boots, only the most prepared will prevail.
Baldur’s Gate 3: How To Find Ansur The Bronze Dragon
It’s the only time you’ll find a dungeon and a dragon in one place.
And that’s where we come in. We’re here with your rubber boots and lightning rod – full of the best strategies to beat Ansur. If you’ve made it this far and overcome the challenges to find him, we have complete faith that you’ll tear the wings off this dragon for good.
Updated April 13, 2024, by Alexis Campbell: Updated to reflect required changes in strategy in high-level Tactician or higher difficulty play. Ansur’s Legendary Actions require caution and additional zone planning as well as his ability to knock individuals out of Globe of Invulnerability with various actions and movements. Also added previously unnoticed Frightful Presence action.
What To Prepare To Defeat Ansur
Ansur is a relatively straightforward boss with only two Water Myrmidons to aid him. He typically only deals Lightning damage and has one major full battlefield attack that can 1HKO most enemies.
The primary things you want going in are:
- Items that deal increased damage to dragons.
- Arrows of Dragon-Slaying
- Spells or equipment that give resistance to Lightning damage.
- Protection from Energy (Lightning)
- Fiendish Resistance (Lightning)
- Potion of Lightning Resistance
- Spells or equipment that increase damage output or give Advantage on attacks.
- Hunter’s Mark
- Phalar Aluve – Singing Melody
- Amulet of Branding
- Damaging spells that rely on Dexterity Saving Throws.
- A way to counter Ansur’s lightning charge.
- Globe of Invulnerability
- Movement options to reach crystal barricade shelters (patch version 3.0 or above)
You might also want to try
conjuring creatures to increase your overall damage output
. Conjuring elementals or using the
Necromancy of Thay
‘s Danse Macabre skill can be a big bonus for this fight.
Before you go and speak with Ansur, cast any of the bonuses you might want beforehand while in Turn-Based Mode.
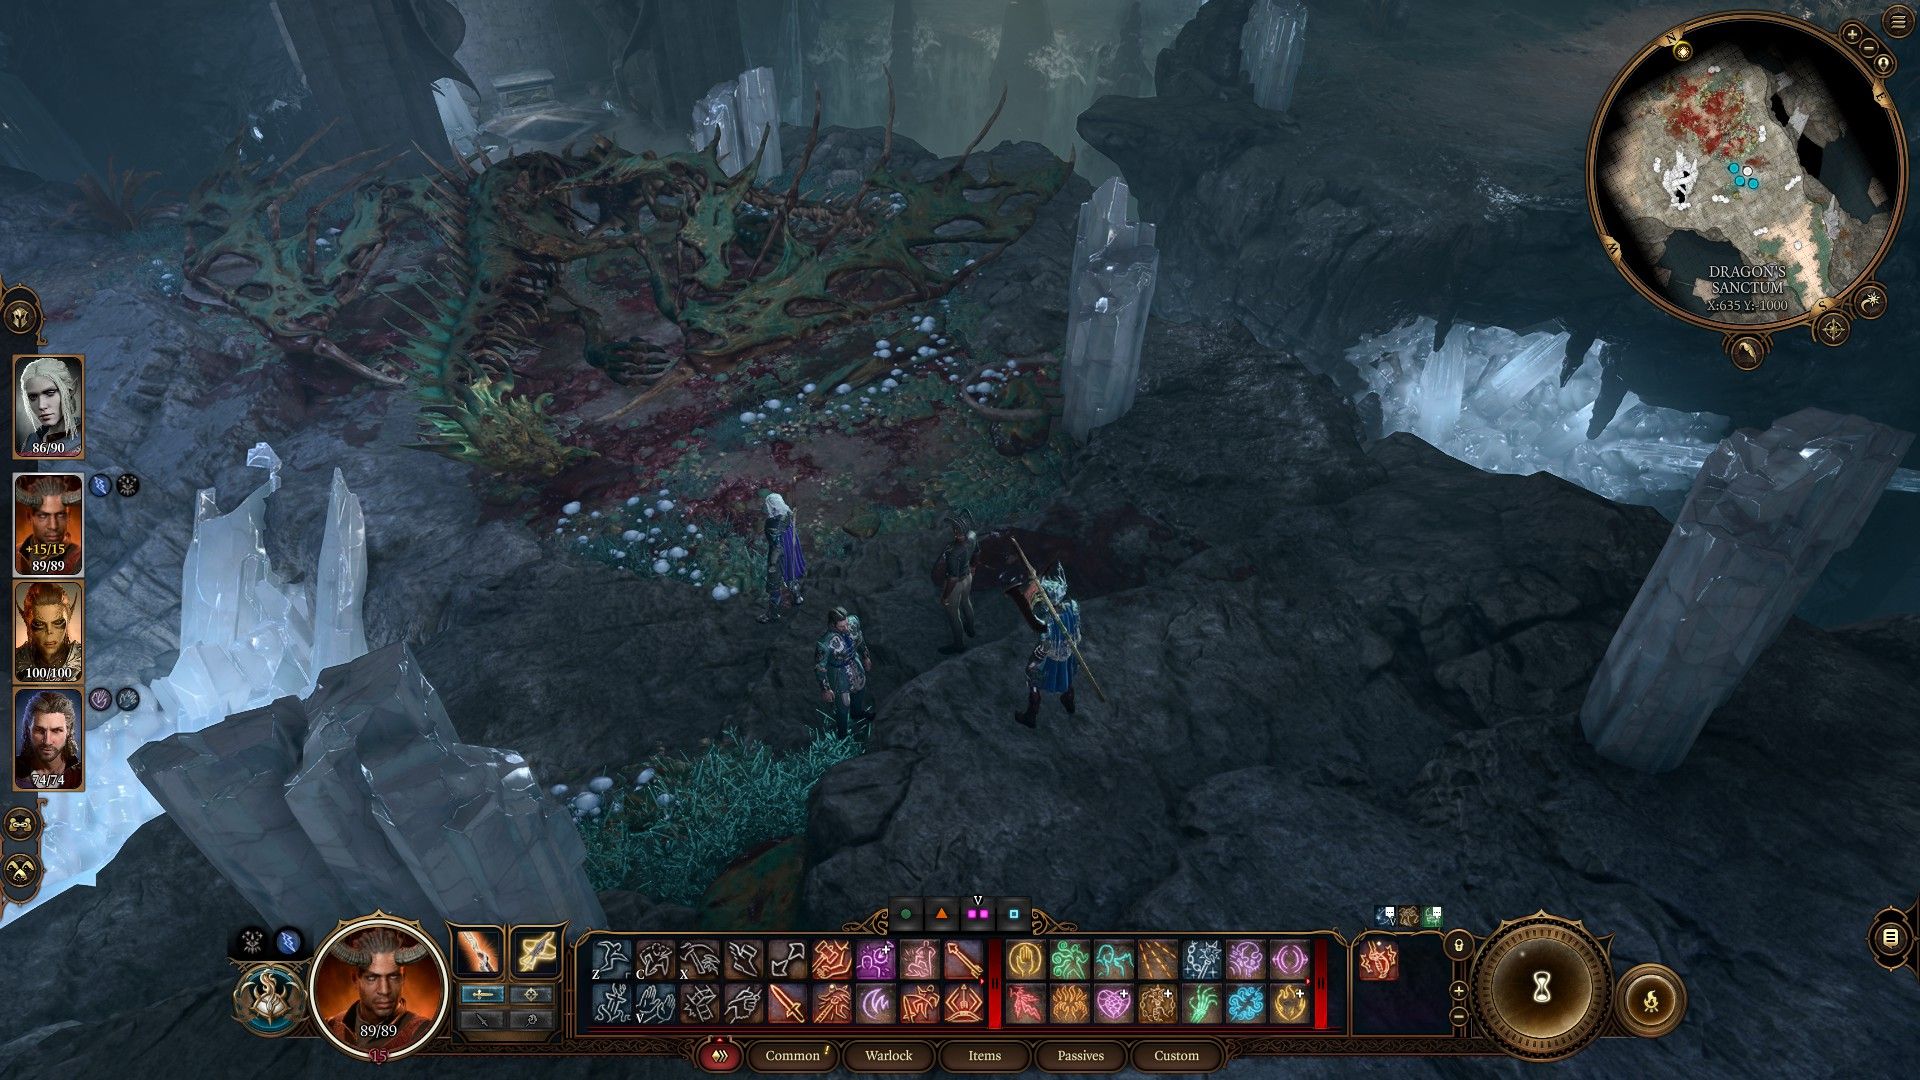
Then, split your party to keep your squishier party members away from Ansur. If not, the fight will begin with your whole party awkwardly standing on the cliff edge in front of Ansur or in a group where the myrmidons can hit multiple party members at once.
Phase One: How To Survive Ansur’s Hoarding Attack, Stormheart Nova
During the first part of this fight, whittle down Ansur’s health as fast as possible. Yes, you must do the same in Phase Two to an extent, but your goal here is to attempt to trigger his Stormheart Nova quickly.
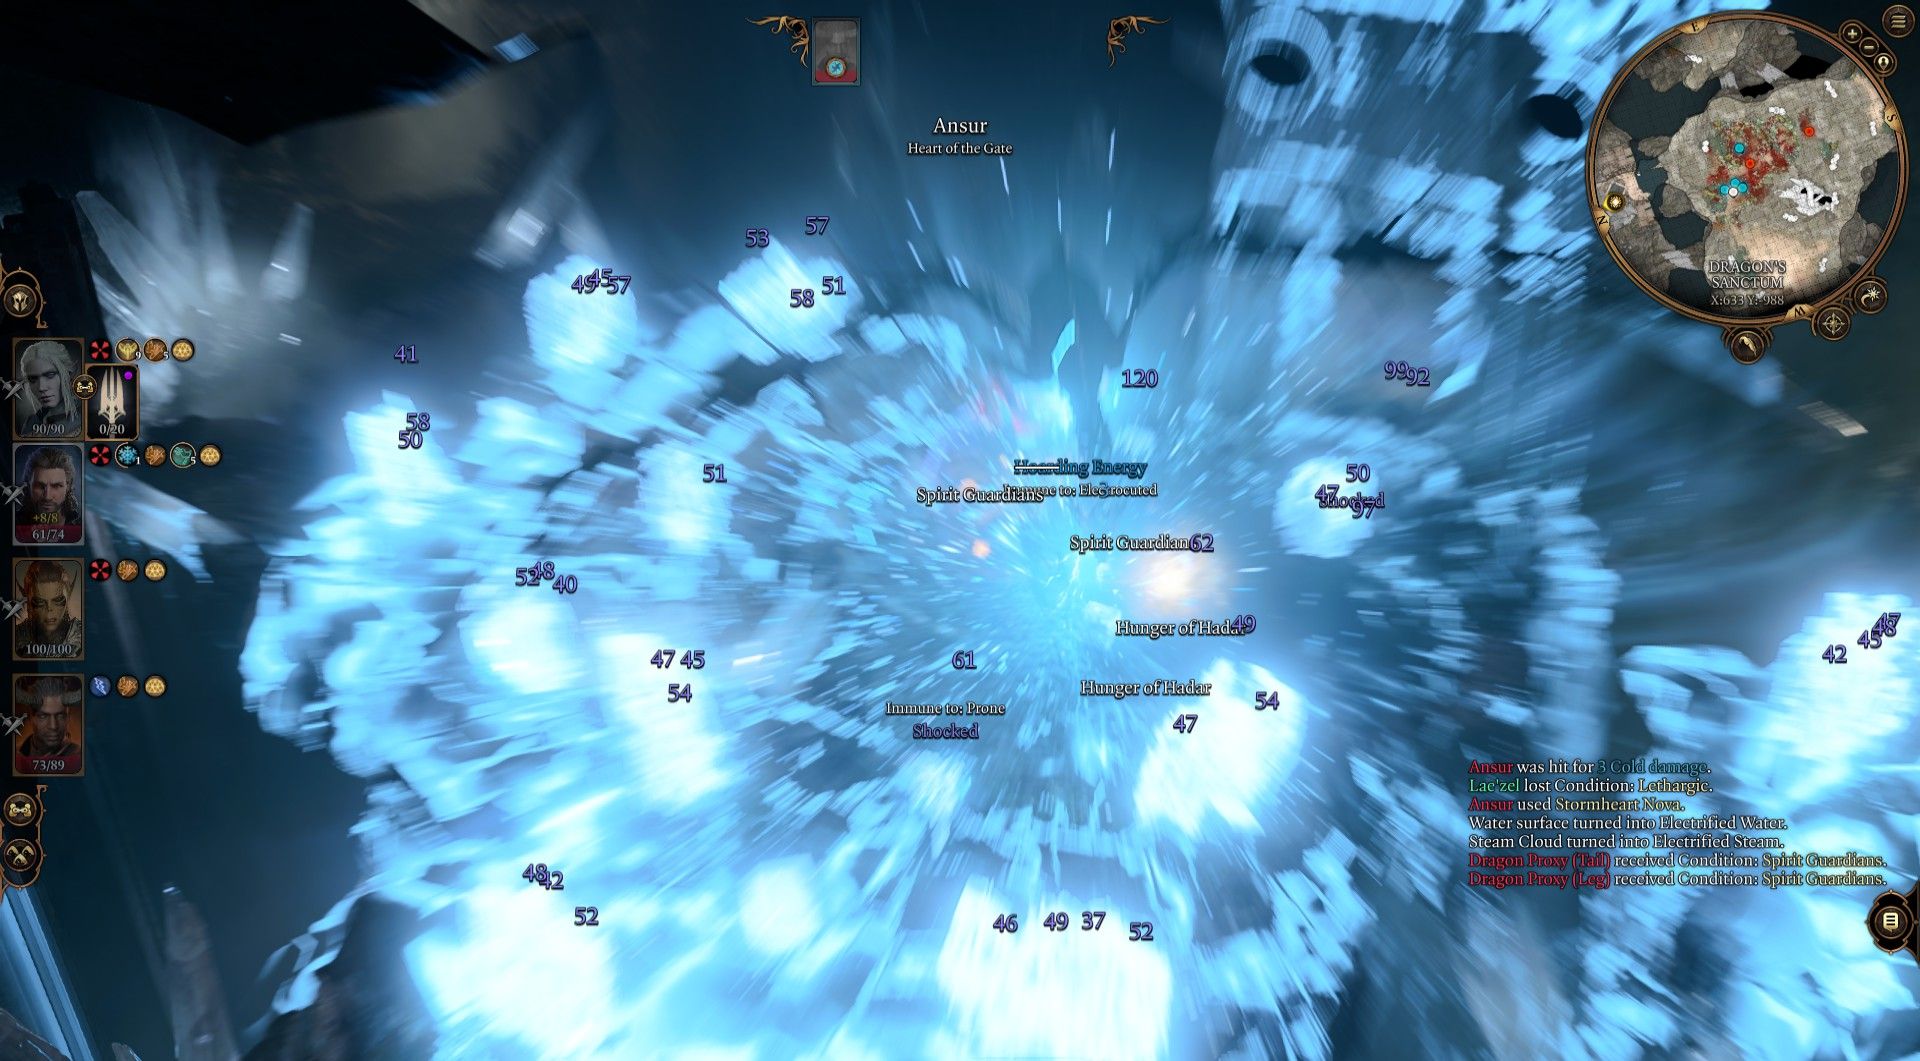
You do not need to strike his allied myrmidons because his Stormheart Nova does not discriminate. By triggering his ultimate attack, you’ll also take out the Myrmidons (mostly) in the same fell swoop.
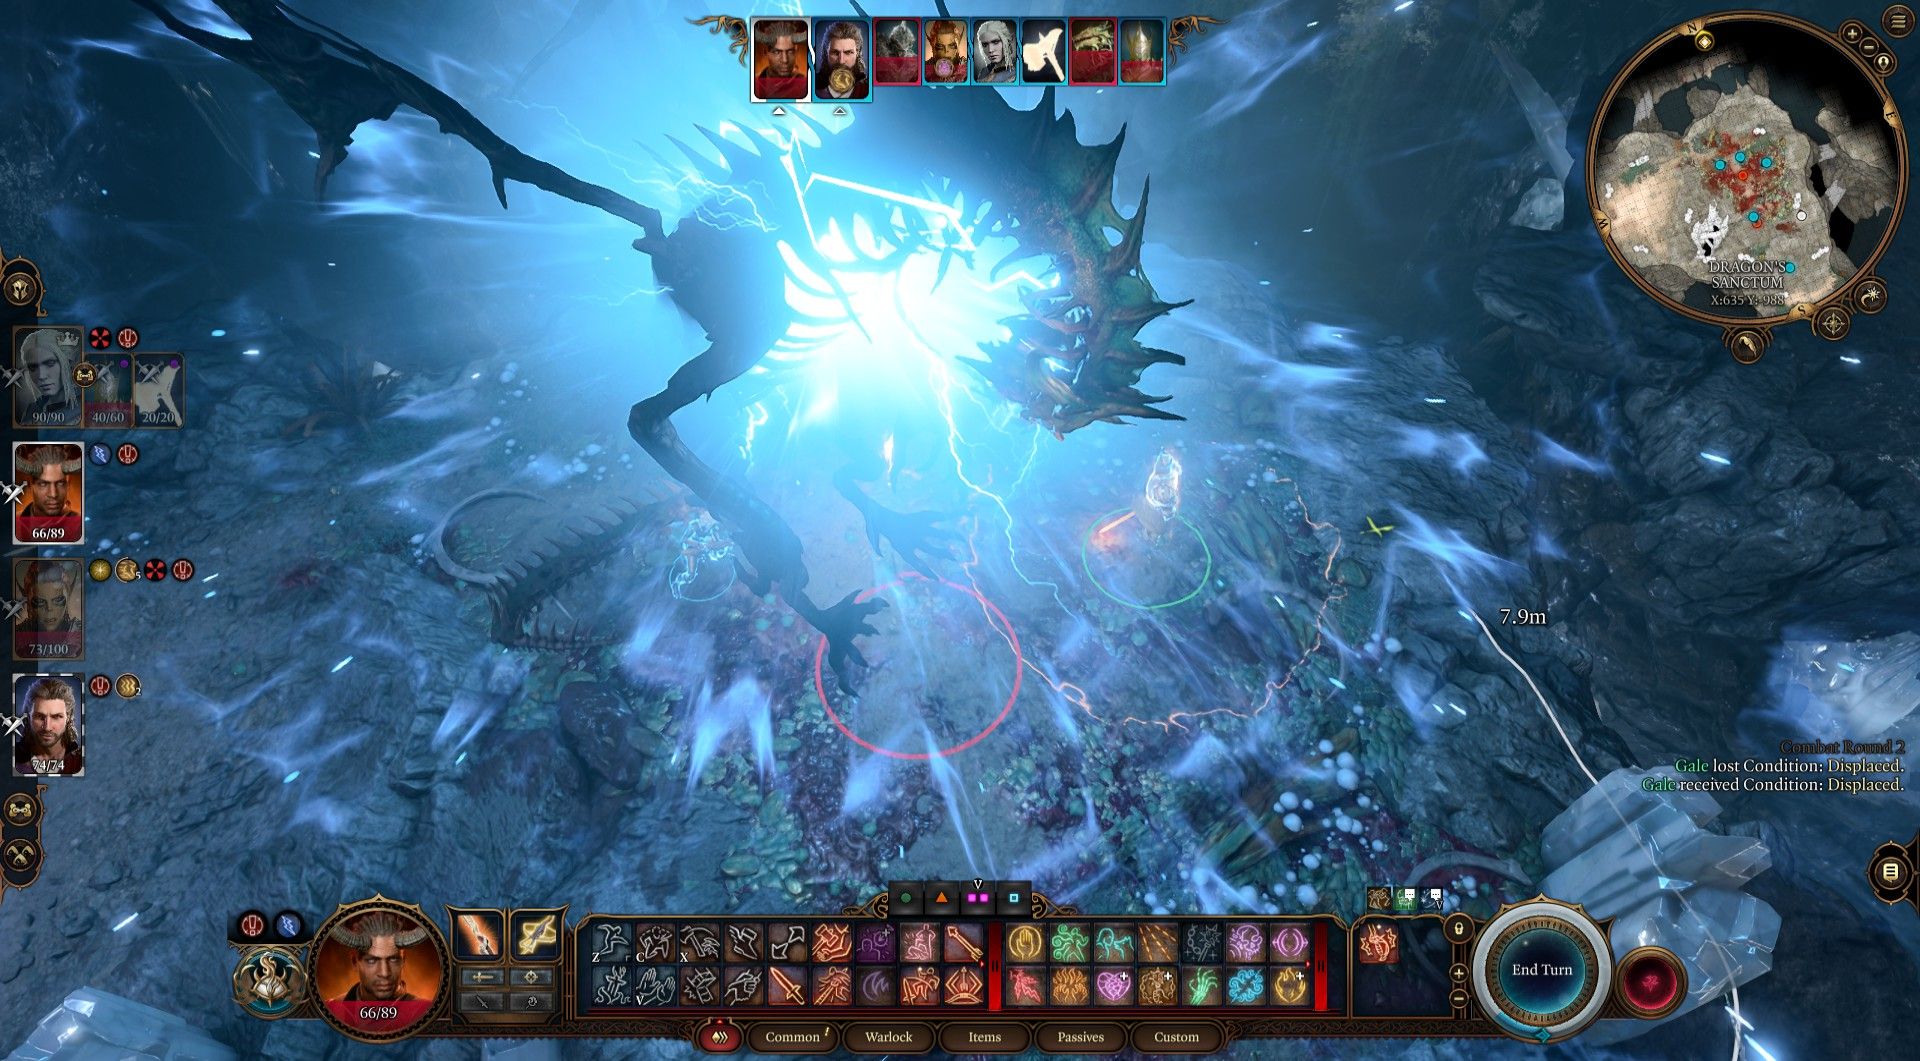
Ansur’s Stormheart Nova typically triggers between 50 and 66 percent of his health bar unless three turns have passed. On Turn Four, he usually begins charging his attack regardless of his remaining health.
Deal as much damage as possible. If you’re lucky or came in with a solid strategy, you may be able to kill him before or during his charging attack (the latter of which gives you an achievement).
However, if you don’t think you can kill him before then, you must survive his Stormheart Nova attack. As it reaches the entire length of the battlefield, there are only three ways to avoid it:
- Leave the battlefield entirely using Dash and Misty Step.
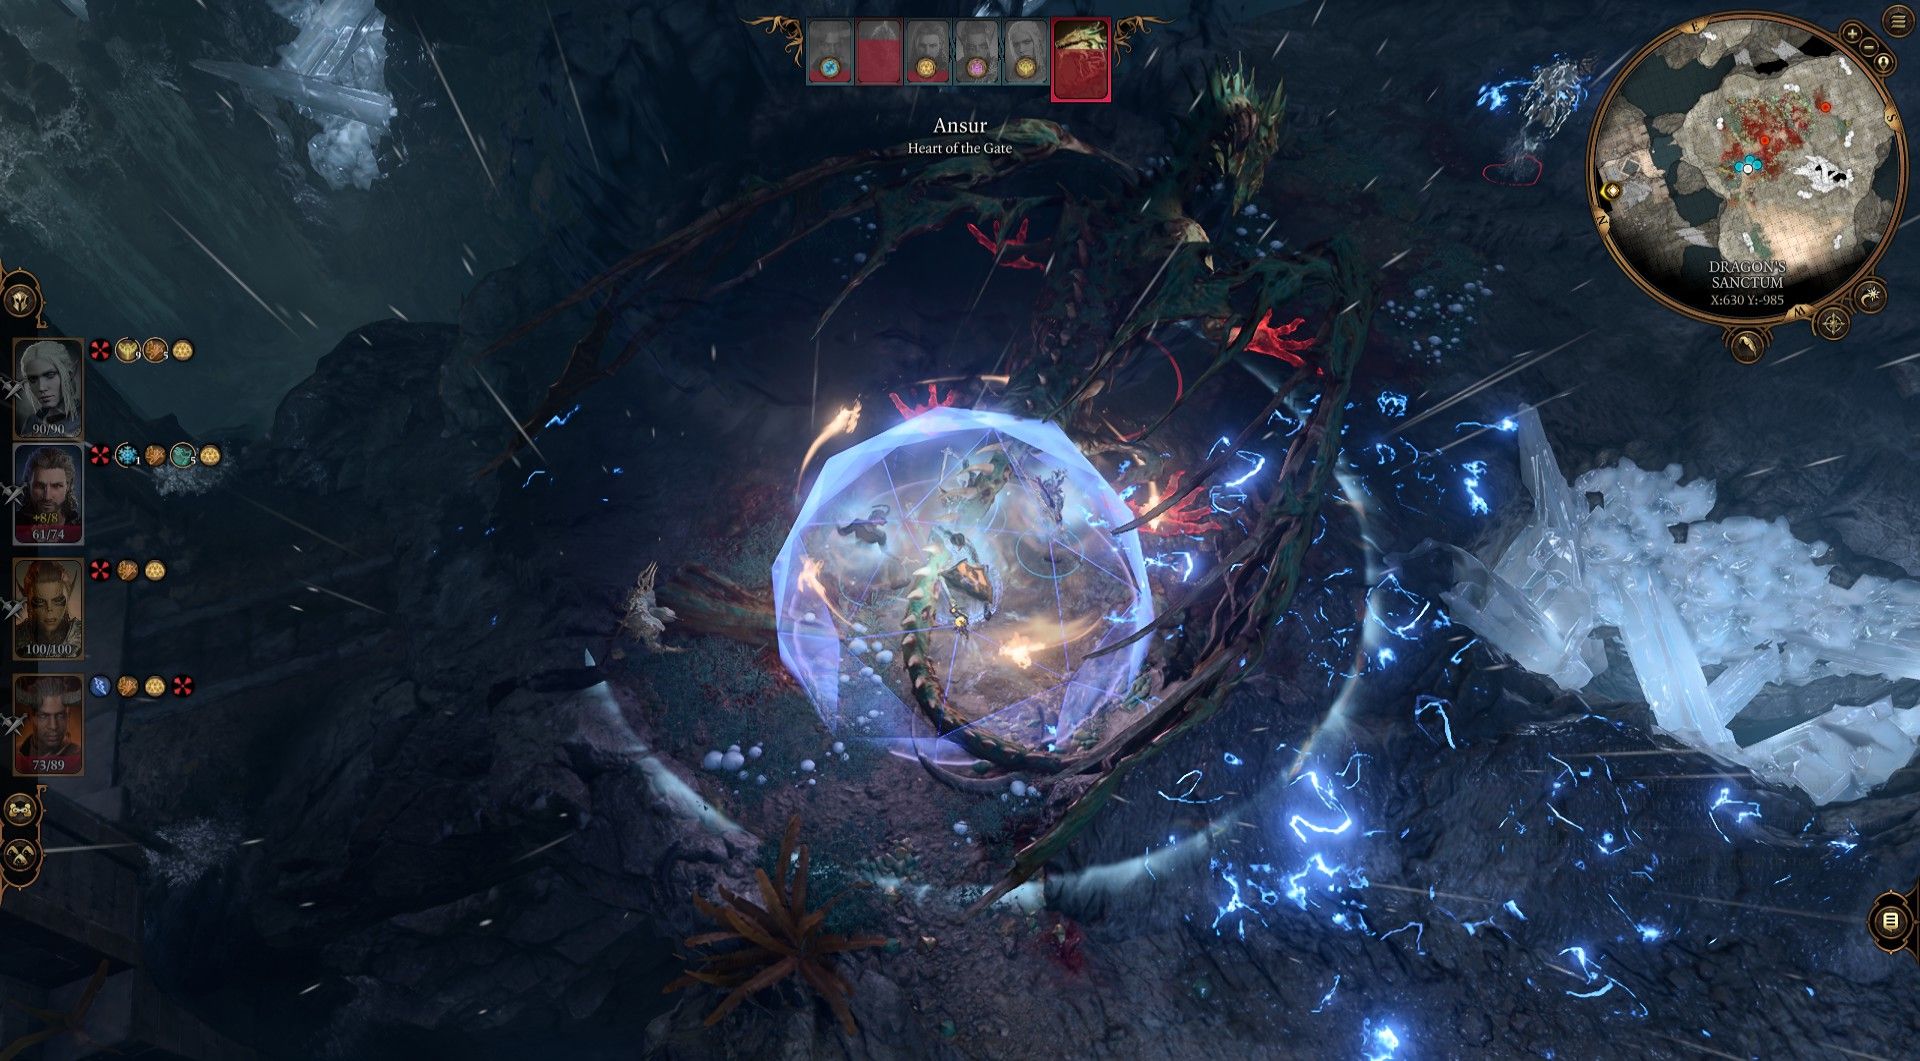
- Cast Globe of Invulnerability.
- Dash behind any of the ice pillars in the room to take cover.
The third option is much easier (and now provides a helpful Resistance bonus), but Globe of Invulnerability is still recommended to ensure you take no damage from either the initial attack or the Phase Two attacks.
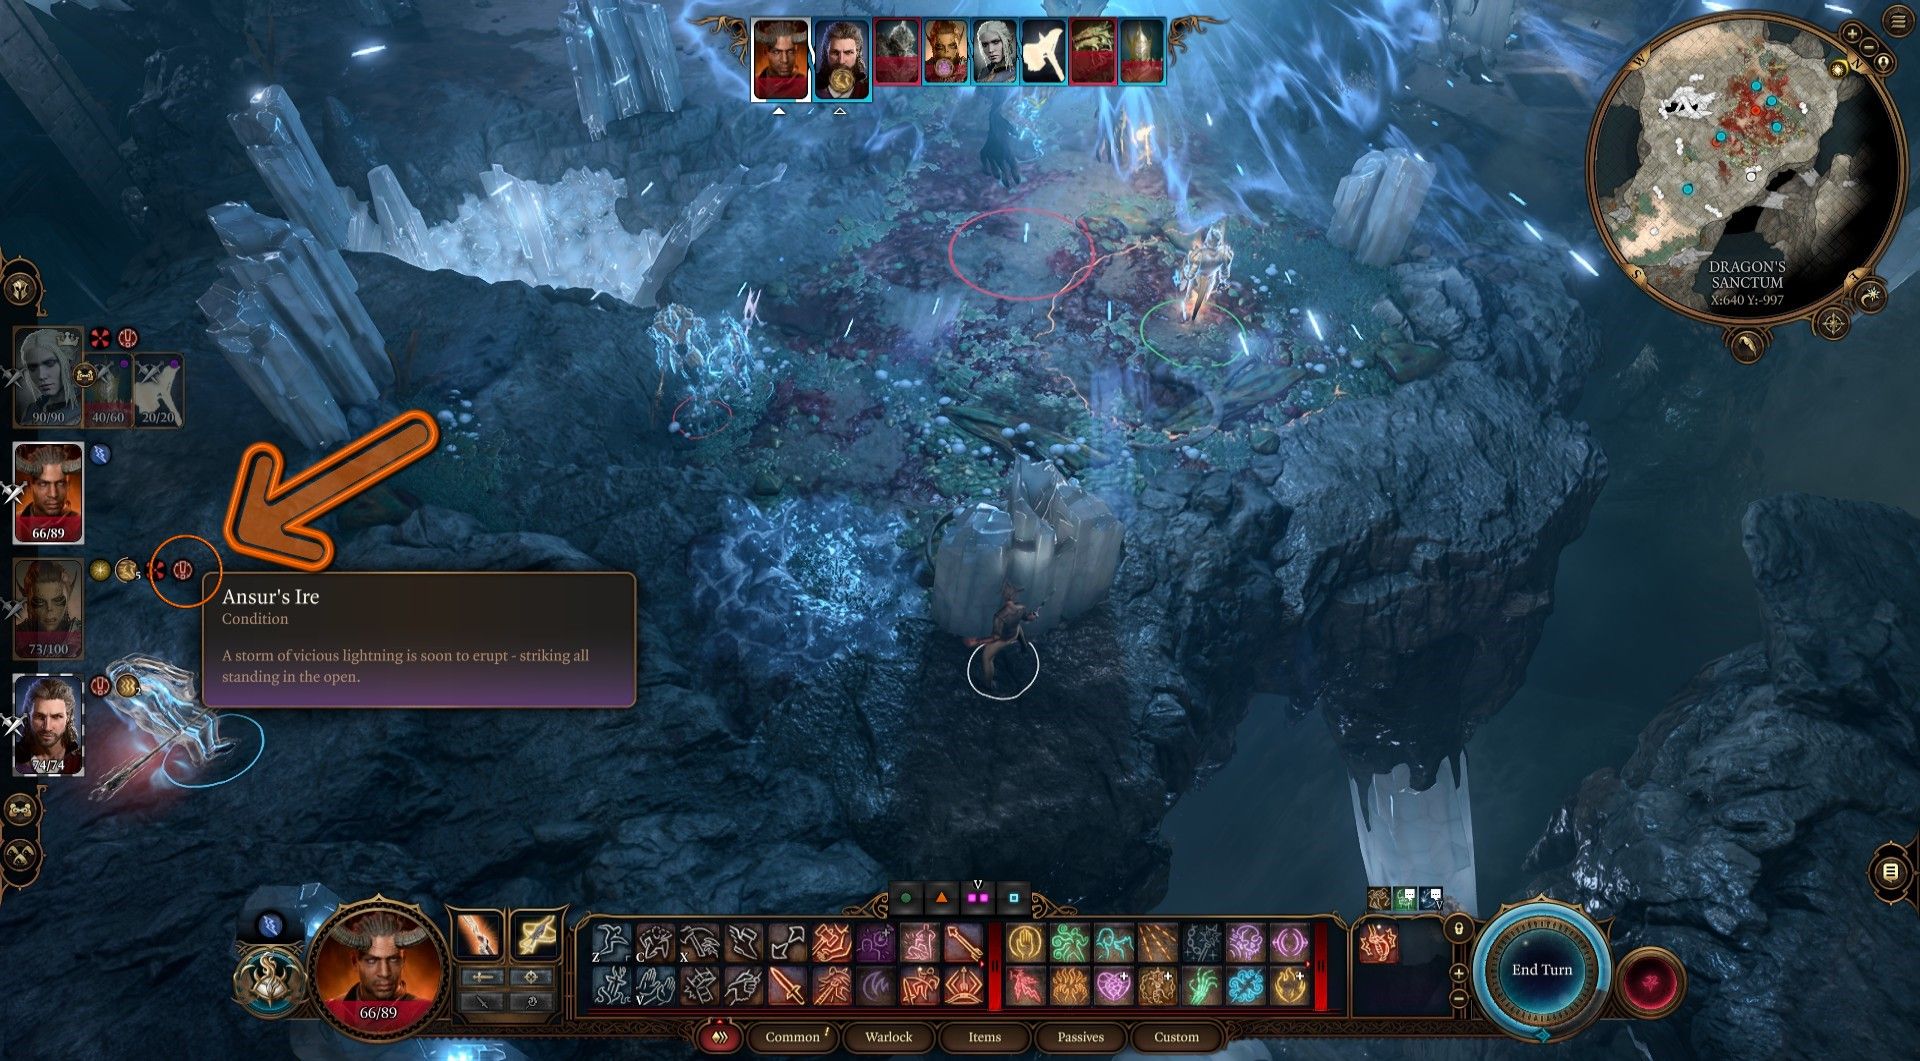
There is
an icon indicator
on each character profile’s active statuses that demonstrates when you are within range of Ansur’s attack.
When this indicator is present, you will receive damage
from Stormheart Nova. Stepping behind a pillar will cause this icon to disappear, indicating that you are in a safe space.
Additionally,
standing behind the pillars now provides a small bonus called “Crystal Skin,”
which lasts two turns. This provides all affected entities with
Resistance to all elemental damage
(this especially includes Ansur’s lightning trap barrage in Phase Two).
When Ansur begins charging his attack, strike him with your party. As they end their turns, take shelter behind any of the icy pillars on the field, ensuring they’re completely between you and Ansur.
Alternatively, you can have your wizard travel to your party’s location (centering them around one area before the attack) and cast Globe of Invulnerability around everyone. No damage will be taken to any party member standing inside this globe.
Fighting The Myrmidons
The myrmidons have the active ability to heal Ansur. While this initially seems like it may have an effect on the fight, it does not.
Do not panic. So long as you follow these tips, you will be okay:
- Focus primarily on Ansur.
- Don’t group your party beside one another.
- Keep the myrmidons outside safe zones (from behind crystals or inside Globe of Invulnerability).
If you struggle with defeating them, remember that these myrmidons can be pushed into chasms with spells like
Thunderwave
for instant-deaths or destroyed by Ansur’s Stormheart Nova. There is no need to attack them. They are mild distractions at best.
Fighting Ansur In Tactician Or Honour Mode
It is important to note that the strategies within this guide are written on a foundation of Balance mode. If you are playing Tactician or higher, Ansur will gain a few notable abilities:
- A Legendary Action.
- A Legendary Resistance.
- Frightful Presence (Action).
- The ability to knock you from the Globe of Invulnerability.
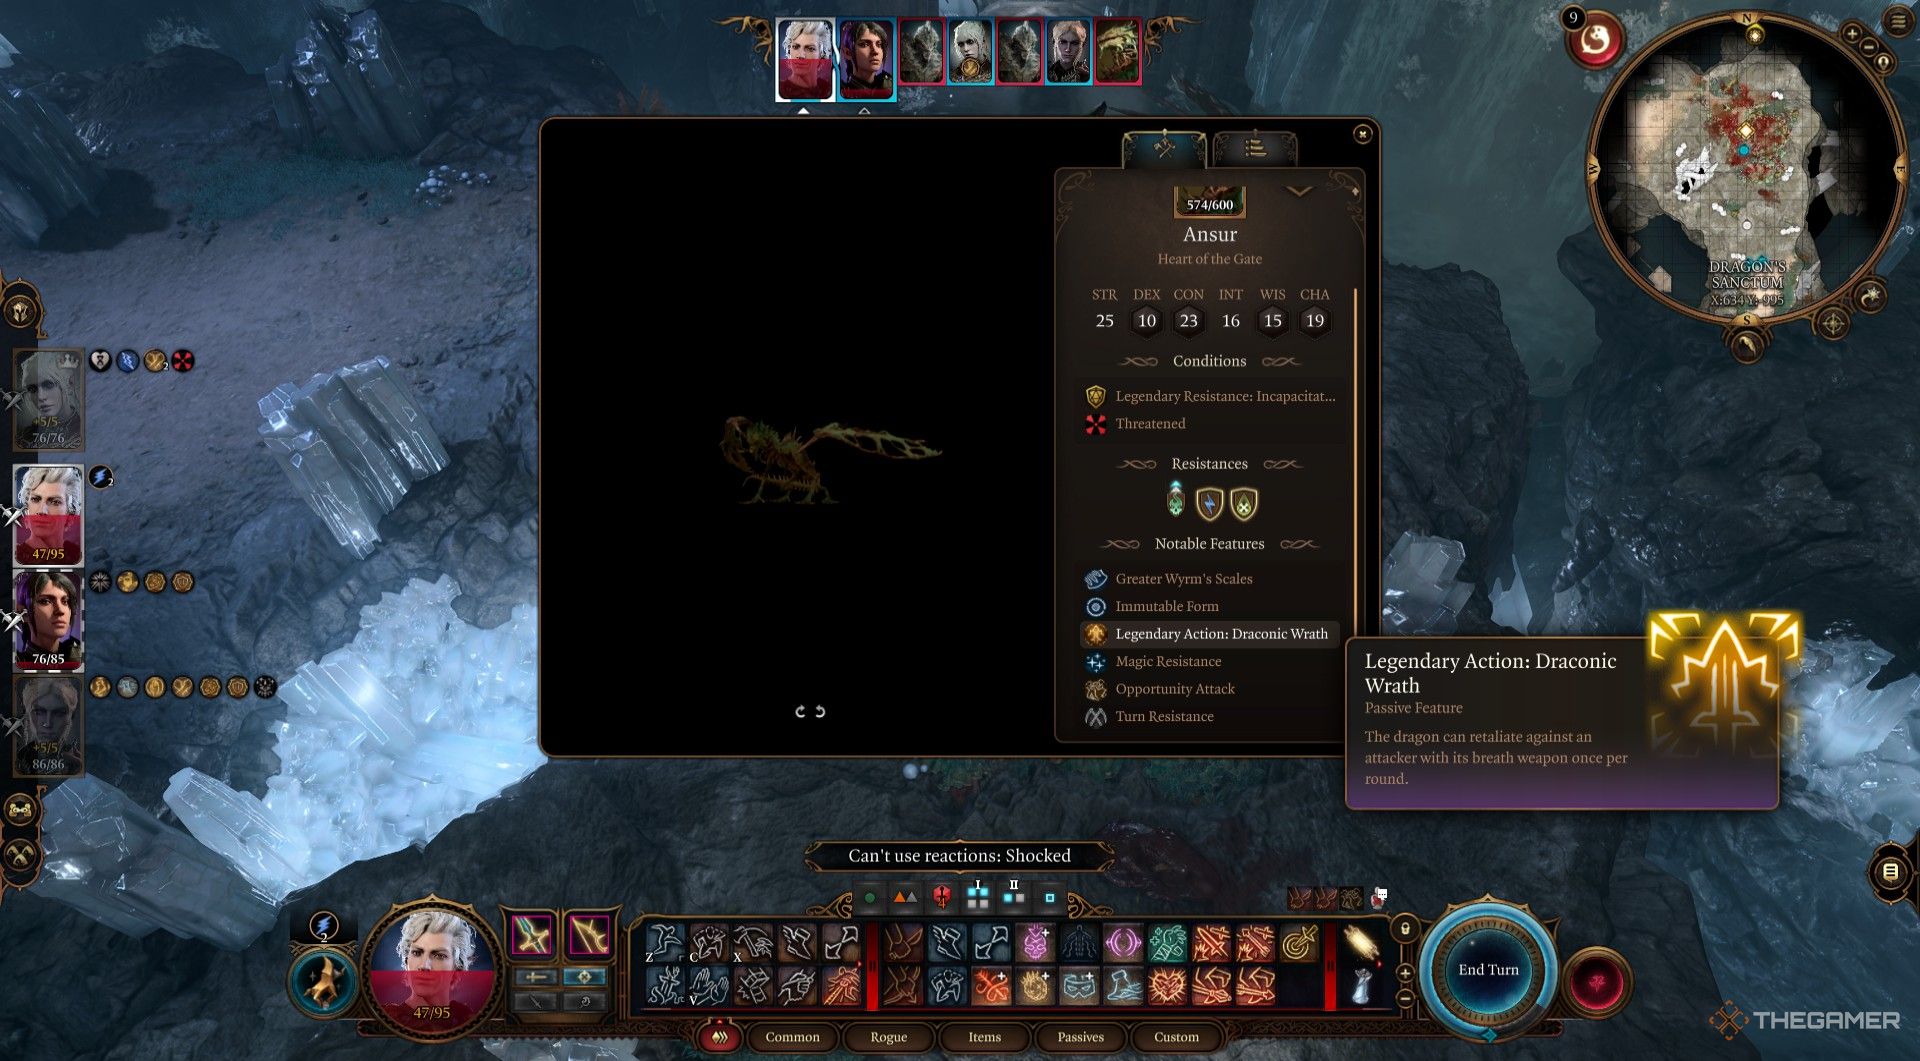
The most important is the Legendary Action. Unlike other bosses in the game, all dragons in Tactician mode will have Legendary Actions as opposed to having them locked in Honour Mode.
When fighting Ansur at a higher-level difficulty, his Legendary Action will punish anyone who makes the first damaging strike in a round against him. Missed attacks do not seem to trigger his Legendary Action.
His Legendary Action is a quick cast of his Lightning Breath attack, a cone Lightning attack. This means that even if your other character haven’t attempted to do anything yet, if they are standing in the vicinity of the first attacker, they will take damage as well.
To bypass this problem, you’ll want to:
- Split your party apart, preferably each on a different side of Ansur.
- Hit with the person who has the largest amount of HP and divvy up the responsibilty each round.
- Do not hit with your healer first unless you absolutely have to.
- Absolutely make sure your healer and main damage dealer have access to Resist Lightning by any means.
The next problem is the Frightful Presence. This can cost you valuable turns in the second phase of the fight (when he is most likely to use this action).
To bypass this, the best strategy is to have:
- A Paladin who is Immune to Fear and has prepared the Heroism spell or;
- A Cleric who has prepared Calm Emotions.
Finally, Ansur has the ability to knock individuals from the Globe of Invulnerability with his Slam attack, his Opportunity Attack, and his Fly action (when he lands).
The best plan is to leave your healer and one other weaker health character – like a spellcaster – inside the globe while your larger characters leave (but are within range of) the globe to draw Ansur’s attention.
During the second phase of combat, keep in mind that you’ll want to:
- Use one character to draw the Legendary Action attack at the beginning.
- Use your healer to negate that damage as best as possible.
- Take your spellcaster out a step to deal damage and then step back in the globe.
- If your spellcaster will draw Opportunity Attack when they leave the globe, use your tank stationed far away from the globe to trigger Ansur’s Reaction instead.
Phase Two: How To Survive The Lightning Strikes And Defeat Ansur
Once Ansur has used his Stormheart Nova attack, the ground will now be randomly marked with blue sigils that join the end of the turn order. On their turn, they’ll strike the ground with lightning.
In each round of combat, these sigils will change location and can deal massive damage to those within. You’ll have to move around each round and avoid Ansur when he jumps to an area near a party member (and, as a result, pushes them out of the way) and the lightning strikes.
However, the sigils do not affect Globe of Invulnerability. If you cast it, and as long as you stay within it, you will take no damage from Ansur or the lightning strikes.
If you cast the globe, take advantage of its effects and fire outside the globe to kill Ansur. Use powerful ranged spells (non-Concentration spells for the one who cast the Globe) and attacks.
If needed, only send out your strongest, tankier characters from the globe since Ansur likes to hop around the battlefield.
Eventually, you’ll be able to whittle down Ansur’s remaining health. You’ll most likely kill him before the Globe of Invulnerability runs out.
Continue striking Ansur and, if you don’t have the globe, moving around until he’s finally defeated.
If there are any remaining myrmidons, you can defeat them by killing them or pushing them over the edge of the battlefield with repelling spells.
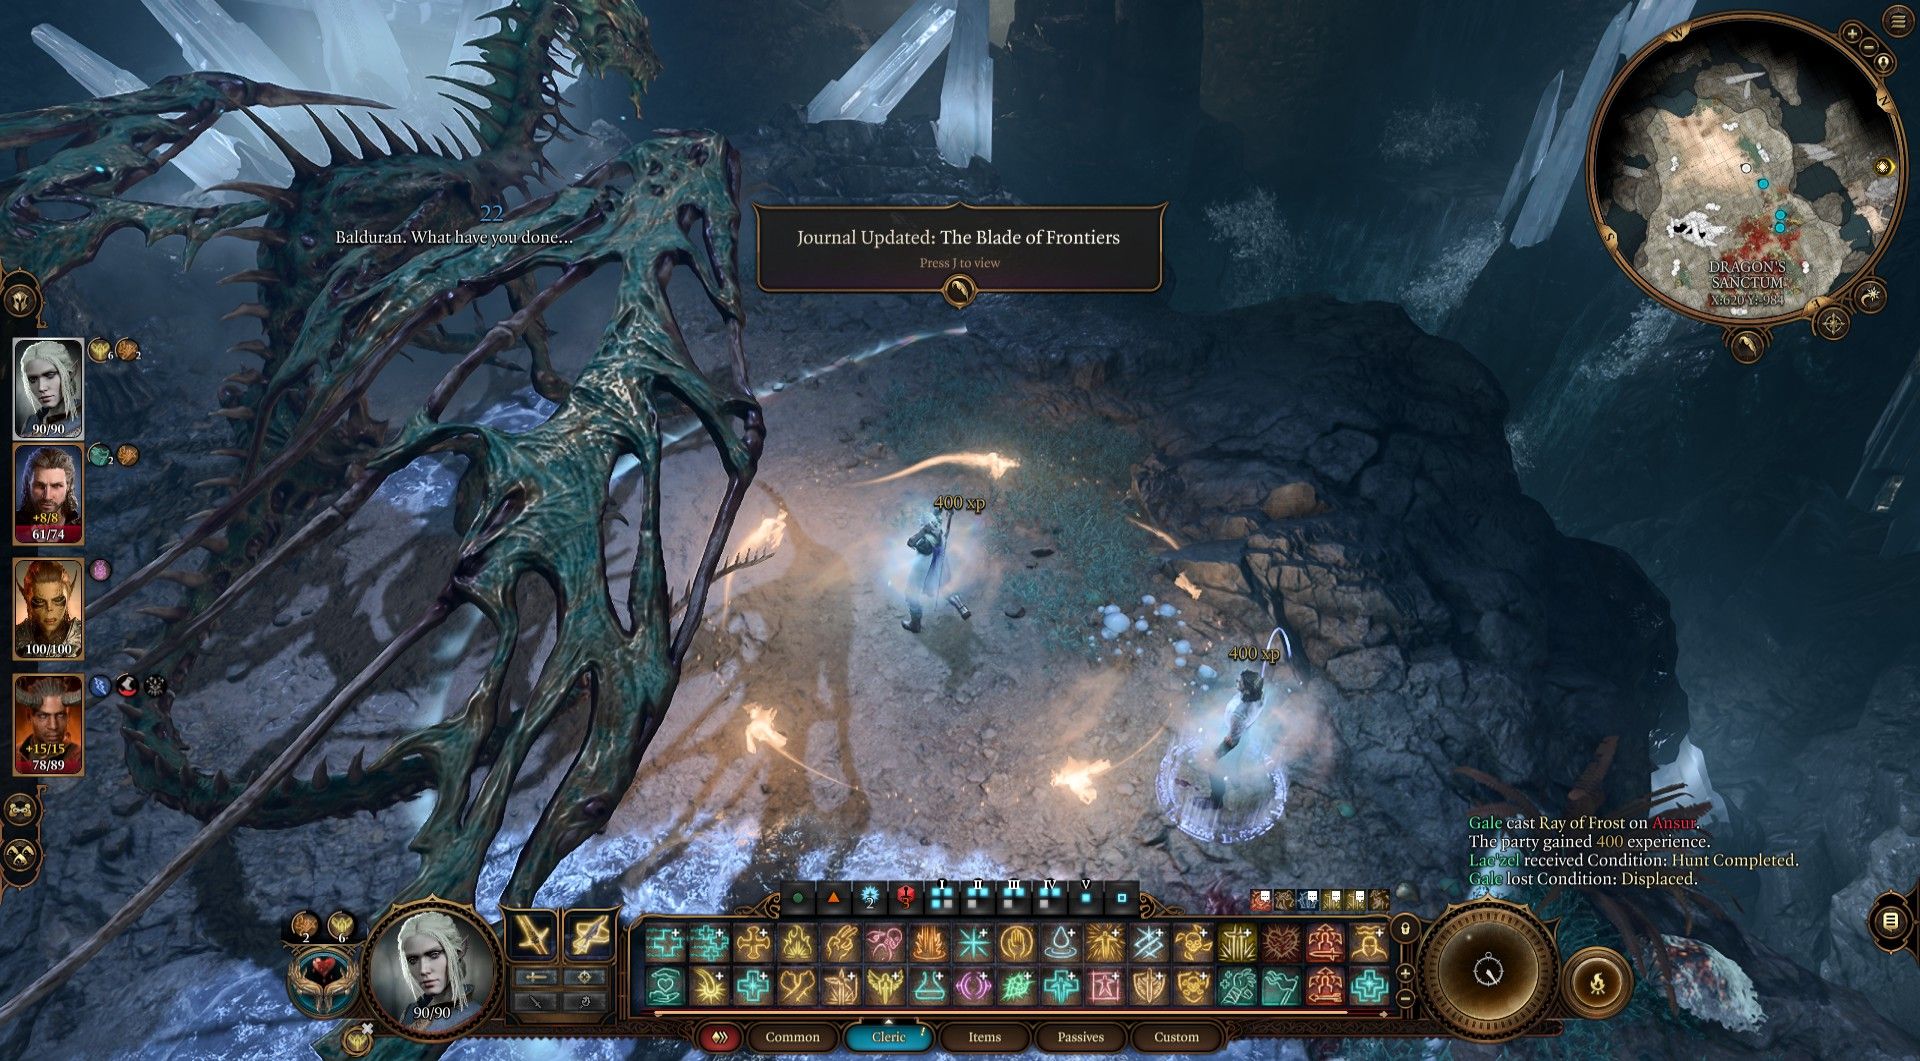
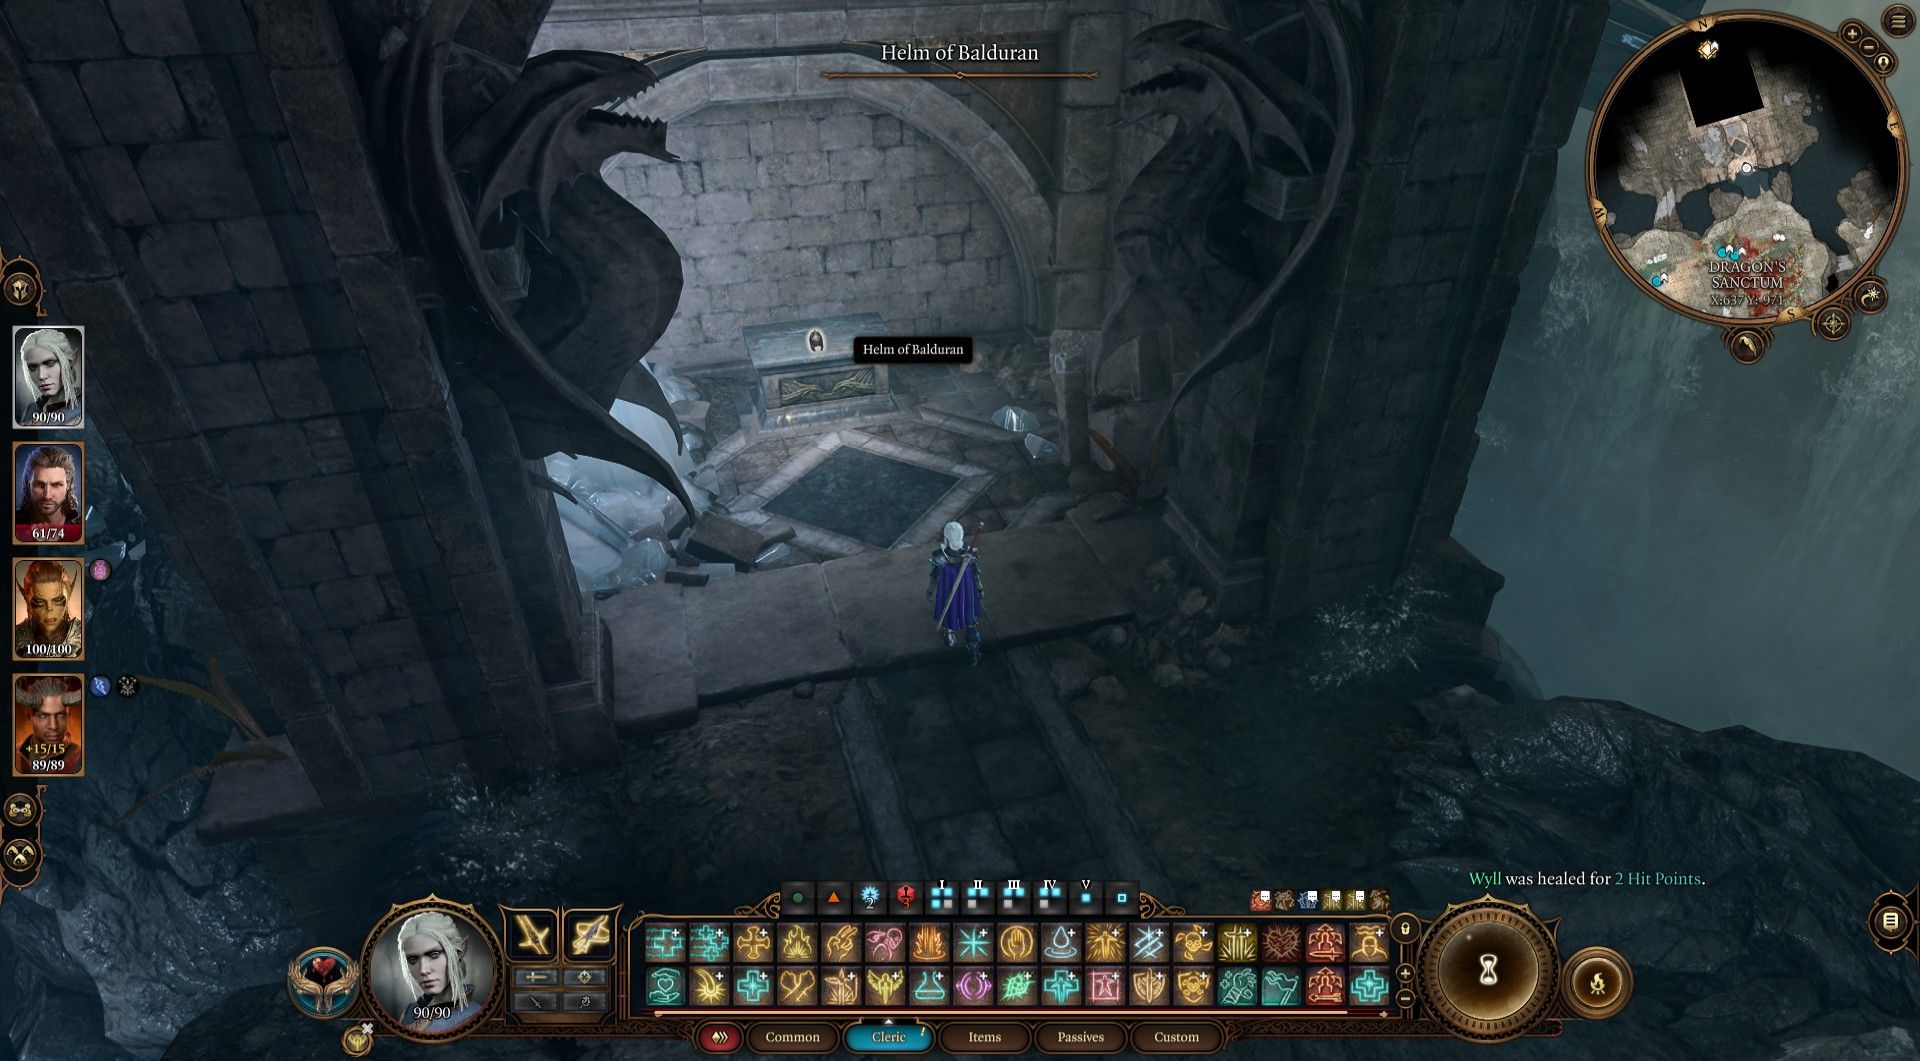
With all enemies defeated, you can loot Ansur’s body for his legendary sword. A legendary helm is also sitting on the altar in the stone building below the battlefield. Take it, and it will reveal your way out.
How To Get The Achievement Crash Landing
For the Ansur fight, there is an optional and rare achievement known as: “Crash Landing.” You must defeat Ansur while he is charging his attack in the air. This changes the strategy for Ansur considerably, and it takes no small amount of set-up to achieve.
The achievement can be thwarted if
too many people are standing around Ansur
in the center of the arena when his charge-up is triggered.
Instead of charging his attack in the air, Ansur will
charge it on the ground,
forcing you to give up on the achievement or reload the save.
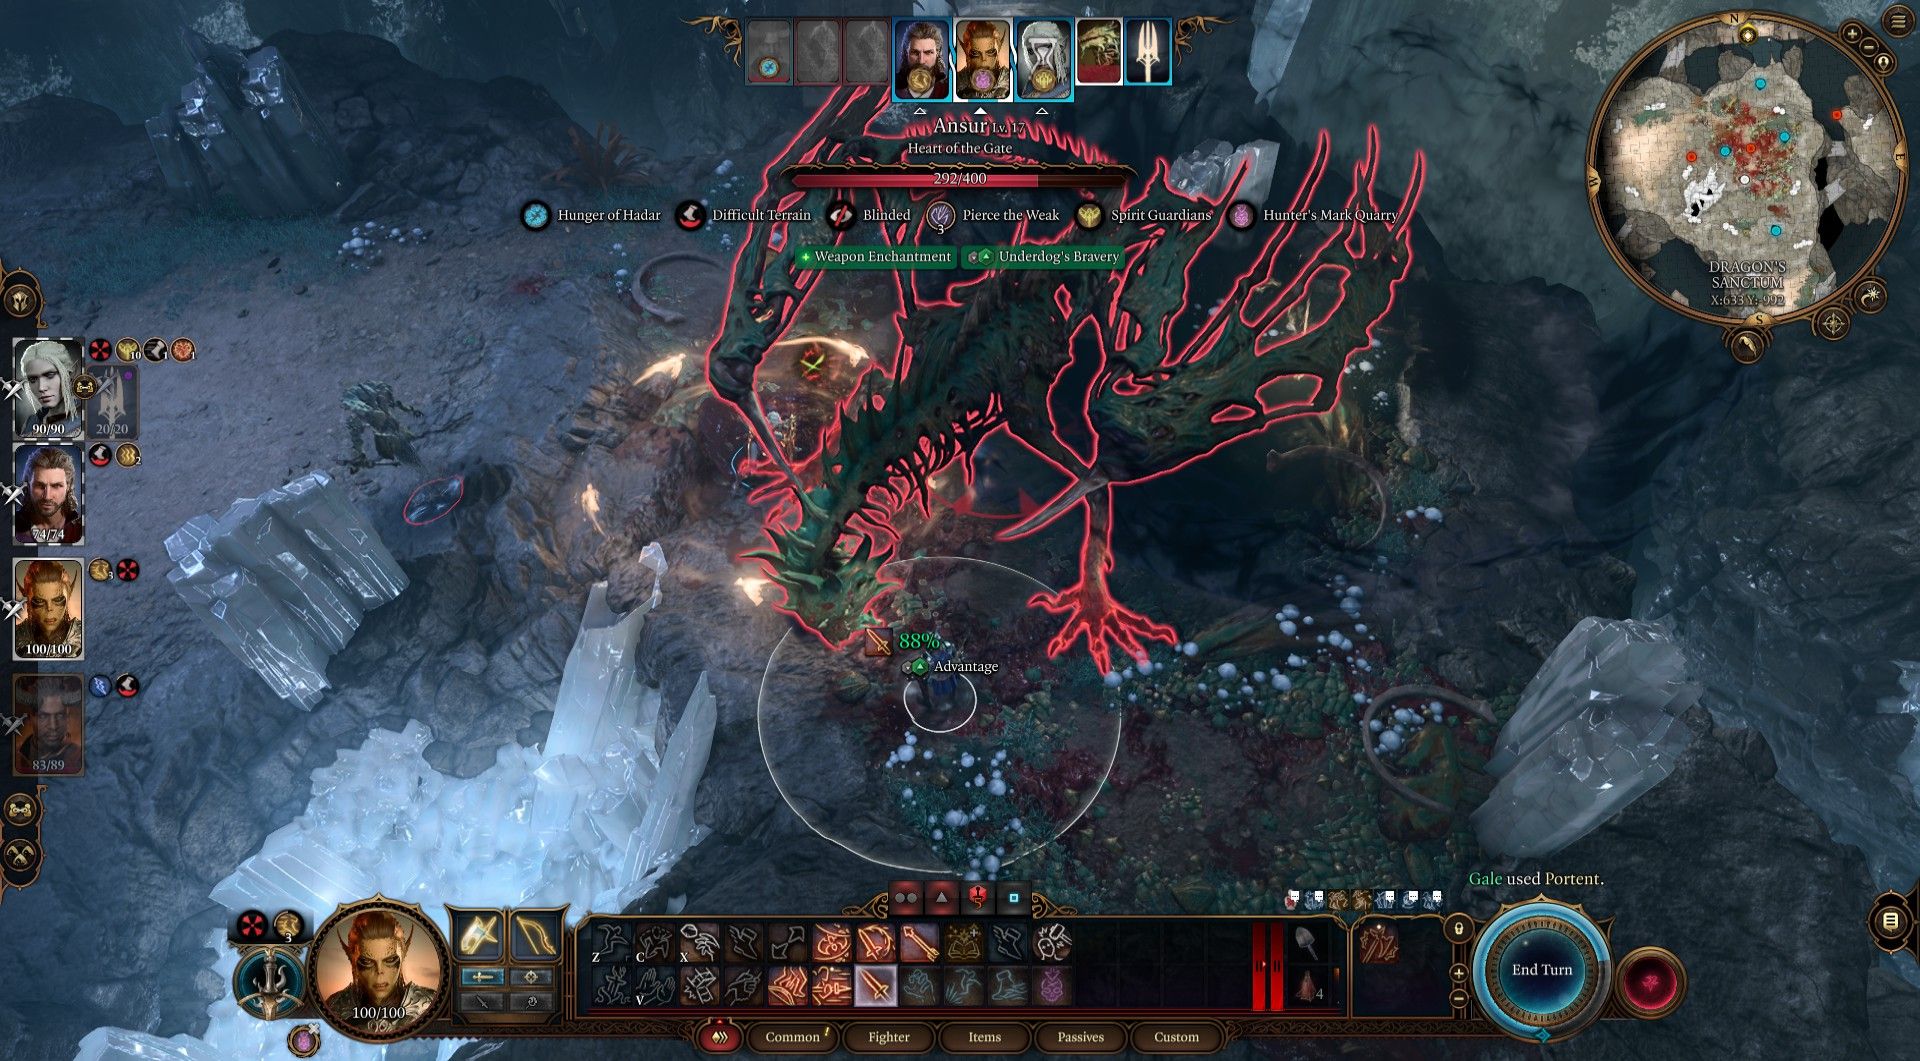
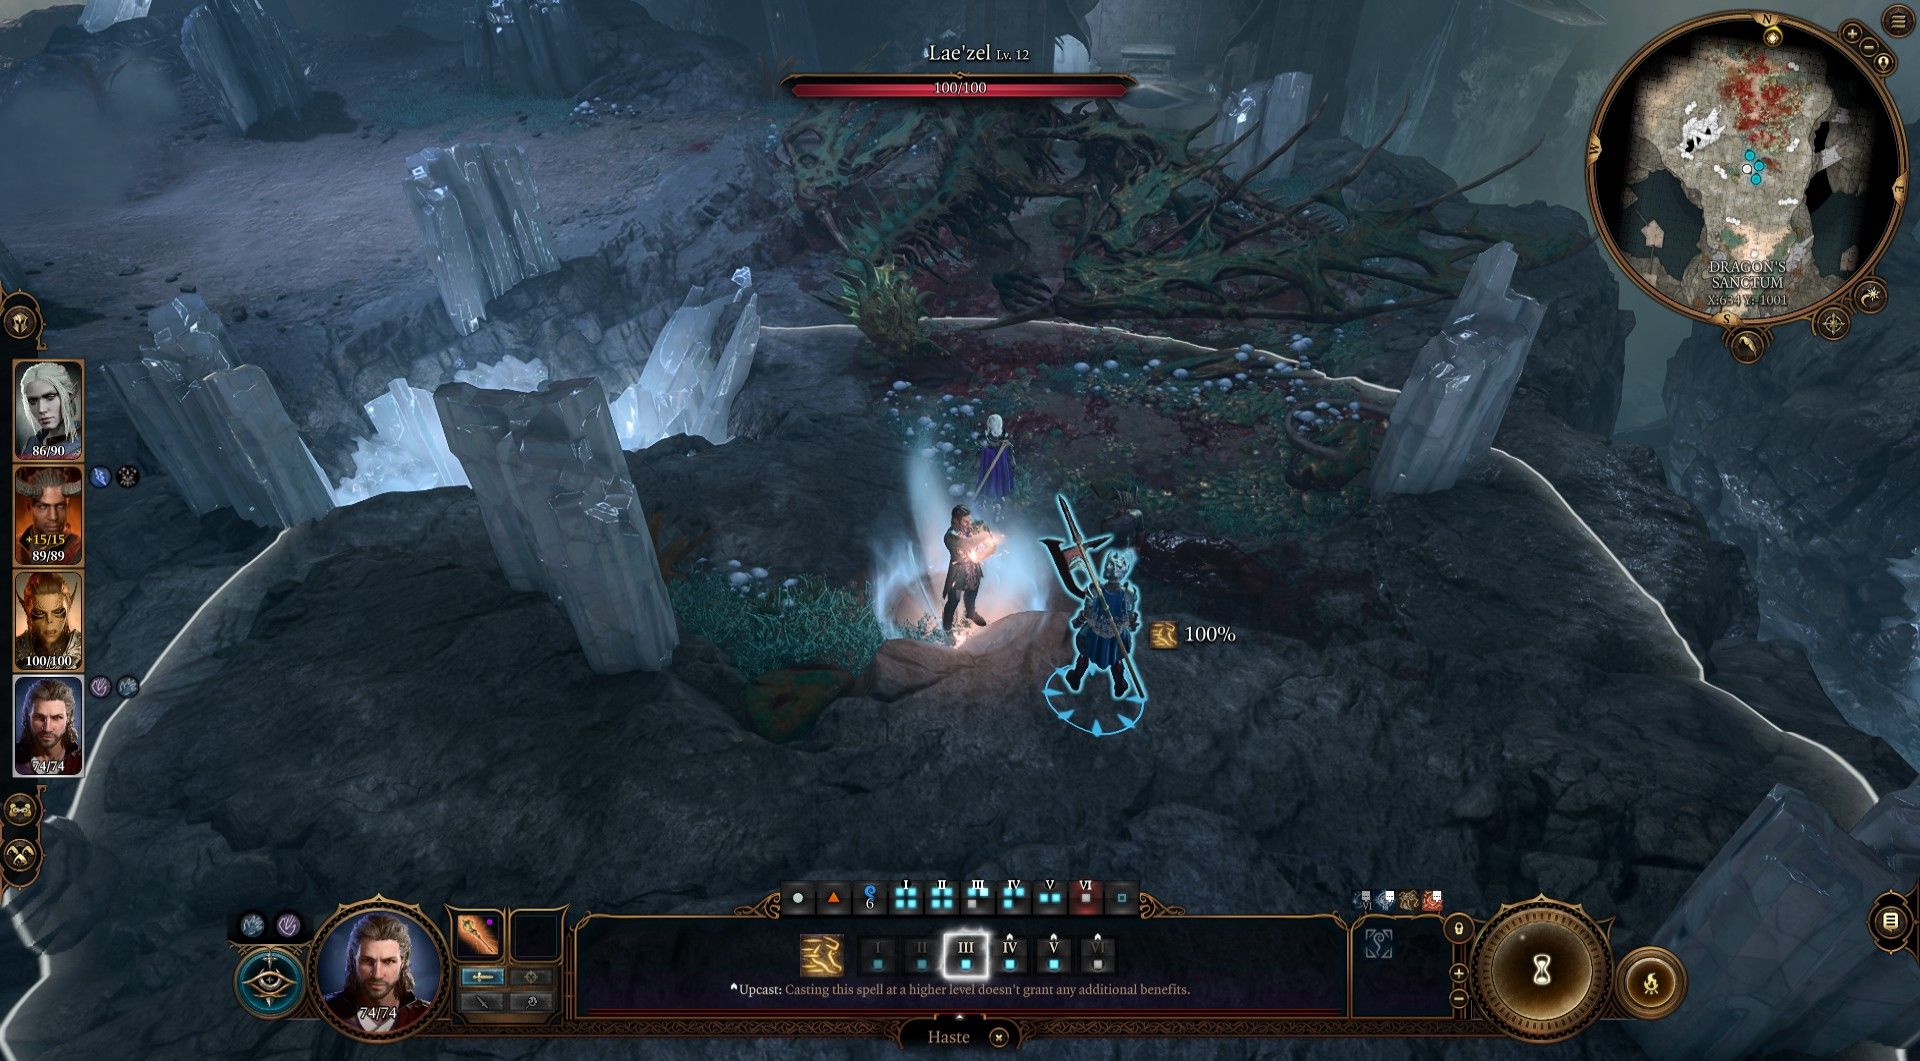
Start by casting Haste on a fighter (Lae’zel) with Polearm Master.
On Turn One, we struck Ansur just enough to prevent him from triggering his hoarding energy move while setting up:
- Hunter’s Mark with the Fighter wearing the Grymskull Helm then attacking without Action Surge (added damage)
- Brand The Weak: Slashing with the Amulet of Branding equipped by Wyll (for vulnerability to the fighter’s weapon)
- Sing with the sword Phalar Aluve (for Advantage) equipped by our cleric
On Turn Two, the fighter attacked the full amount of times, action surged, and attacked an additional three times, followed by the Polearm Strike for a total of ten attacks in Turn Two for Lae’zel alone. This dealt 168 damage on her turn.
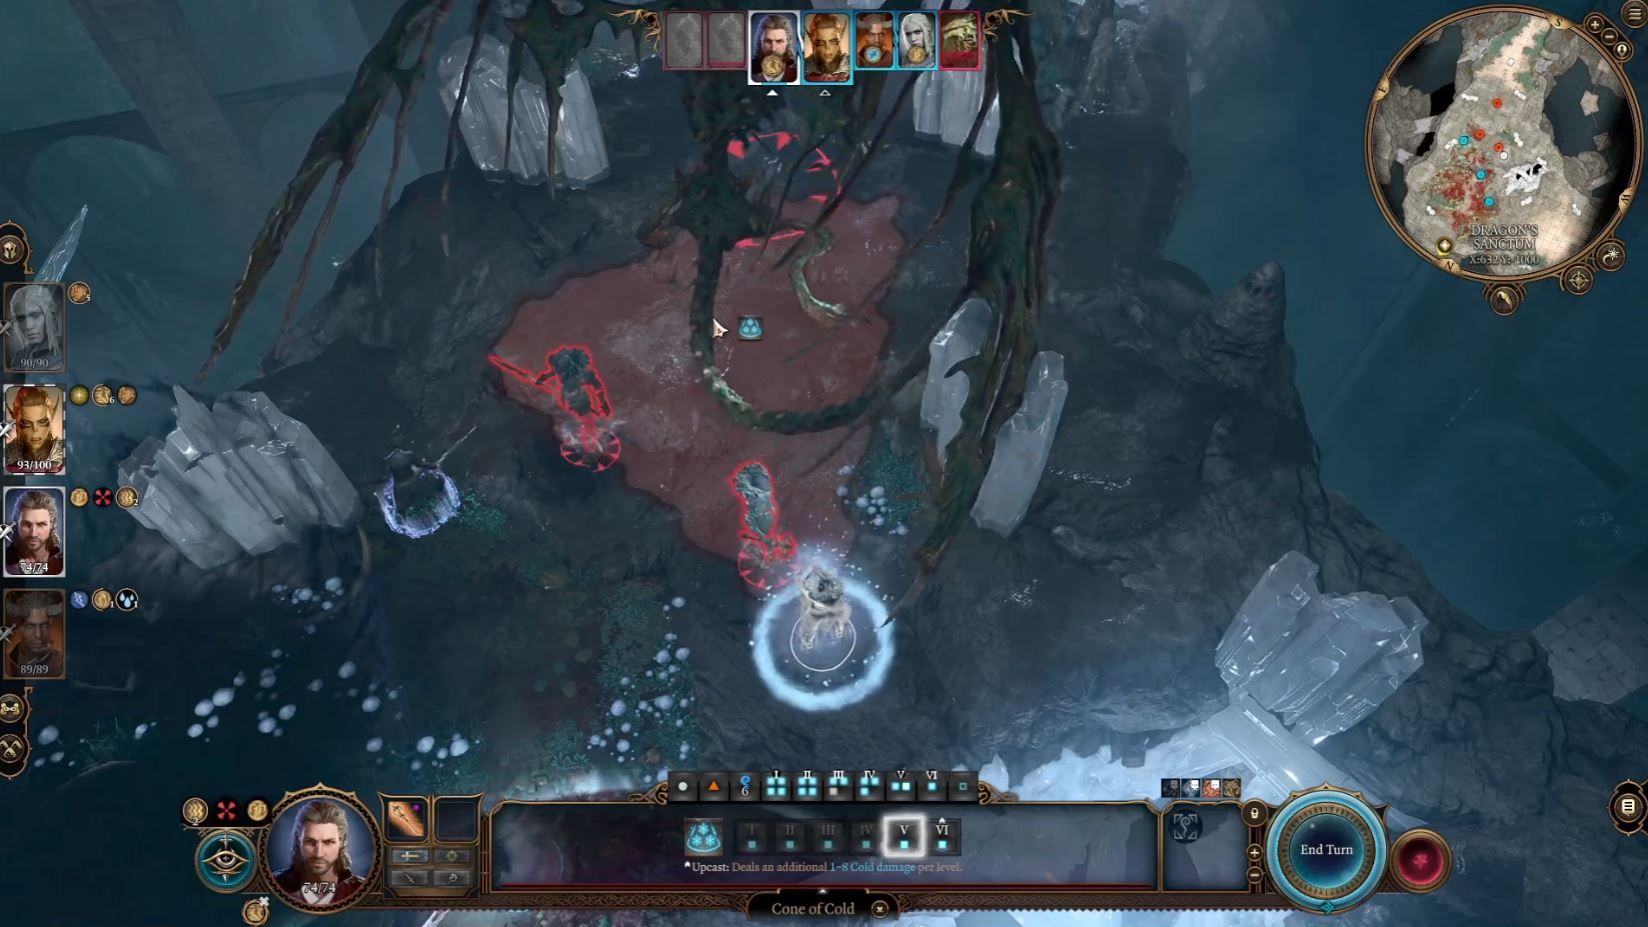
Our spellcaster, wizard Gale, used Cone of Cold to strike both the myrmidons and Ansur while also turning the ground to ice (preventing Ansur from electrifying the ground) before Misty Stepping Away.
This strategy
depends on the spellcaster who cast
Haste
never being struck or losing Concentration.
Keep them in the back and move them around to avoid the myrmidons.
The cleric used a high-level cast of Guiding Bolt for extra Advantage, while Wyll cast strong spells like Hunger of Hadar (to inflict Blindness) and Eldritch Blast.
At the end of the turn, Ansur began charging up his energy and had a remaining health of 26HP.
On the beginning of the next turn, Ansur was defeated with the spellcaster’s Level 5 Artistry of War to ensure all strikes hit and closed out Ansur’s remaining health pool, despite his resistances.
The key takeaways from this strategy are:
- Use your first turn to deal some damage but set up for a major Turn Two damage-dealing
- Prioritize increasing damage output and gaining Advantage on attacks
- Dedicate your entire second turn to dealing as much damage as possible; use all feats and spells at hand
- Use sure-fire and strong spell attacks when Ansur begins charging to knock him down
Once Ansur is gone, the myrmidons could be dealt with accordingly and at a lackadaisical pace with a shiny, new achievement.
Baldur’s Gate 3: House Of Hope Complete Walkthrough
Discover our walkthrough for navigating Baldur’s Gate 3’s House of Hope.


