When you first unlock a civilization in Hollow Knight: Silksong, it comes with a wish board that lets you pick various quests that can provide awesome rewards in return. While some of these quests simply ask you to defeat certain enemies, others can send you on a long hunt to find a specific item or NPC.
The Wailing Mother is one such request, and it asks you to find and get rid of Broodmother in The Slab. Broodmother can be quite a challenging boss, and you have to prepare before you head over to challenge her.
How To Find Broodmother
Broodmother is one of the bosses that isn’t initially spawned on the map, and there are quite a few steps to spawn her. Here’s everything you need to do:
- Activate the Songclave area by freeing the bell in the First Shrine on the top right side of Choral Chambers.
- Unlock and explore The Slab biome, which you can enter from the bottom left of Choral Chambers. However, to properly explore this place, you’ll need to find the key of Apostate above Bilewater.
- After you’ve received The Slab’s map and explored the area a bit, you can return to Songclave and find The Wailing Mother wish on the wishboard.
If you still don’t have this wish, we recommend properly exploring The Slab and getting all three keys there.
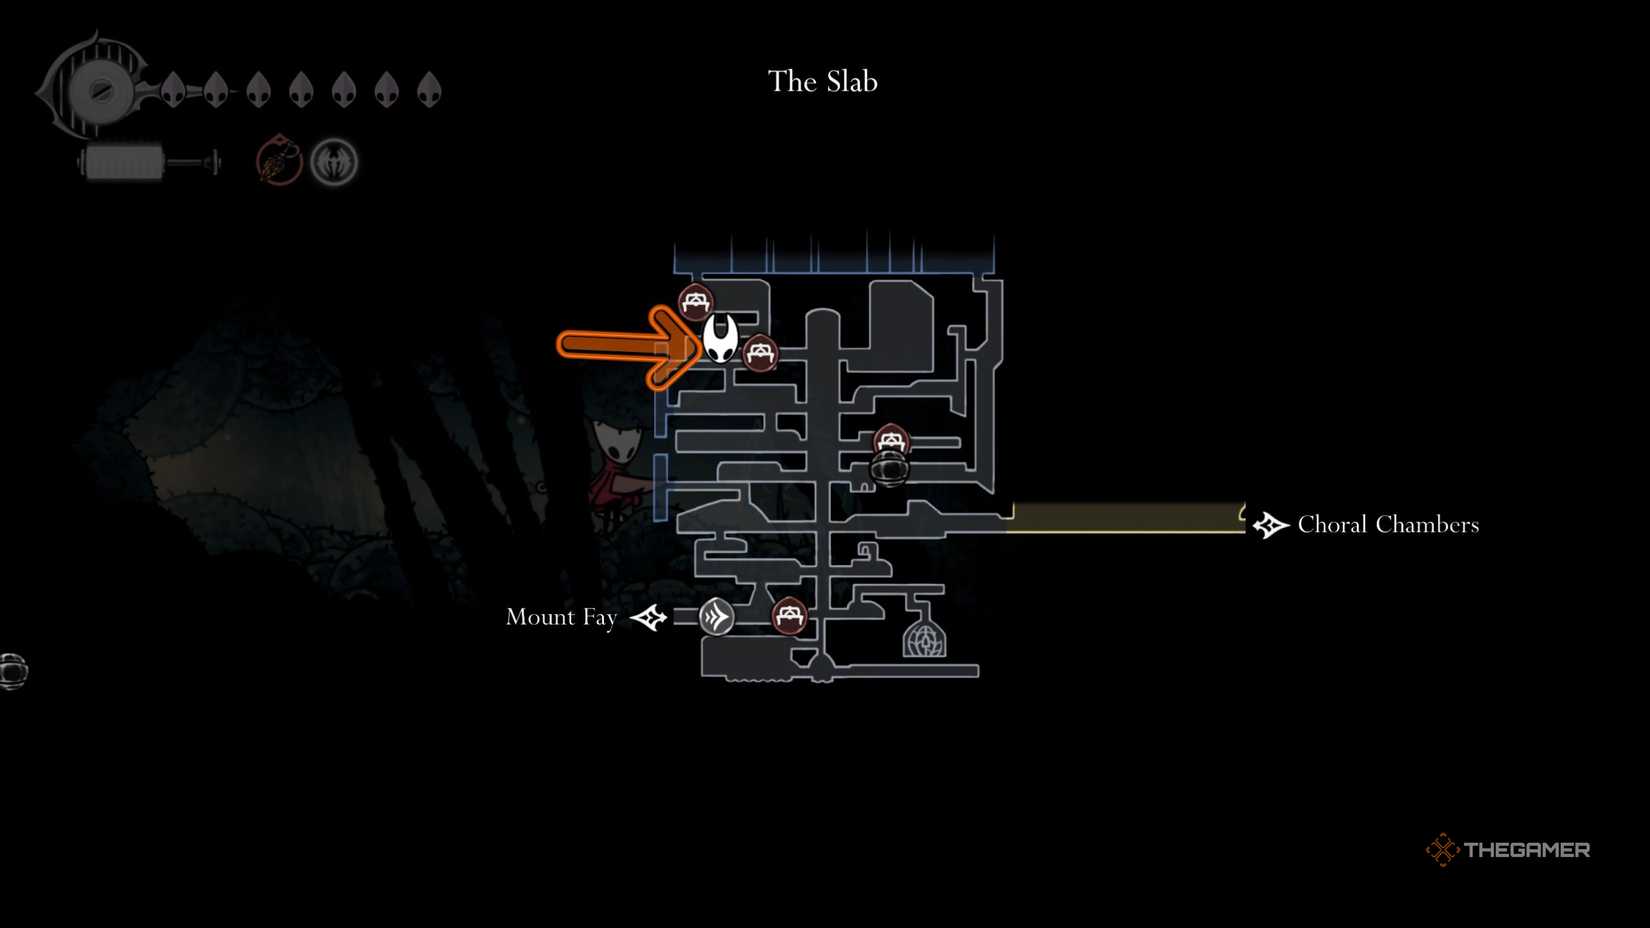
Once you’ve taken the wish, head back to the bench in the middle of The Slab area towards the right. You can either get to it through the Bellway and then climb up or enter the area through Choral Chambers. Exit the room with this middle bench from the left and climb up for a bit to find the traces of Broodmother.
Once you track these, you can follow the aura to the top left of The Slab where you’ll encounter another bench. Sit on this bench to make a save and then keep going left, where you’ll find a cave entrance. Go through this cave and you can battle the Broodmother at the end.
How To Beat Broodmother
While there are many unique fights in Hollow Knight: Silksong, very few of them have mechanics that can stun Hornet. However, Broodmother is one such fight since one of her attacks can immobilize you for a while. Before you even reach Broodmother, you also have to first defeat three waves of enemies.
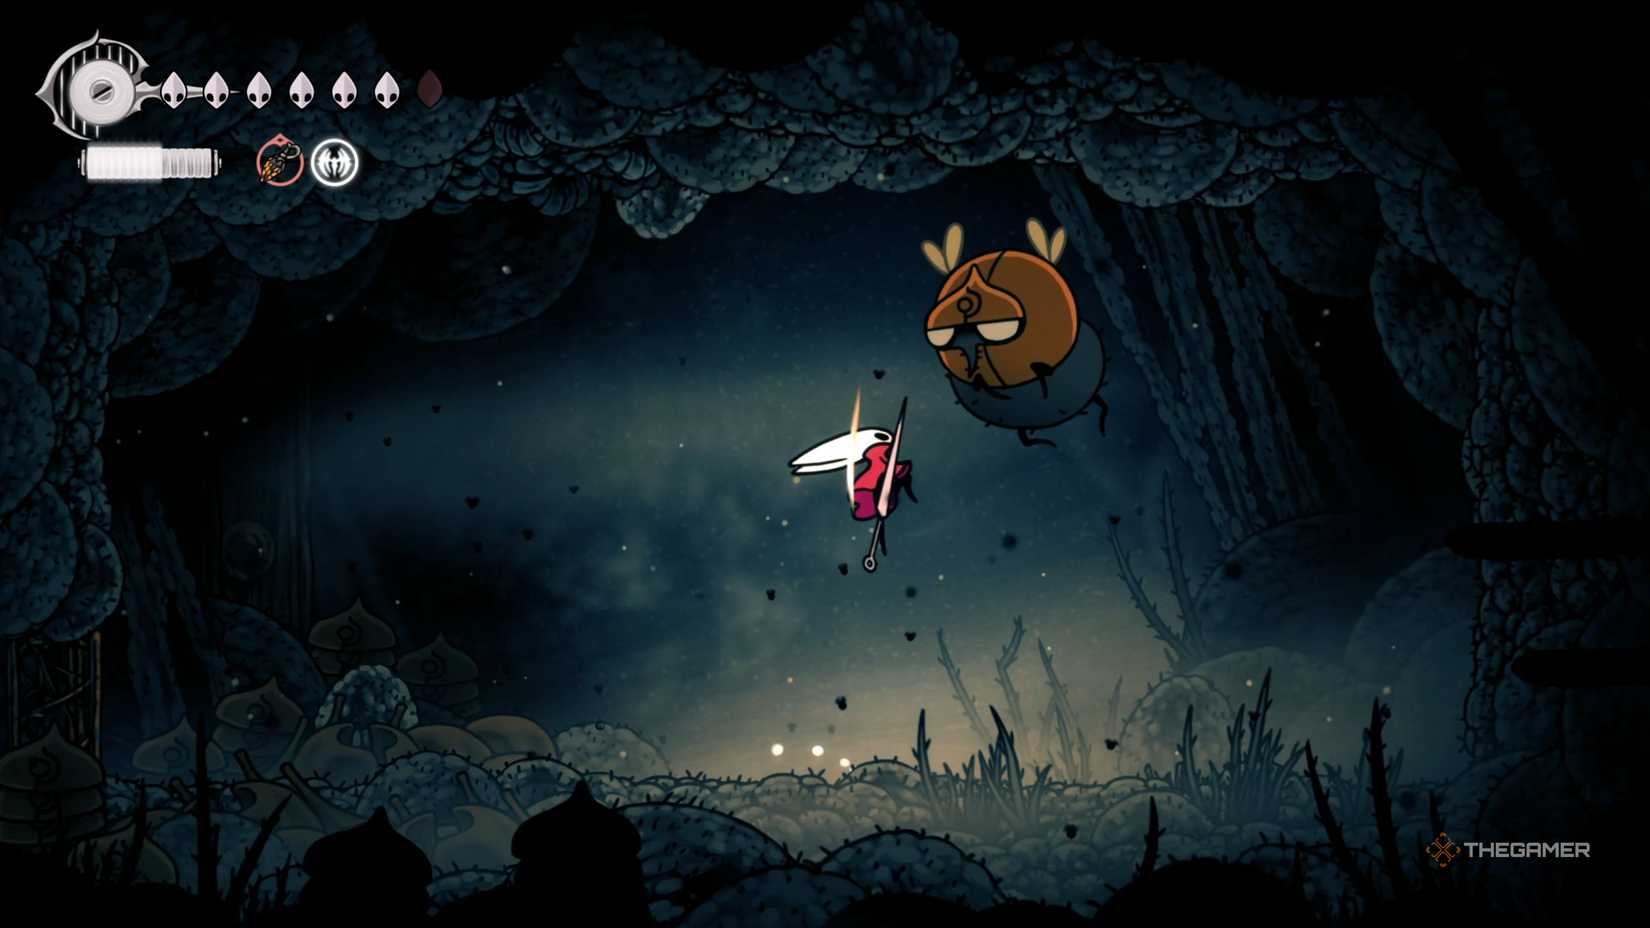
The first wave is just four one-shot enemies that explode after being defeated, which is easy. However, the second and third waves spawn a mob from The Slab alongside these exploding enemies. If you want to have a chance at winning this fight, you have to get through the first three waves without taking damage more than once.
For the third wave with the bigger mob, it’s recommended to focus on the exploding enemies first and then deal with the mob.
The Broodmother spawns after you get past these three waves and instantly starts launching a flurry of attacks. Here’s what you can expect from her attacks:
|
Attack |
Wind-Up Tells And Attack Description |
Suggested Counters |
|---|---|---|
|
Dash Attack |
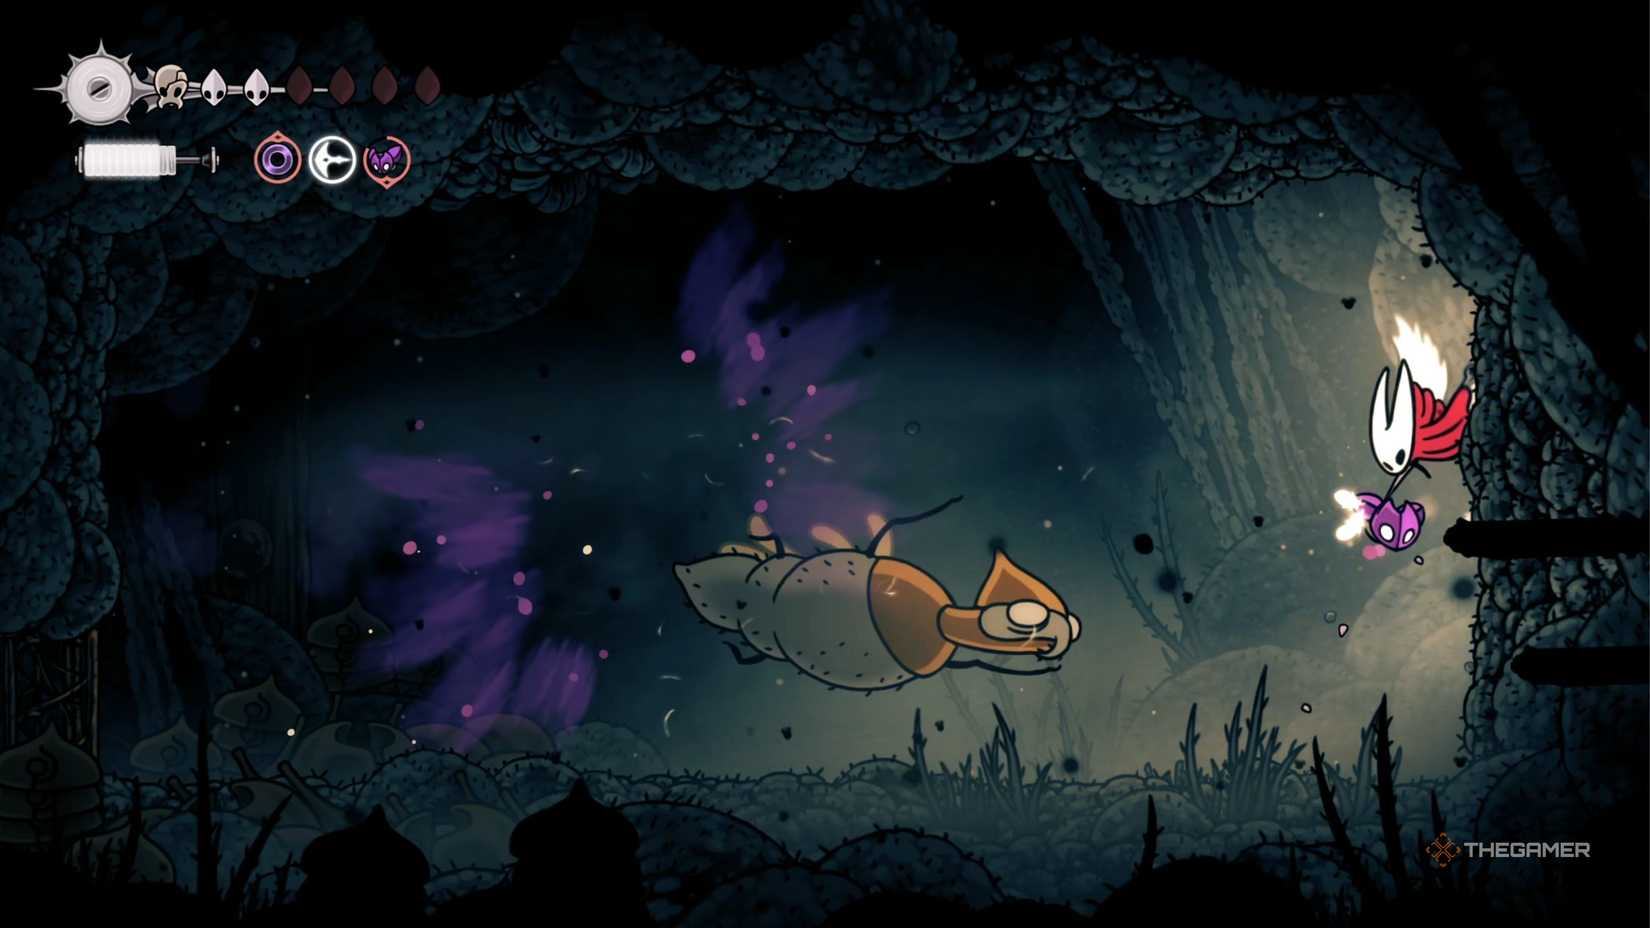
Before the boss performs this attack, she’ll wave her tiny arms in the air for a little while, giving you ample time to react. In this attack, the Broodmother throws her body across the battlefield and lands on the ground. It can and usually is performed multiple times in quick succession. |
To dodge this attack, you should hop on the wall and get high up on the opposite side of Broodmother’s location since she dashes close to the ground here. After she dashes, you can jump on top of her and constantly perform downward strikes. If she performs this attack again, simply dash to the other side with her and continue your strikes. |
|
Mob Spawn |
When the boss is about to spawn a mob, it pulls its stomach inside and charges up for a bit. After the charge-up, the boss spawns the one-hit exploding mob. |
It’s highly recommended to focus on this attack and defeat the mob as soon as it spawns before it moves away. |
|
Immobilize |
For this attack, the Broodmother pulls her body back while her stomach sticks out for a bit. While this might look similar to the Mob Spawn, she instead throws some goop on the ground during this. If you get hit by the goop, you get immobilized until you perform a few attacks. |
To avoid this attack, you can simply climb the wall on the opposite side as it’ll also help you dodge the Dash Attack that usually comes right after. |
|
Slam Attack |
For this attack, you’ll first see the boss pull herself towards the ceiling and then stay there momentarily. After the above wind-up tell happens, Broodmother constantly slams the ground and the ceiling alternately while moving across the battlefield. |
To dodge this attack, get close to the location where Broodmother is about to slam the ground and then dash through it once she slams the area and goes away. |
It’s recommended to get a total of three needle upgrades before this fight or it’ll take far too long.
The main difficulty in Broodmother’s fight comes from the small battlefield where you don’t have a lot of space to move. Moreover, the fight happens in two phases with the second phase adding the Slam Attack mentioned above. The boss roughly goes into the second phase after losing 40 percent of its HP.
One of the most important things in this fight is to get hits when the Broodmother is performing the Dash Attack. She doesn’t have a lot of time between her attack and this is the only one where you can easily hit her back without taking any damage. You can also use certain tools to aid you in the battle.
We found the Pollip Pouch and Cogfly combination highly effective as it constantly deals damage to the boss.
After defeating Broodmother, you can finish the wish by submitting her eye back at Songclave, giving you a ton of Rosaries.


