Once you’ve activated the Abandoned Post in Borderlands 4, you’ll be able to head north and visit the rest of the Fadefields. There, you’ll meet the Outbounders, a plucky band of rebels with the singular goal of escaping Kairos and its tyrannical ruler. Your first mission with them, Down And Outbound, introduces you to the crew and the threats they face.
Down And Outbound is divided into three primary sections that you can finish all in one go, or divide up between side quests. There are also optional collectibles to get for bonus lore!
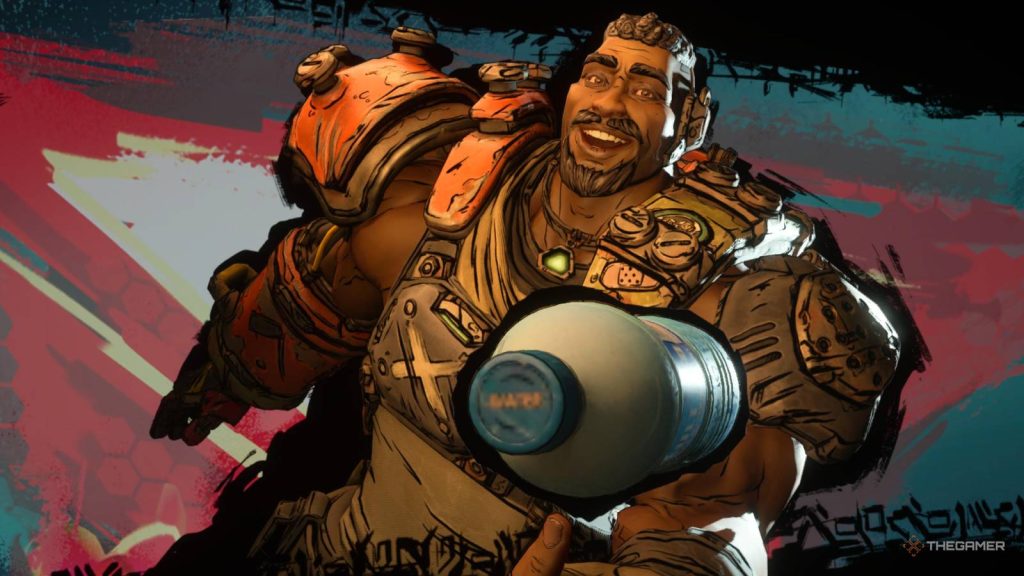
How To Meet The Outbounders
After defeating Splashzone and powering up your first safehouse in the Coastal Bonescape, Claptrap will send you north to make contact with the Outbounders. There’s still plenty to do in the starter area, including grinding for gear, and there’s no time limit either, so you don’t need to go until you’re ready.
That said, you can always come back to the Coastal Bonescape to tie up loose ends later. It’s entirely up to you whether you want to push ahead or take your time.
The only way through the cliffs to the rest of the Fadefields region is past the abandoned town of Plungeford, to the north. This is also where you’ll go to track down the killer if you undertake the Meat Is Murder side quest. The town is now home to Rippers, so be ready to fight your way through when you go.
Climb the wooden scaffolding at the rear of the town; at the top, you’ll see a path through the cliffs that takes you to The Howl, a new area. From here, it’s just a short walk northeast to The Launchpad, the Outbounder’s headquarters.
Fighting The Order
When you first arrive at The Launchpad, it will be under attack by The Order. You need to defeat all the enemies in the town square before you can proceed. If you’re using elemental weapons, try to cycle through them to match the weaknesses of the enemies you’re fighting; between humans and Synths, The Order uses Shields, Armor, and Flesh in roughly equal measure.
Also remember to keep an eye on the sky; Wardens and Witnesses can fly, so if you’re only watching the ground troops you might get ambushed from above.
When the enemy is driven off, Rush will invite you into the bunker below; enter via the gate under the bridge to the south and make your way through the tunnels to meet him. After the cutscene, the village’s vending machines and other services, including a bank and respec station, will be available. Take the ladder near Rush back to the surface and talk to Conway to unlock vehicle travel as well.
How To Defeat Spymaster Horace

Your next task is to travel northeast to Horace’s Oversight and defeat the Spymaster who dwells there. This is a good point to explore the new area and do some side quests, but again, you also have the option of going straight along the main story. Your new vehicle will make it easy to get to the facility quickly; it’s the big white square on the map.
With all main quests, if you get lost, press up on the D-pad to have ECHO-4 show you the best path to your destination. It takes obstacles and roads into account, too! Just remember that it only works for the quest you’re currently tracking.
Where To Find All The Contraband
When you arrive, Rush will ask you to recover any contraband that you find inside. This is optional, but each item you get will unlock a little bit of lore about the Outbounders. There’s one in each of the main areas of the facility, so once you find one you can safely move on without worrying about missing others.
- In the entryway, look for an open door to the left of the stairs leading to the covered area that continues to the main entrance. Dice’s Dice are on a crate inside.
- Once you’re inside, you’ll come to a large courtyard. The main path takes you across and to the right, but stick to the left side instead. You’ll find a door that takes you to a corridor and stairs; on the second floor is a hallway with the Lost Hair Products. There’s also a door out to the upper level outside, so you don’t even need to double back the way you came.
- On the roof, wait before jumping into the hatch that leads to Horace’s boss fight. Instead, climb over the railings onto the outer rooftops and go to the opposite side of the building from the hatch. There, you’ll find a red chest and the Victory Cookbook.
- After defeating Horace (see below), take the door on the west side of the room to go back outside. Immediately take a left and follow the exterior of the building to find a garage with Rush’s Novel Collection.
Horace Boss Fight
As you probably guessed from his dialogue, Horace is a lot of talk and not a lot of fight… until he gets possessed by the Timekeeper. During his first phase, he flies around and shoots at you similarly to a Warden. Keep moving and use the room’s ample cover to avoid his shots, while returning fire to deplete his Shield. Shock and Corrosion damage are best for this phase of the fight.
When Horace’s Shield is gone, he’ll become temporarily invulnerable, then drop to the ground and switch to a melee focus. Stay ahead of him to avoid getting hit by his scythe, while healing as needed from his shots.
Being on the ground, Horace is more susceptible to grenades in his second phase. Incendiary rounds are the best damage type to use against him once he switches to melee.
How To Recover The Bolt Parts

When you beat Horace, collect his loot; the quest will progress when you get his Bolt (highlighted in teal, unlike the other items he drops). Conway will direct you southeast, to the Wreck of the Nostalgia, to get parts to repair the Bolt. There might be some Order stragglers on the way; you can either finish them off or outrun them on your speeder.
At the wreck, fight the Rippers guarding the area and collect the parts:
- The casing is on a pile of crates near the entrance.
- The data drive is jammed in a console inside the main hull.
- The cylinder is in a cave past the hull that you can glide to after passing through and collecting the data drive; be careful, as a badass will spawn when you enter!
When you get all three, return to The Launchpad. You can walk, take your vehicle, or use the newly-activated Fast Travel station in the bunker to go there instantly. When you arrive, talk to Rush and Conway in the bunker, then place the parts in the console as instructed. This will conclude the quest, starting your journey to defeat Idolator Sol… and ultimately, the Timekeeper!
Mission Rewards
After finishing the quest, don’t forget to go to your inventory screen to collect your reward. Not only will you get a new Vault Hunter Style to customize your outfit with, but you’ll also get a random weapon of either rare or epic quality. Down And Outbound is replayable, so you can theoretically play through it multiple times to get a new gun each time, but it’s more efficient to just repeatedly fight Horace using the Moxxi’s Encore machine in his lair if that’s the route you want to go.