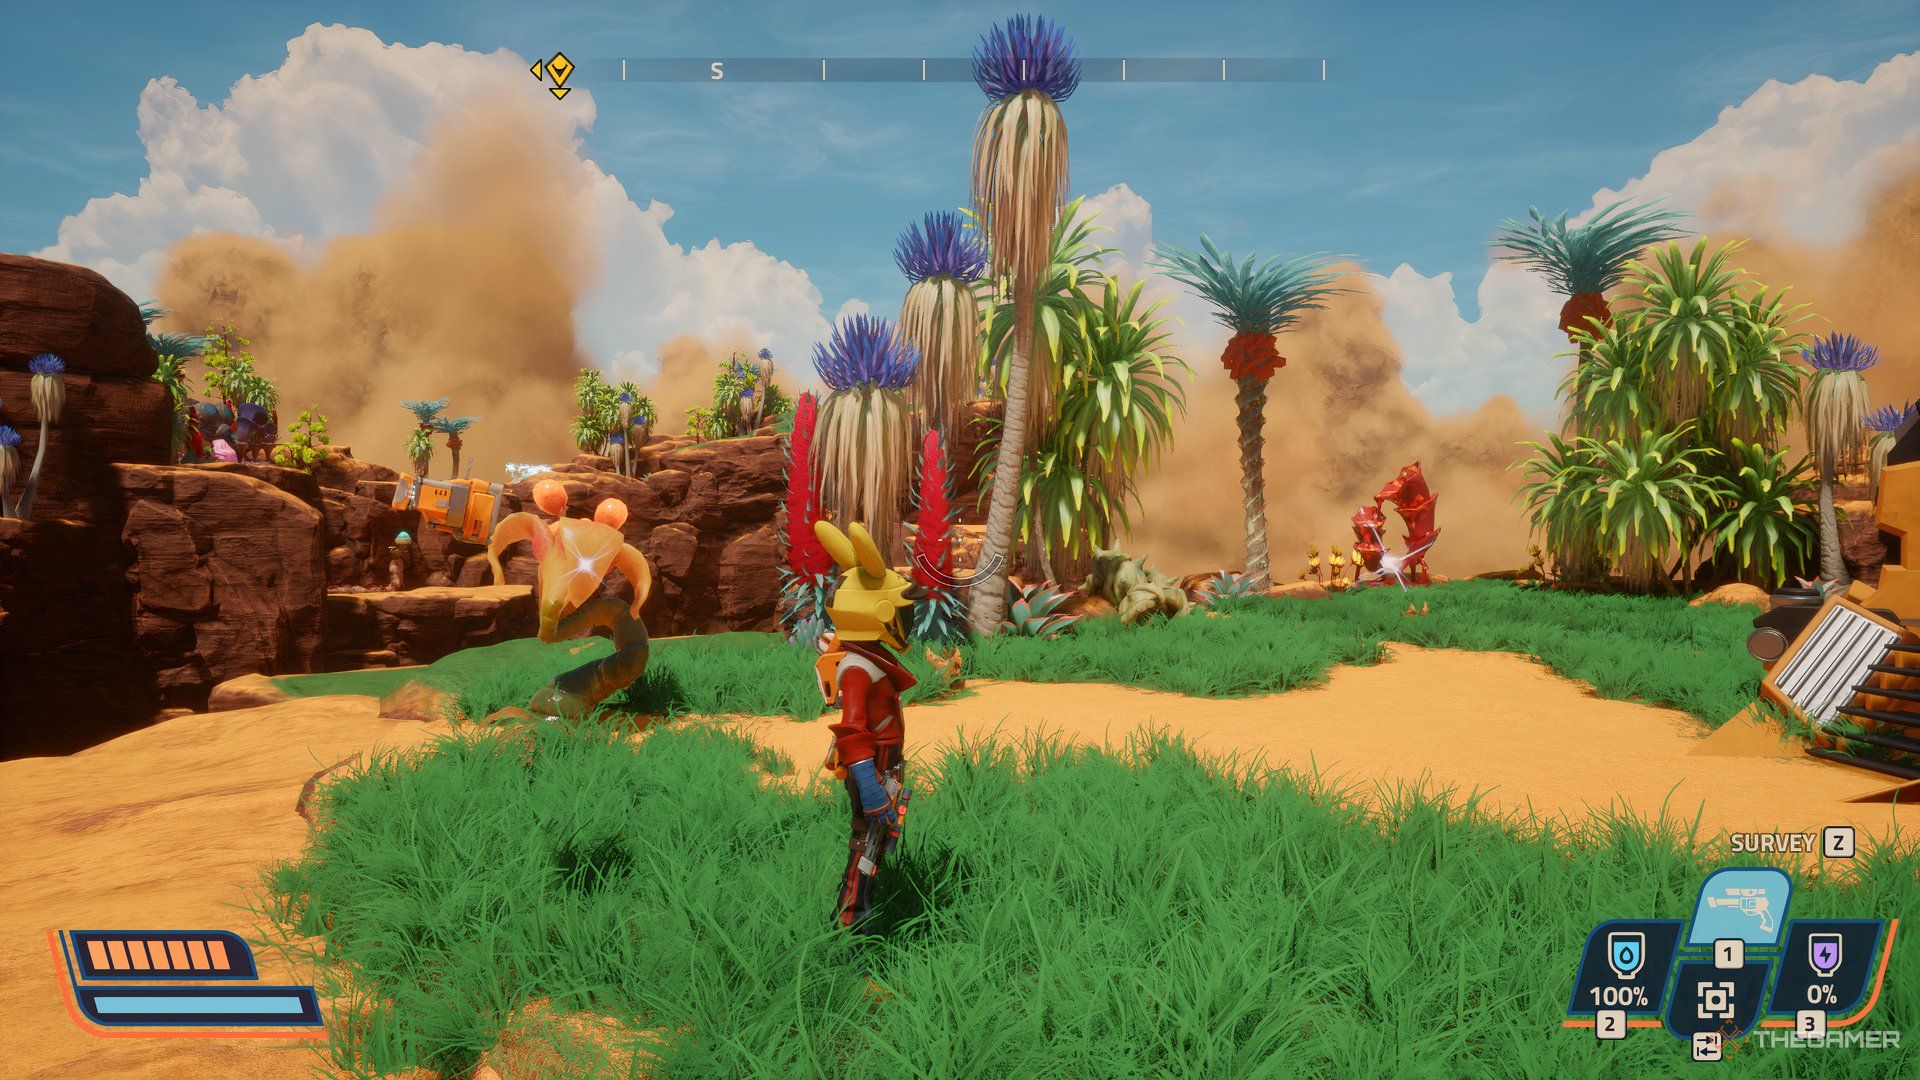
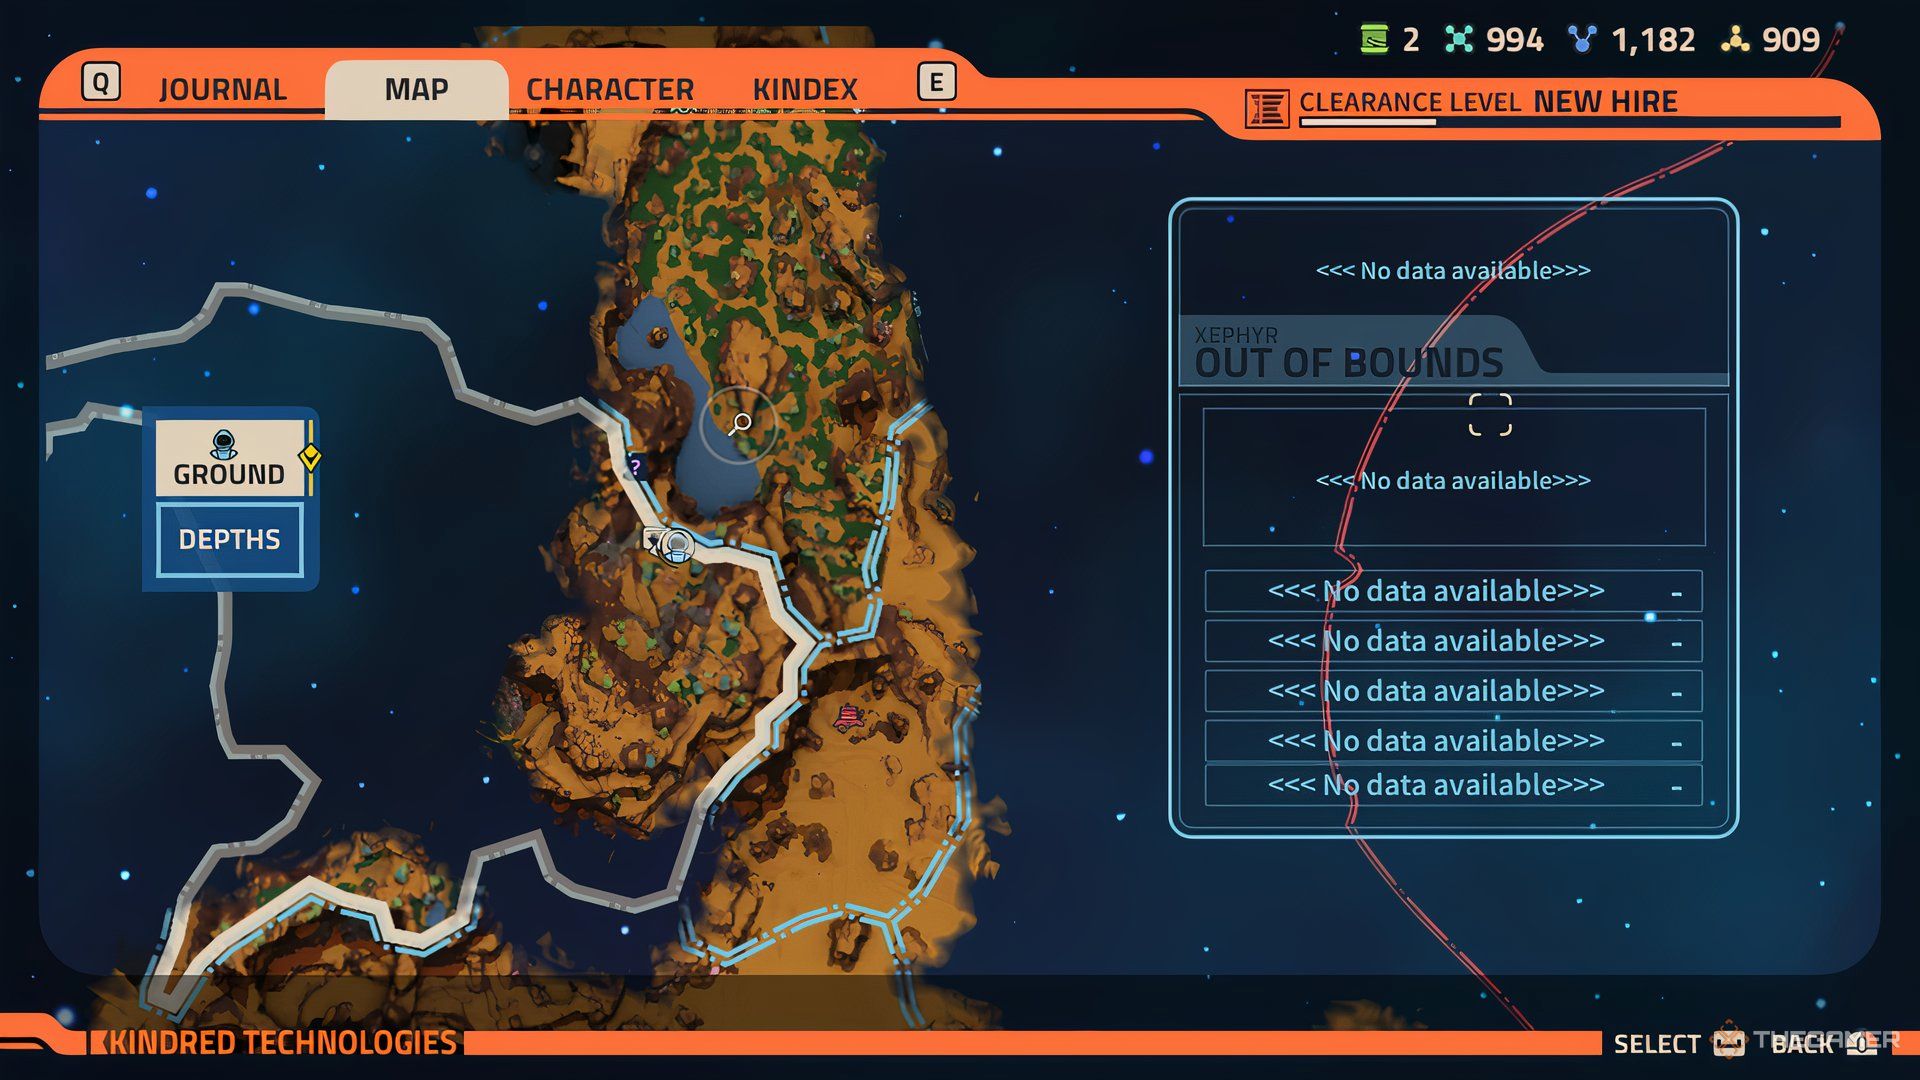
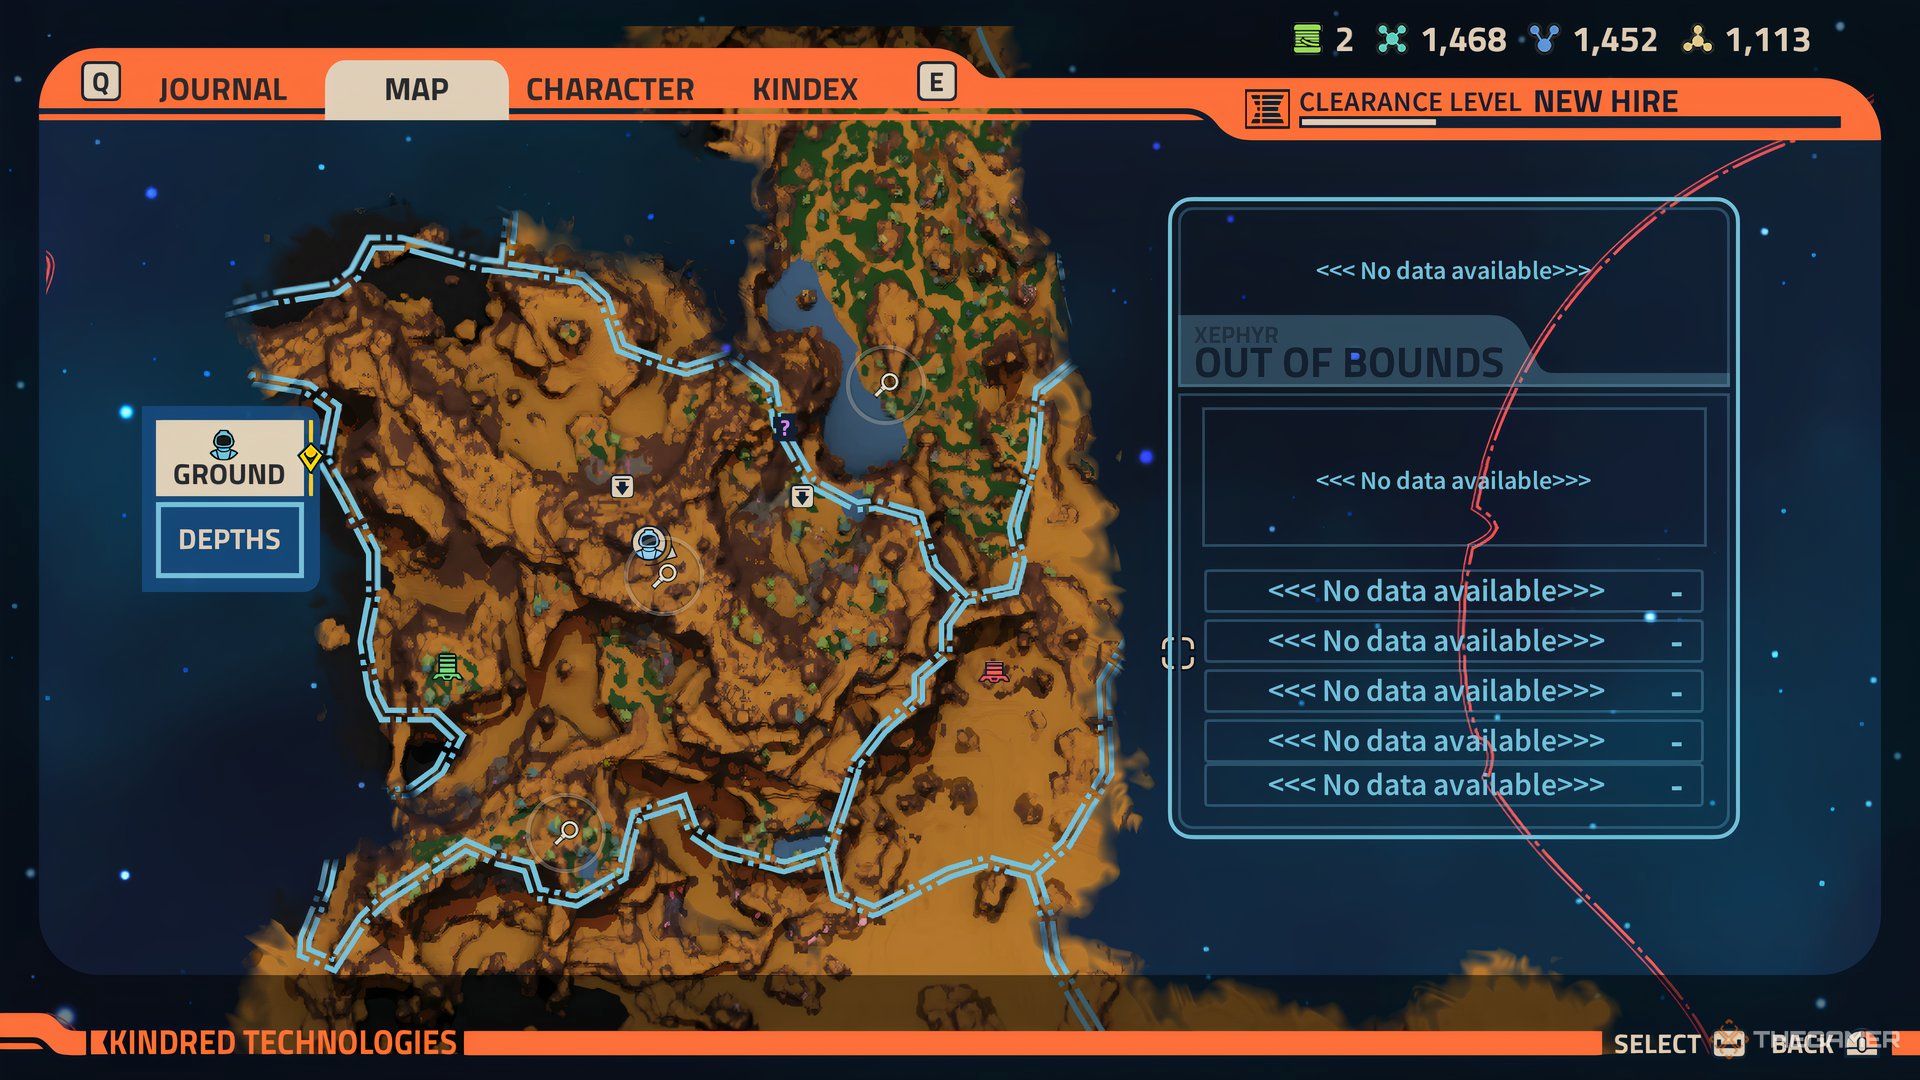
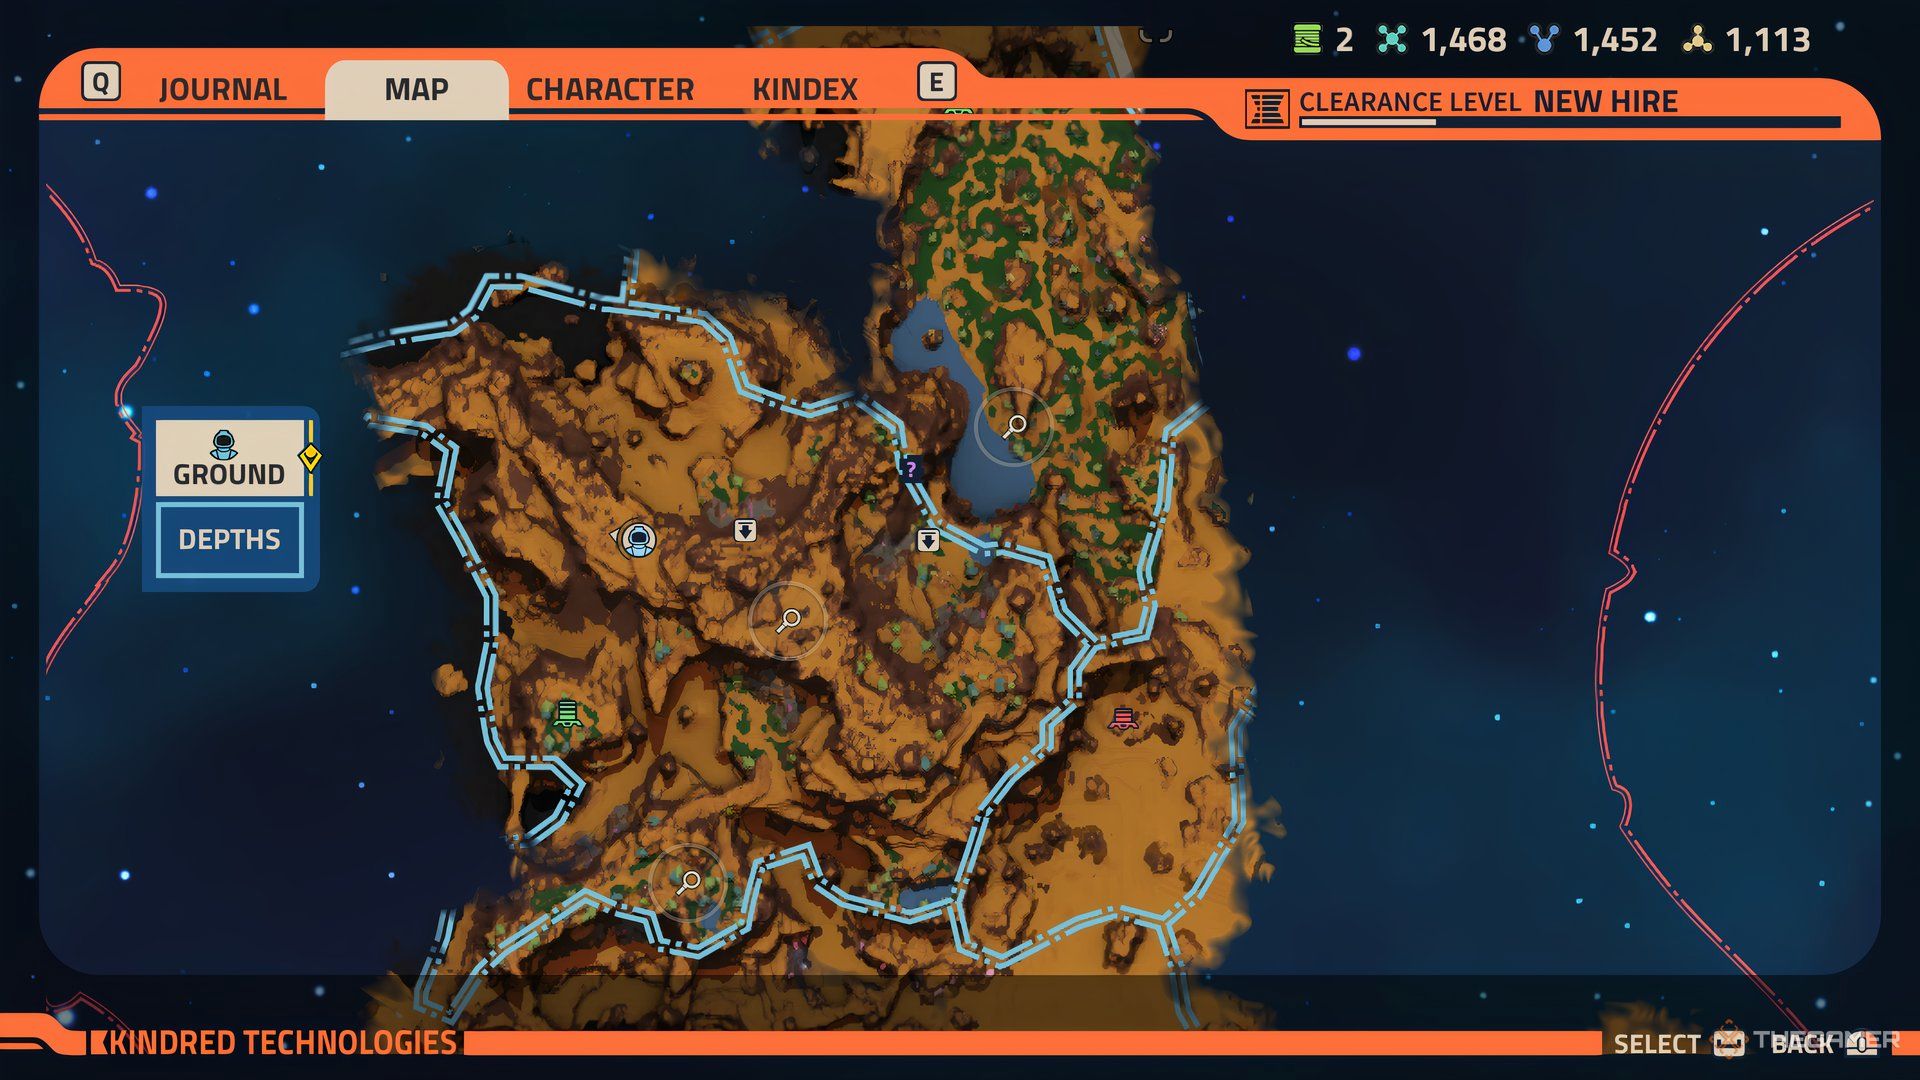
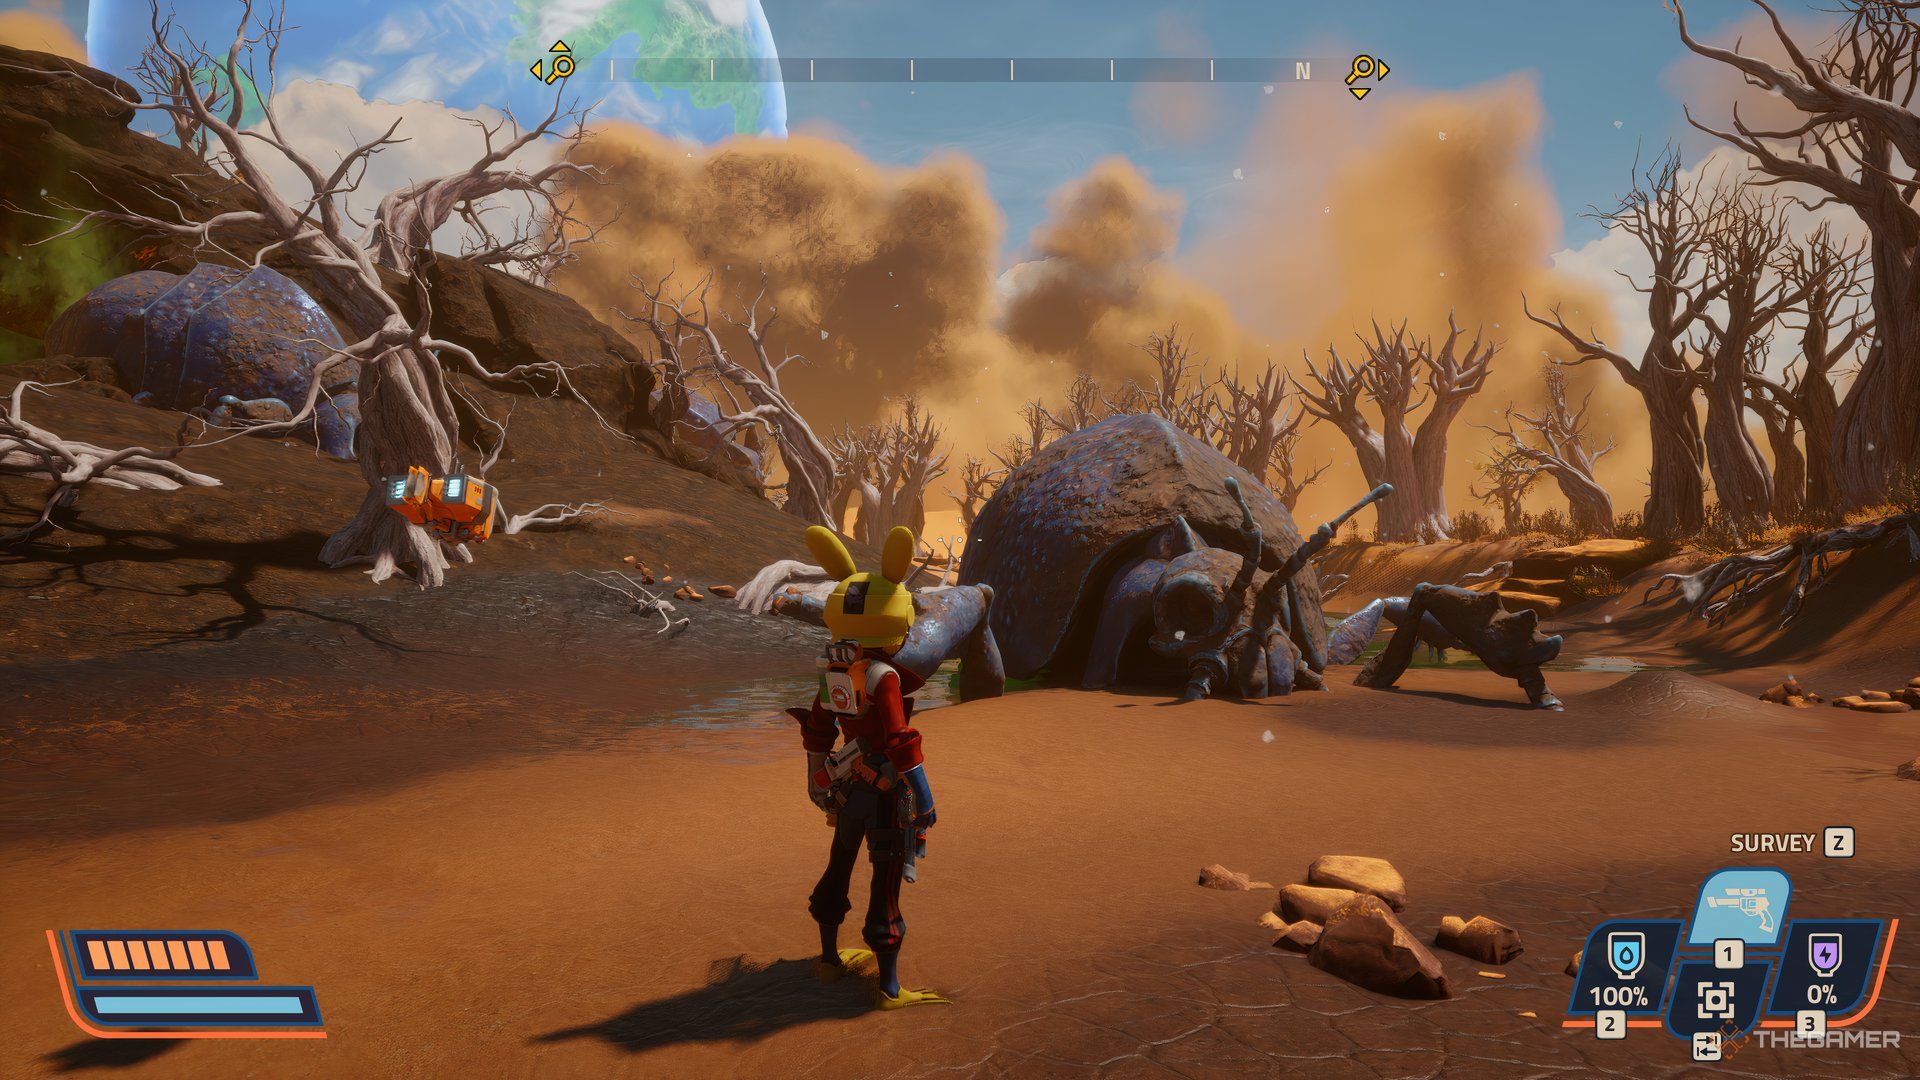
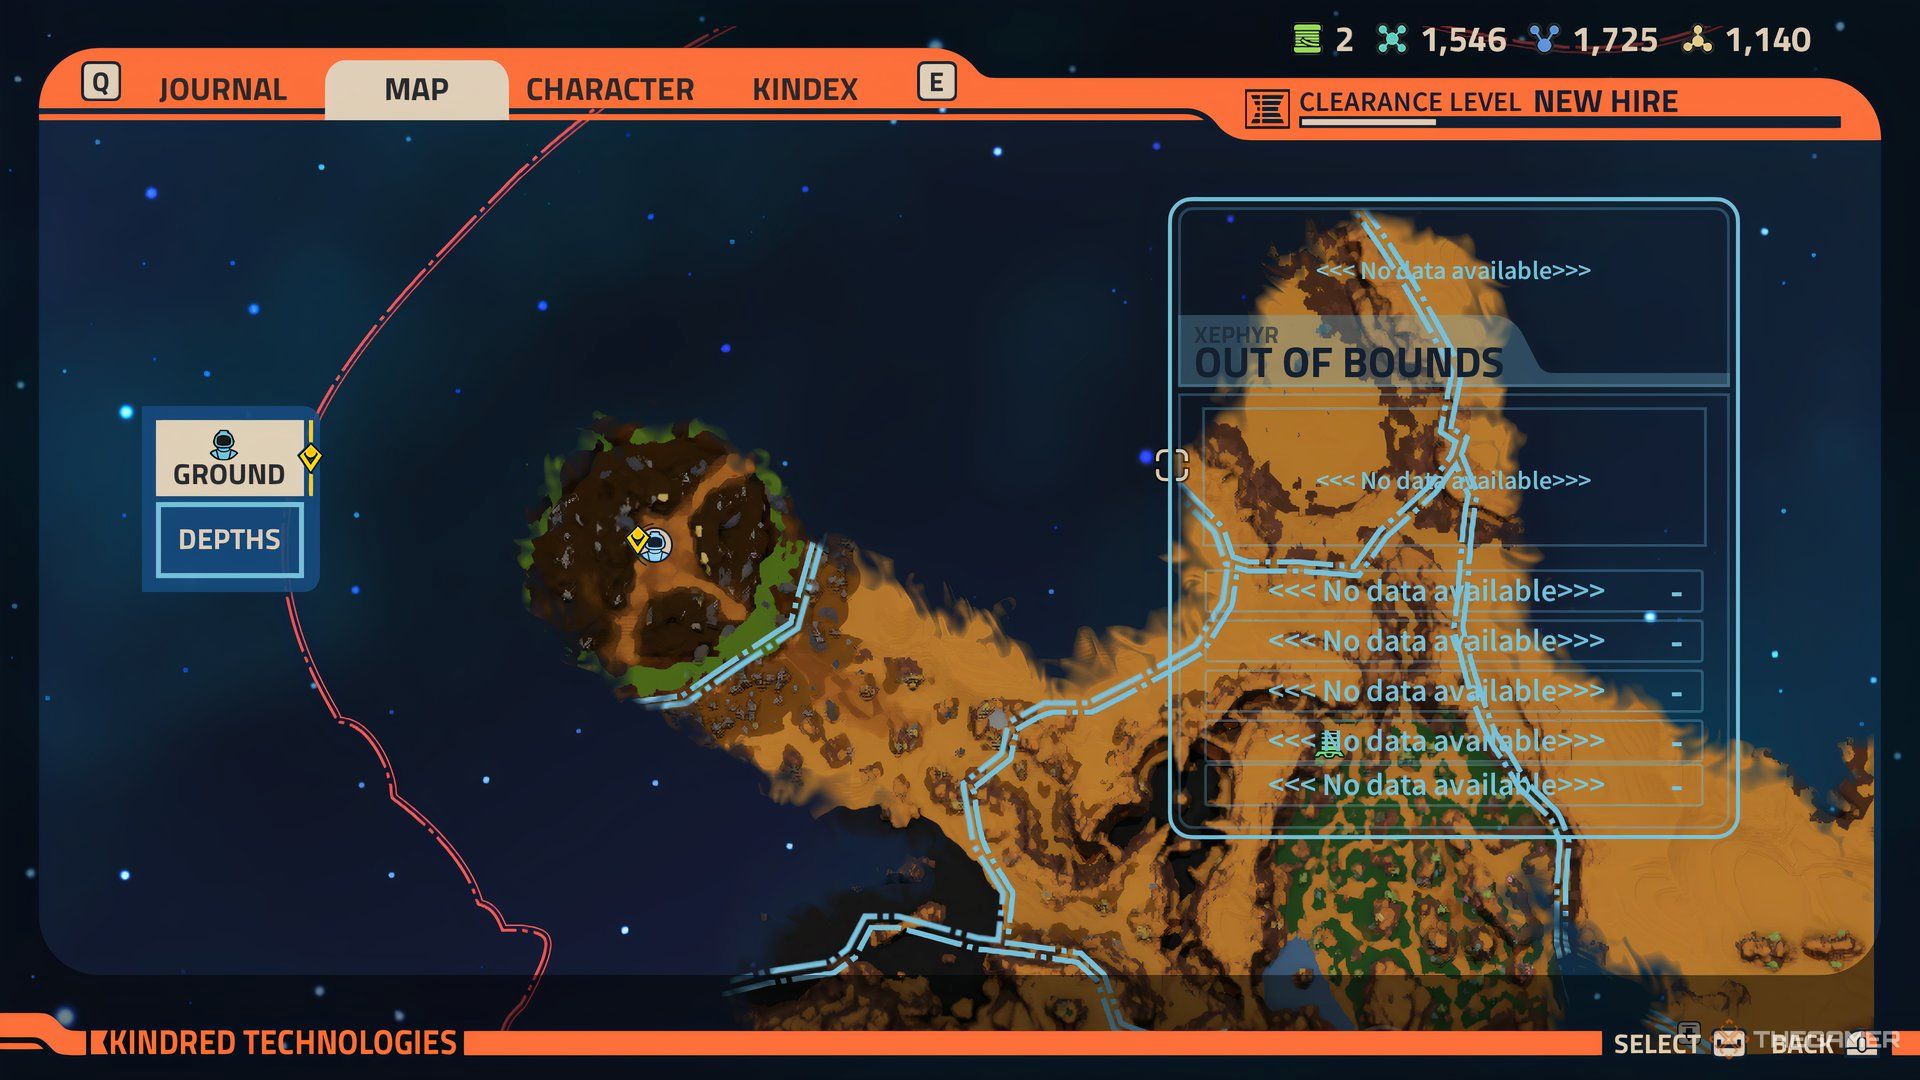
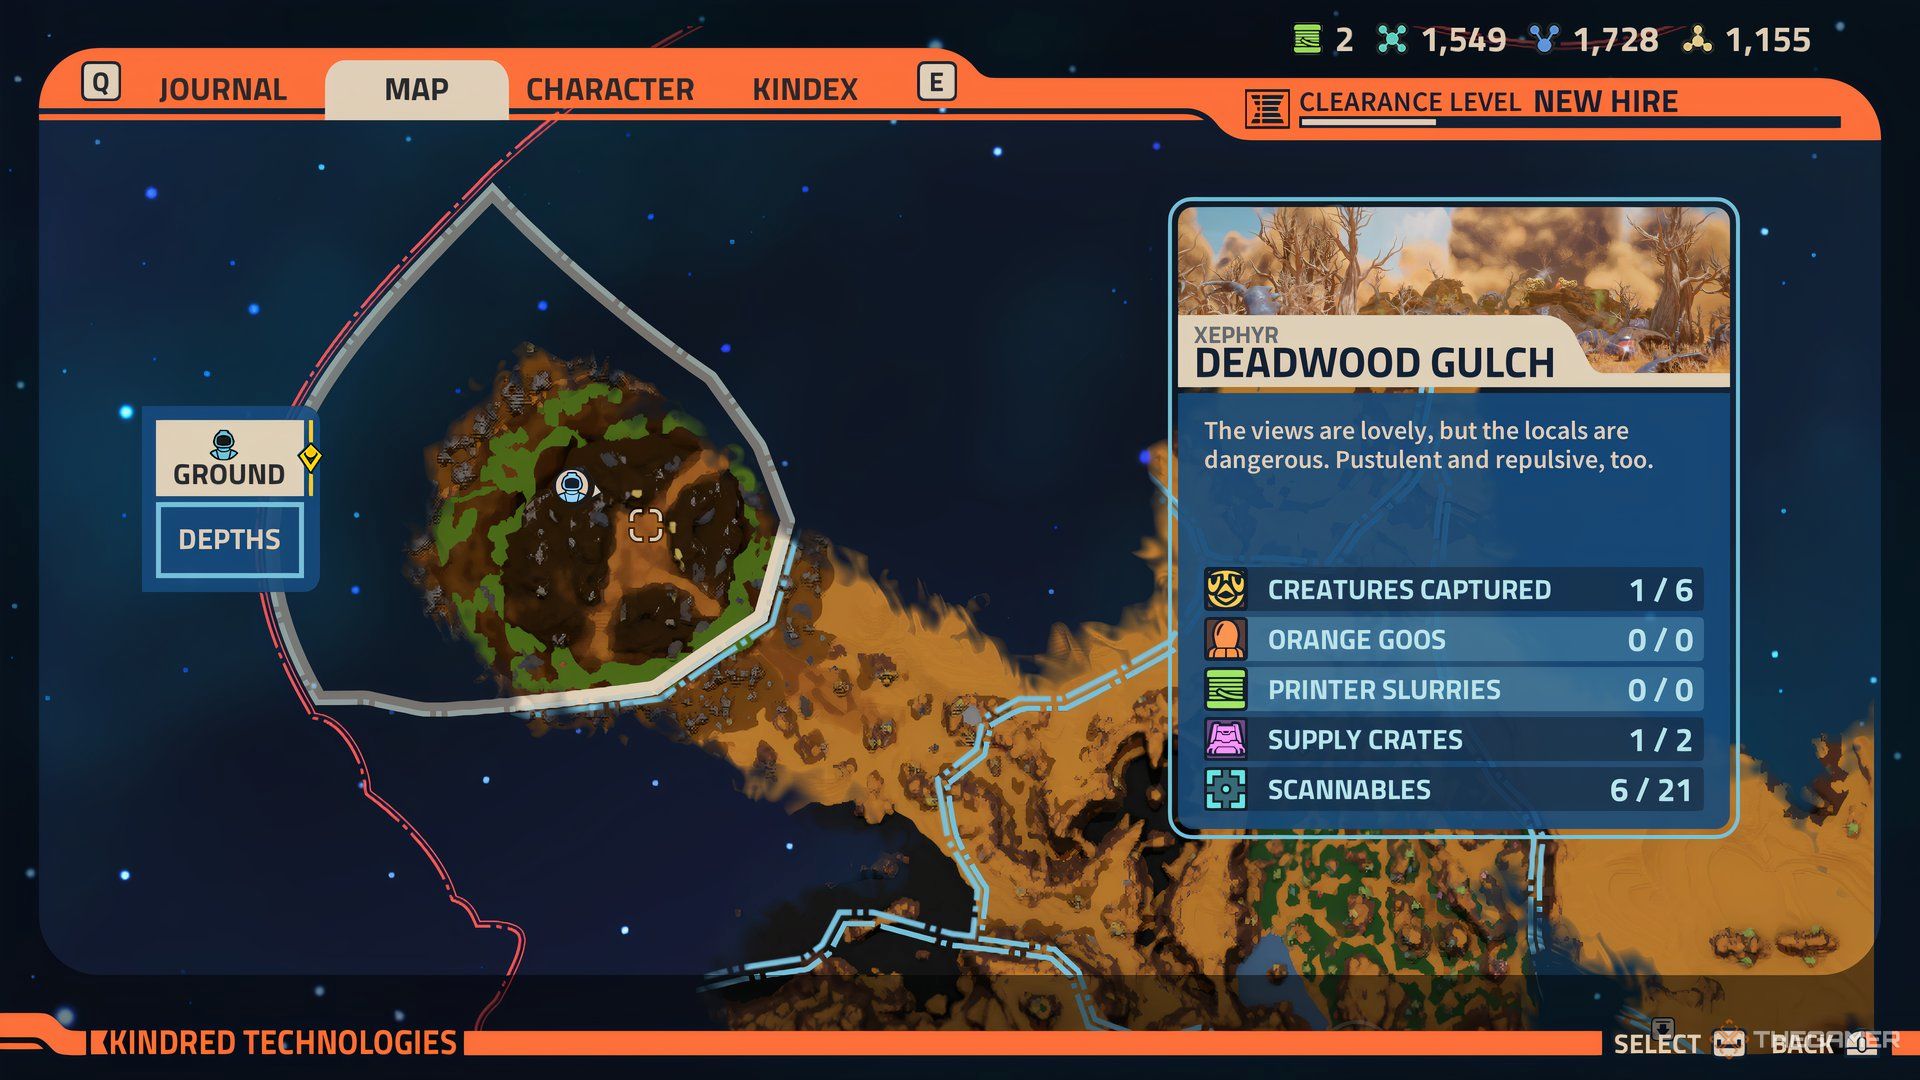
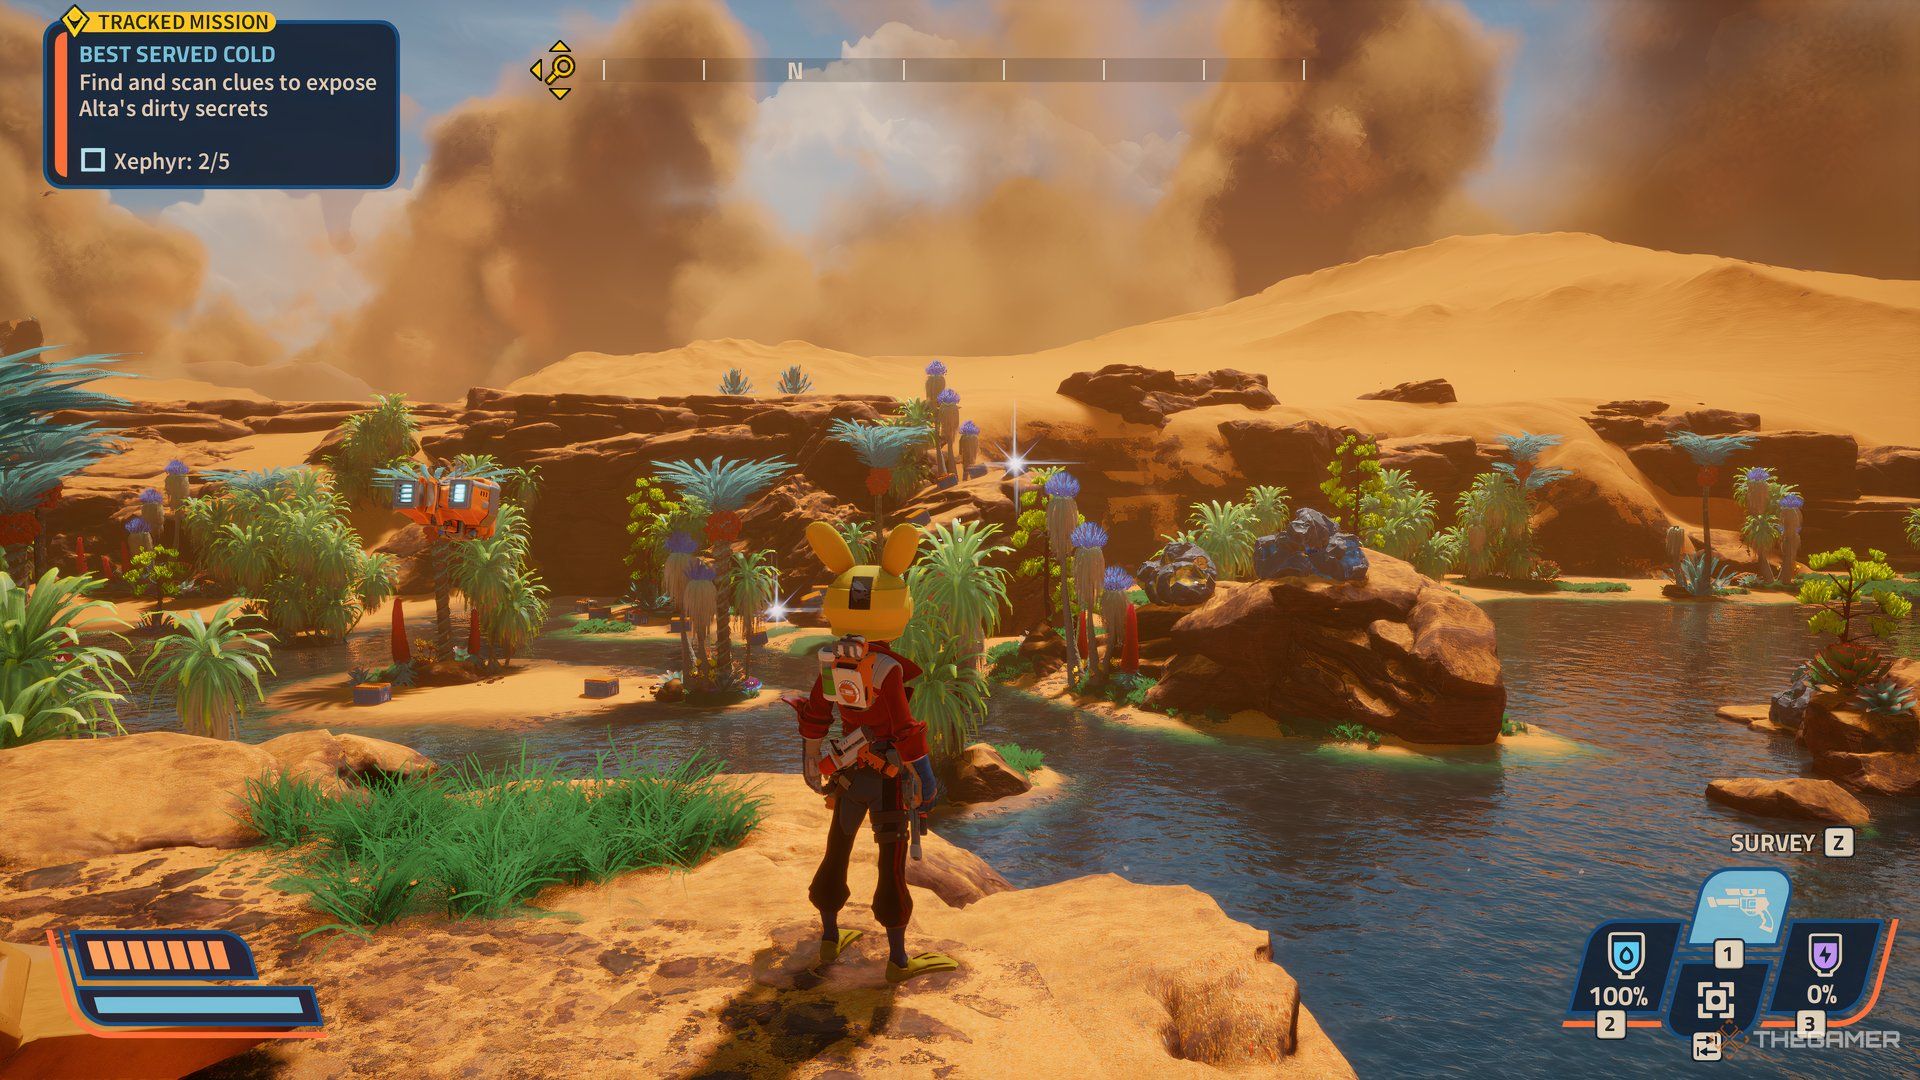
When you get to Xephyr in Revenge of the Savage Planet, you’re one step closer to making it home. However, much like the other planets in the game, you must explore to find the equipment to get you going. This can be done by locating and opening the many crates of Xephyr.
Related
Revenge Of The Savage Planet: All Xephyr Scannables
This desert planet has tons of beautiful plant life, sometimes!
Searching for these crates is a great way to get a lay of the land for the planet. Most are off the beaten path, so it’s a very good idea to try to find one in each region as you play. While some of the crates are easy to find, you can use this guide to locate the hidden ones.
Every Supply Crate’s Location On Xephyr
There are a total of 12 crates to find on the desert planet. Some are tied to the main story of the game, while others need equipment that can only be earned by progressing in Revenge of the Savage Planet. Or, by making it at the Habitat.
So, if you can’t access a crate on your first visit to Xephyr, you just need to keep playing. Then, once you have the appropriate piece of gear, you can always teleport back.
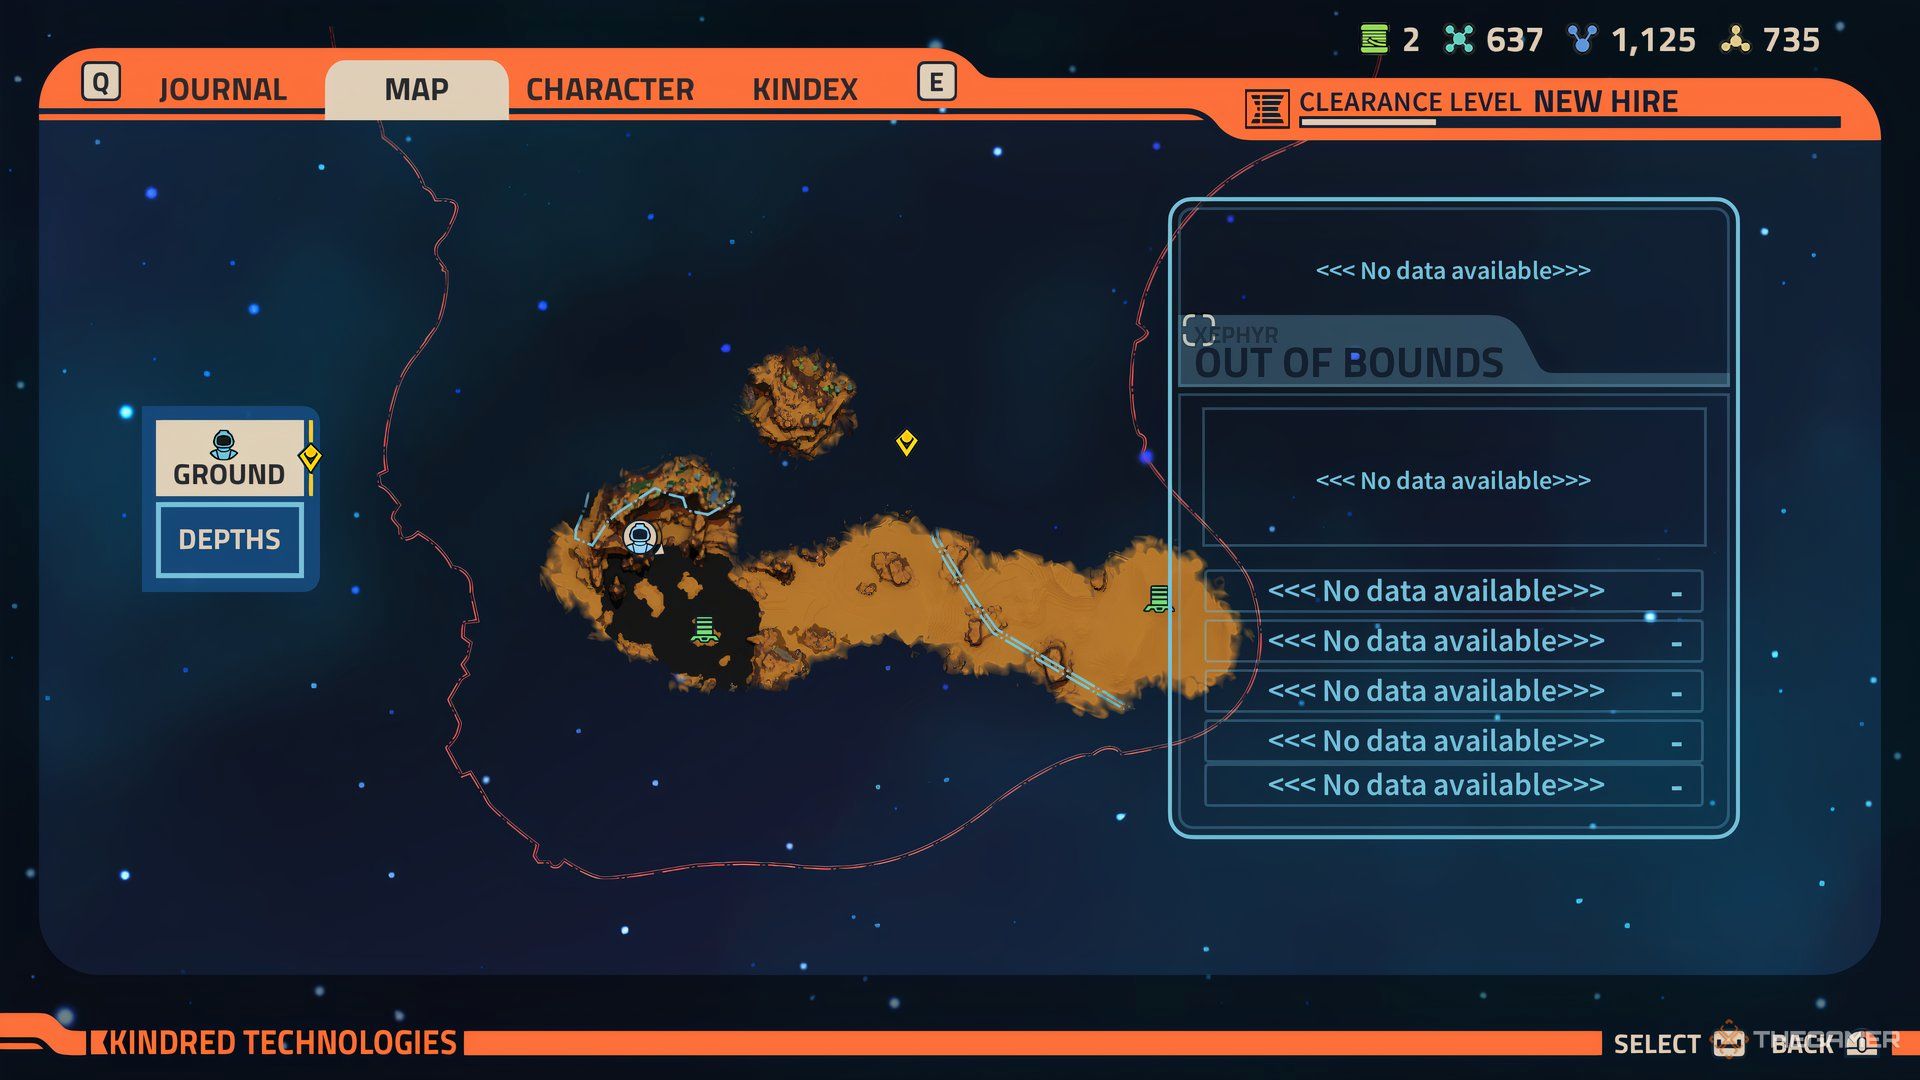
Like the many other planets featured in the game, Xephyr has multiple regions. Below, this guide will separate each region, which, in turn, should make locating them much easier.
Pillars Of Turpitide
Crate 1
The first crate can be easily accessed once you get to the new planet. You should land in the southern part of the map. When you do, head west while staying in the south, and you should enter the region of Pillars of Turpitide.
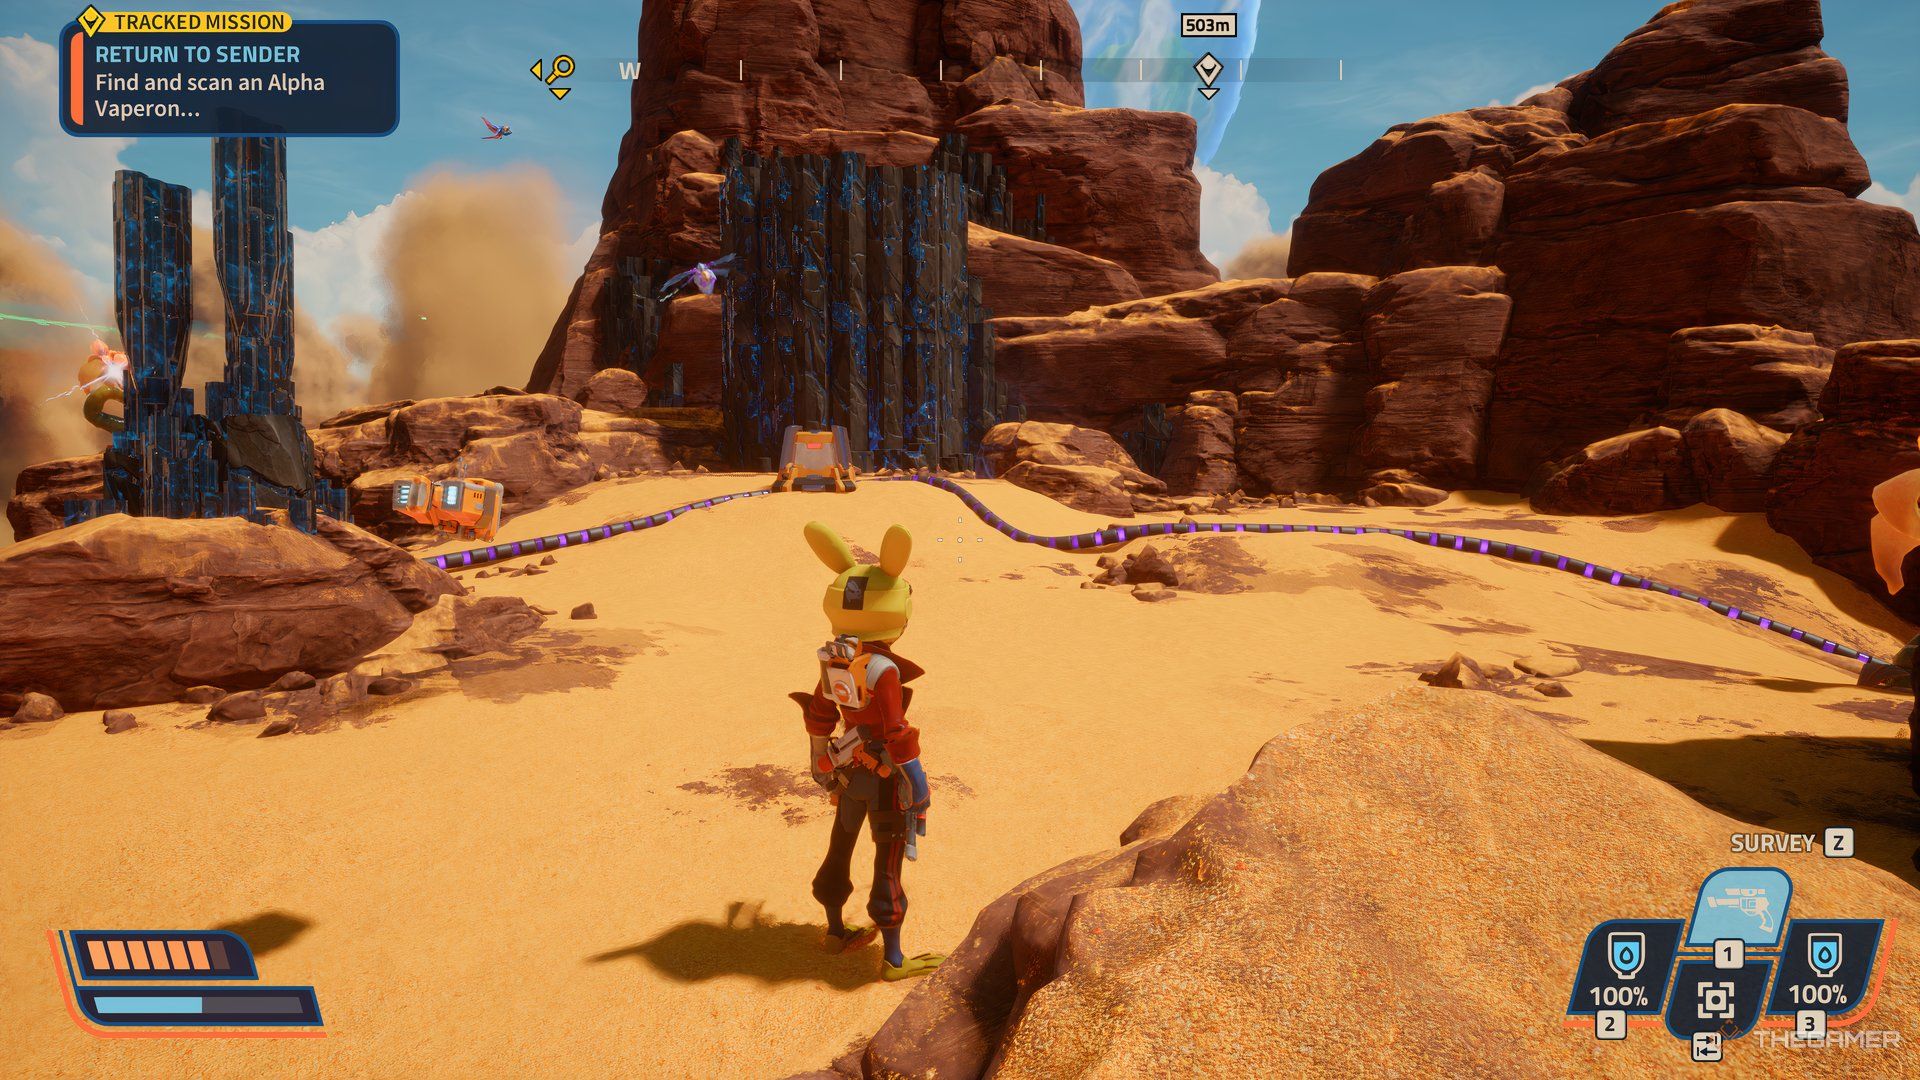
Look for a teleporter. It should be on a rock pillar with black sludge surrounding it. Just beyond the teleporter to the right, you can find the first crate. However, you need to shoot three trigger points to open it up.
Simply follow the purple wires till you find their endpoints.
It’s worth noting, this crate will have one part of the Goo Ingestor upgrade. You’ll need one more, and it’s in another crate in another region on Xephyr.
Crate 2
The second crate is south of the teleporter. It’ll be near two large bone piles and black sludge. Just like the first crate, you’ll need to activate three trigger points. However, you won’t be shooting them.
You’ll need to remotely activate them by using a Remote Drone. This piece of equipment gets unlocked much later in the game.
So, if it’s your first time on the planet, you won’t be able to get the crate till then.
G’Nortt’s High Rise
Crate 3
To get to the third crate, head to the northern border of G’Nortt’s High Rise. It should be overlooking the Cactus Valley. The location of the crate is surrounded by mountains. So, the best way to access it would be to rocket jump on the left side of the mountain it’s on.
You’ll be able to see a path.
However, when you reach the crate, defeat the waves of enemies surrounding it. Otherwise, it won’t open.
Crate 4
Heading to the middle of this region, you can find the fourth crate that’s locked away. But you’ll need a certain tool to unlock a method to get the crate first. To get to this area, you’ll need to climb a few short slopes as well.
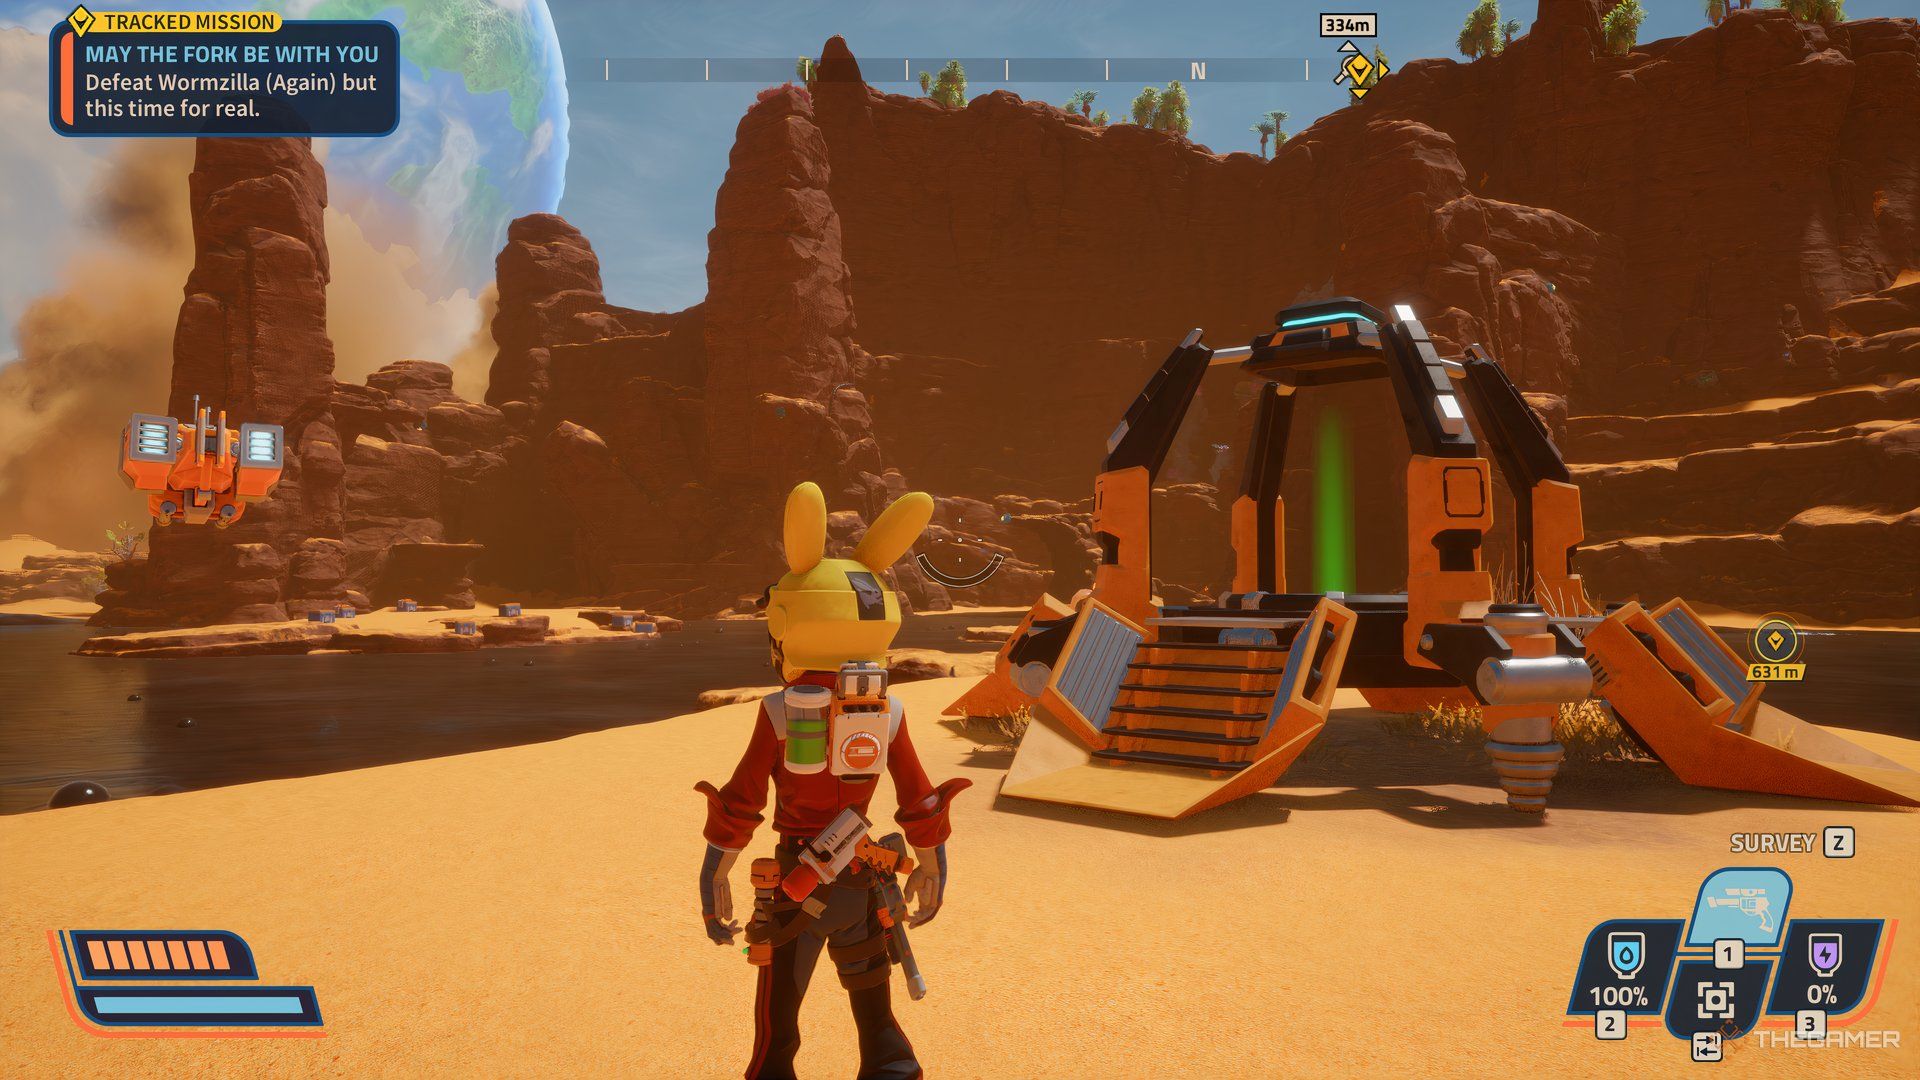
This crate will also have three trigger points that need to be shot at to unlock. However, one is a magnetic barrier. To get past this obstacle, complete the May The Fork Be With You questline on Xephyr. You should get this mission upon reaching Xephyr for the first time.
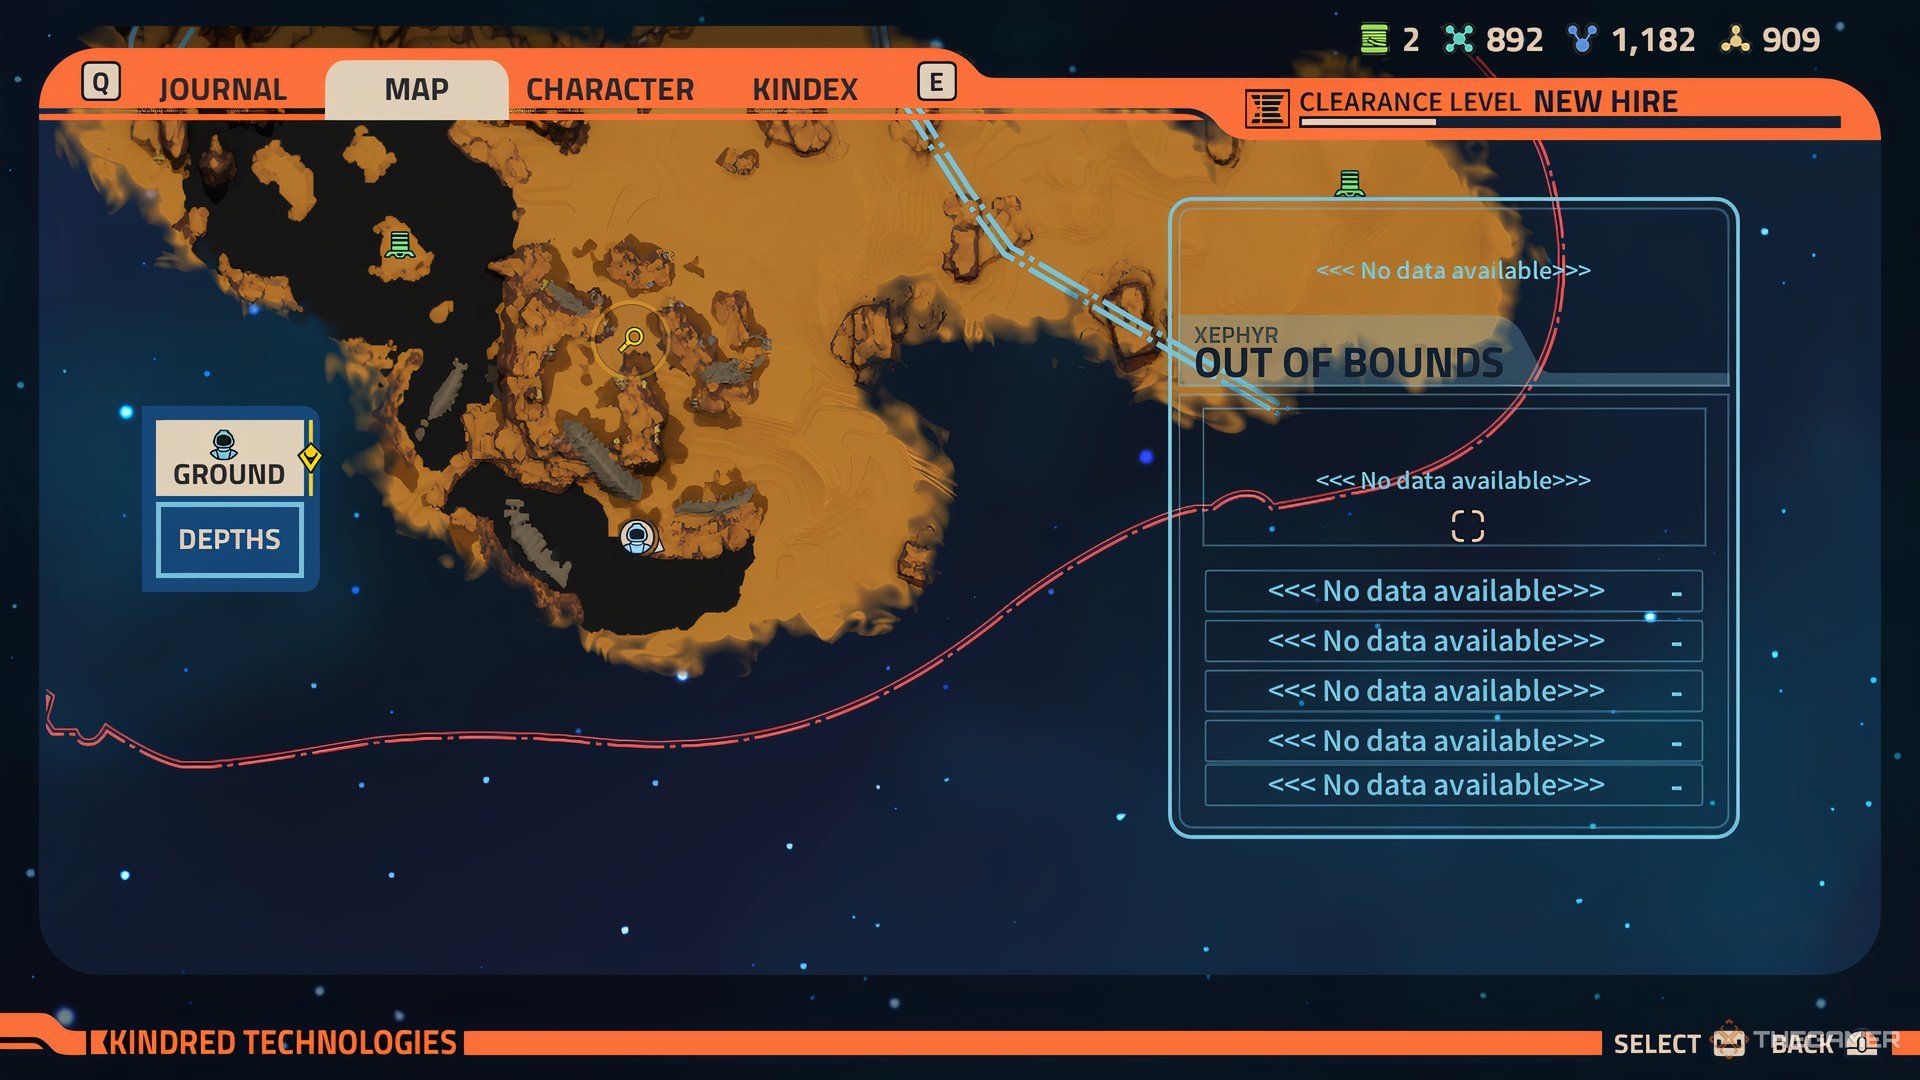
If you’re having a hard time locating the exact spot of these crates, remember you can survey the area, and they’ll pop up on your compass. Just make sure you’re close by one.
You’ll earn the Magnetic Fork afterward, allowing you to move those blue and black barriers.
Crate 5
This crate is close by. But, much like the fourth crate, if you don’t have the right equipment, you can’t access it.
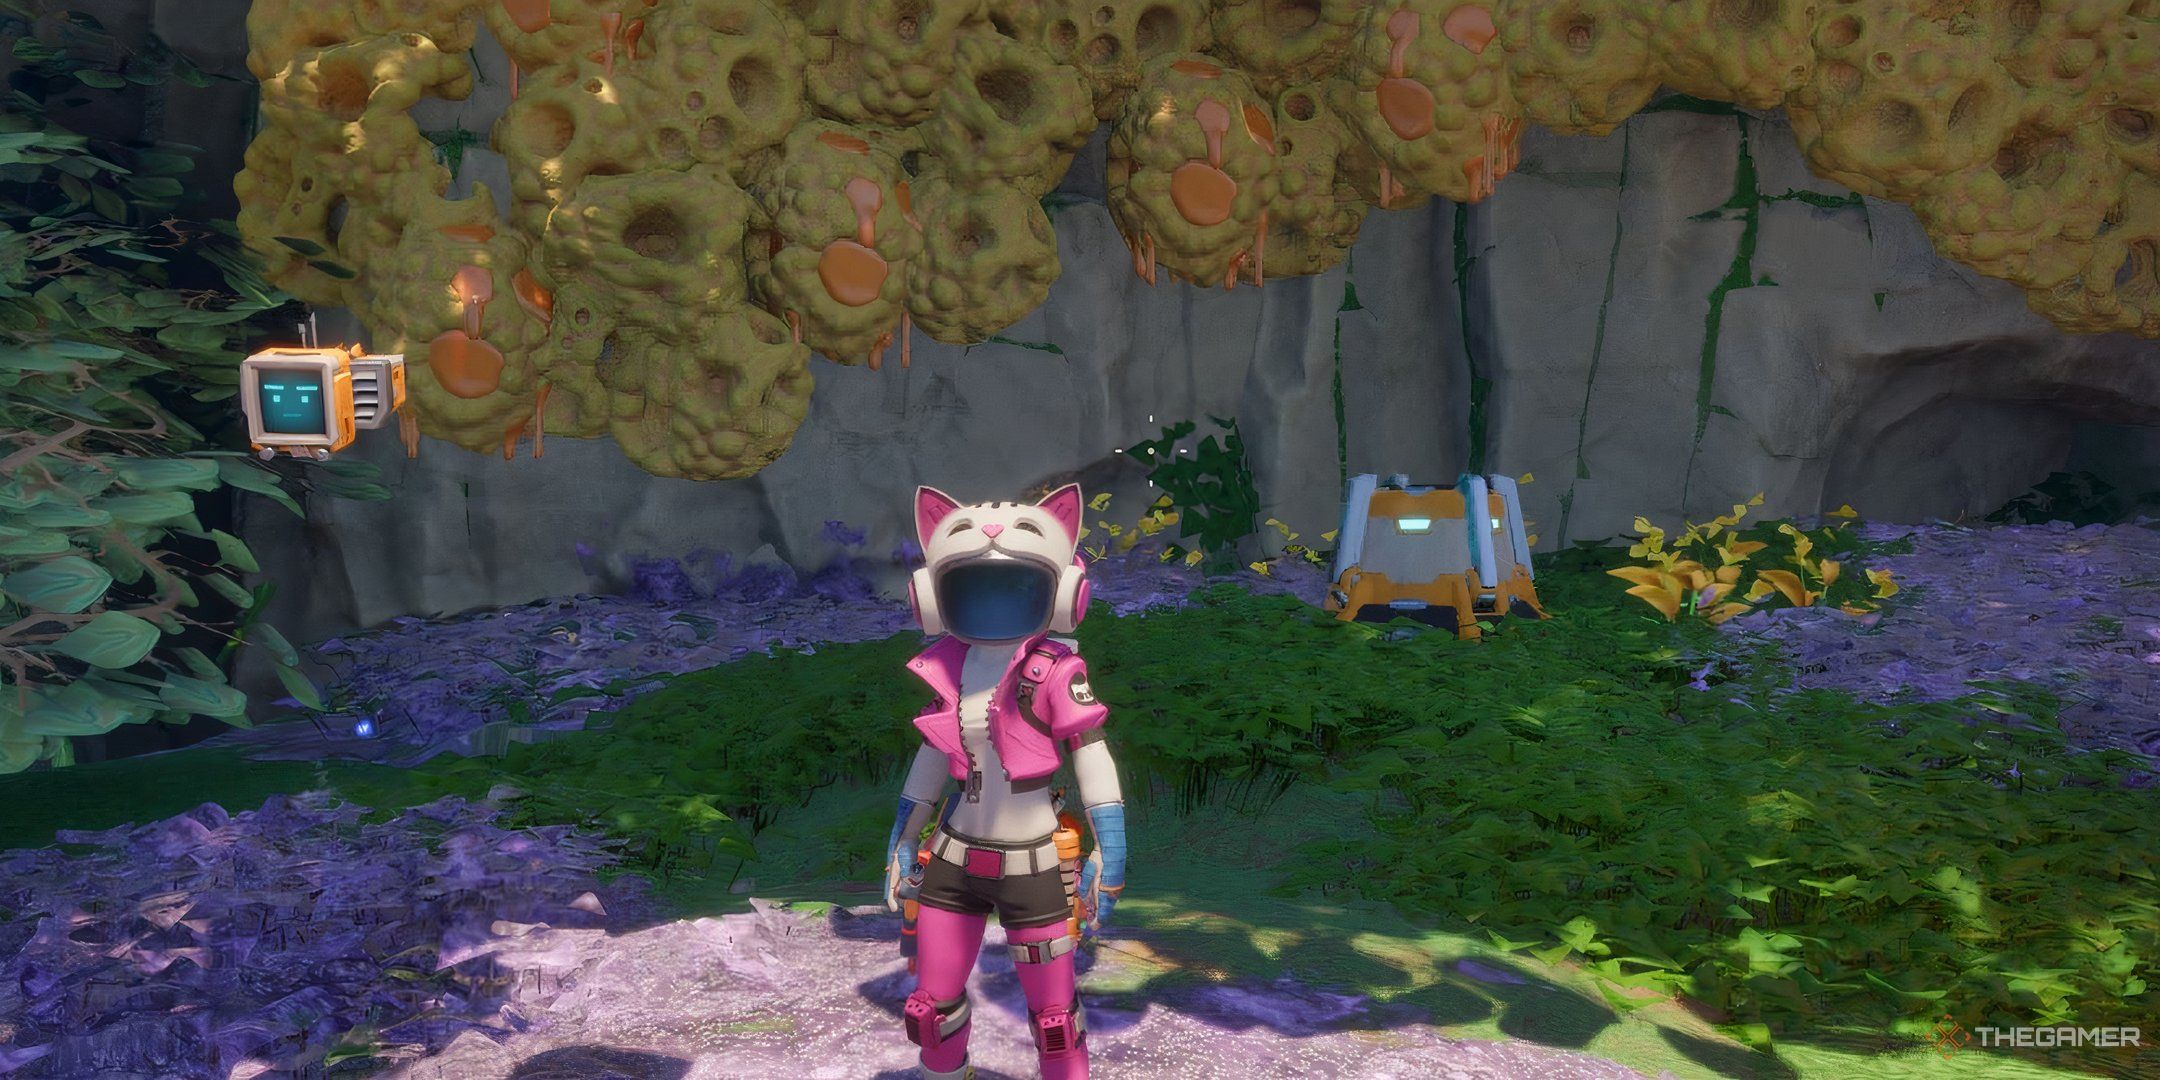
To reach this crate, go north of your position. The fifth crate will be located on the opposite cliff of the same mountain. There will be pink crystals surrounding a place that’s almost broken down.
As mentioned, you need certain gear to get it. After you take care of the enemies in this spot, head to the center of the crystals. If you have Advanced Stomp Boosters, use them to break the barrier.
When you’re inside, use the Magnetic Fork to push the obstacles away, revealing the fifth crate.
Related
Revenge Of The Savage Planet: All Stellaris Prime Supply Crate Locations
Gotta be able to afford those cool new furniture pieces back at the Habitat somehow!
Stone Aerie
Crate 6
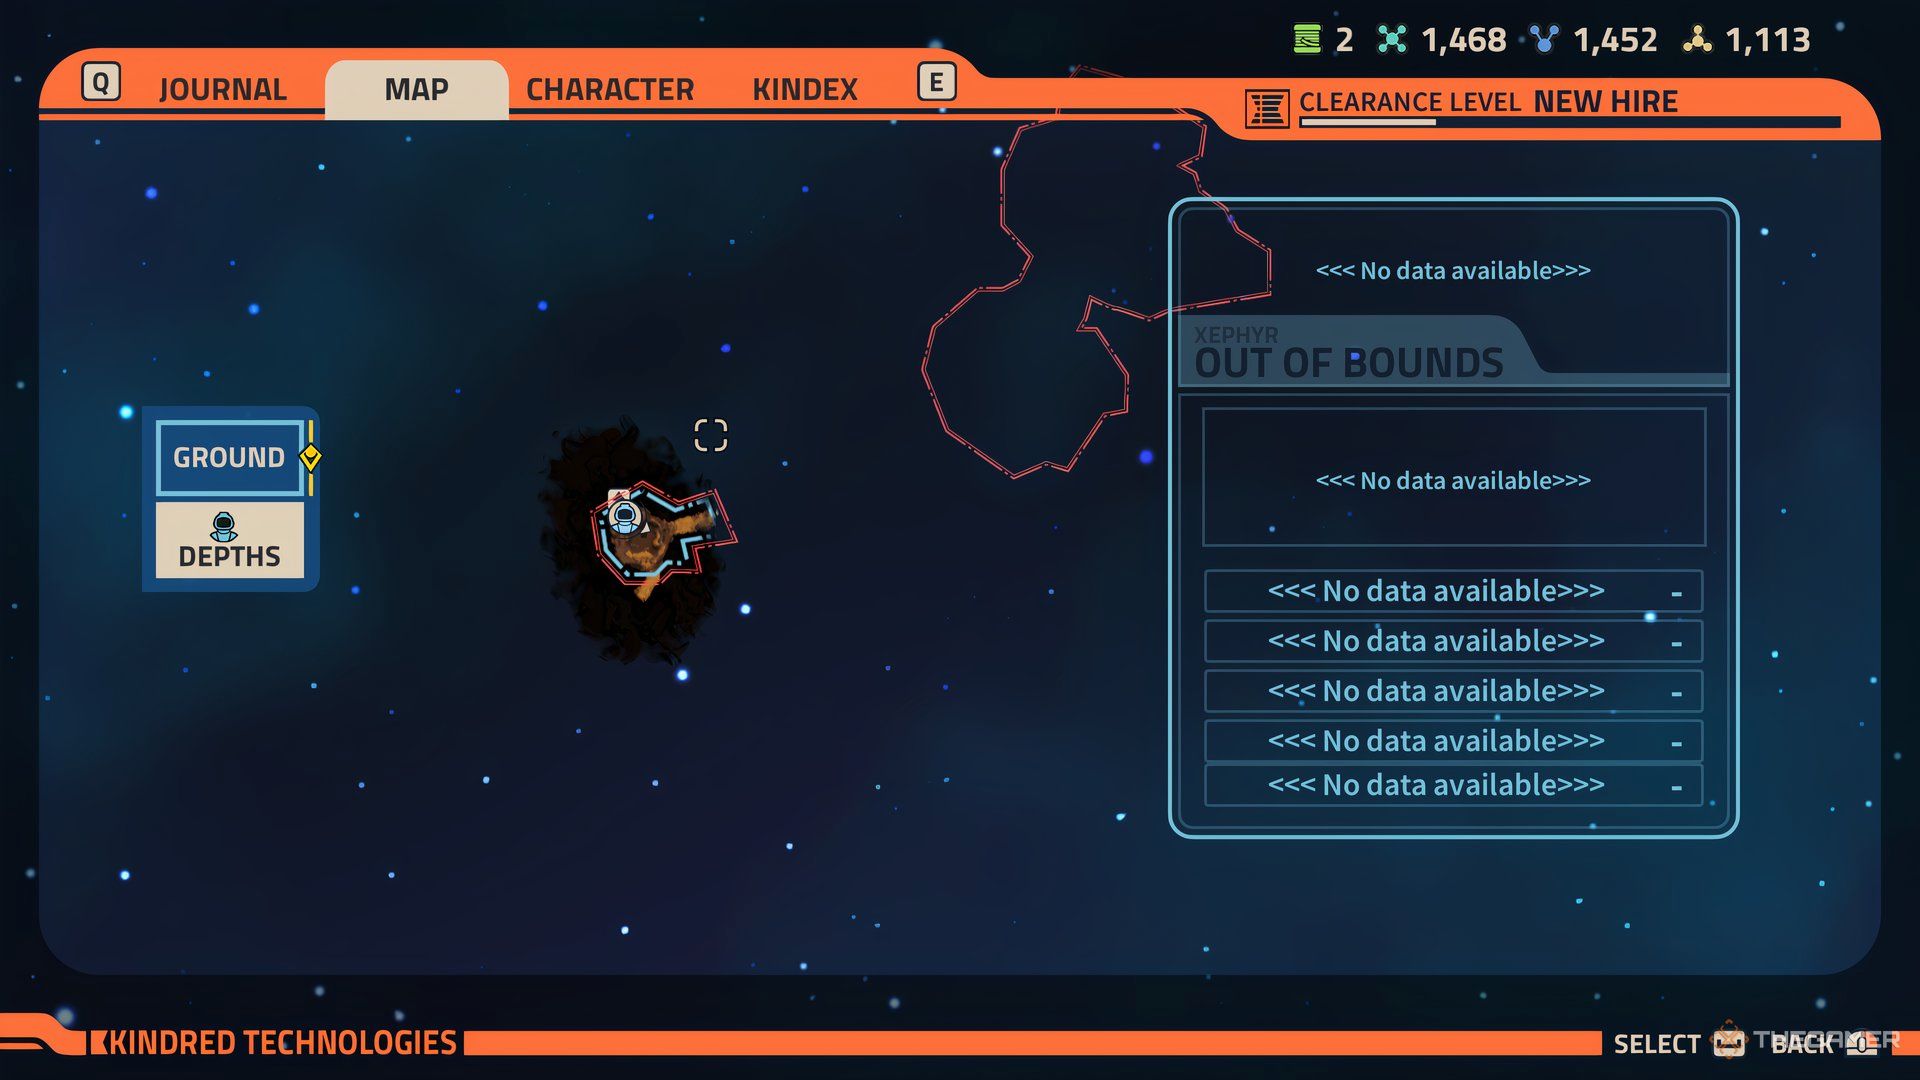
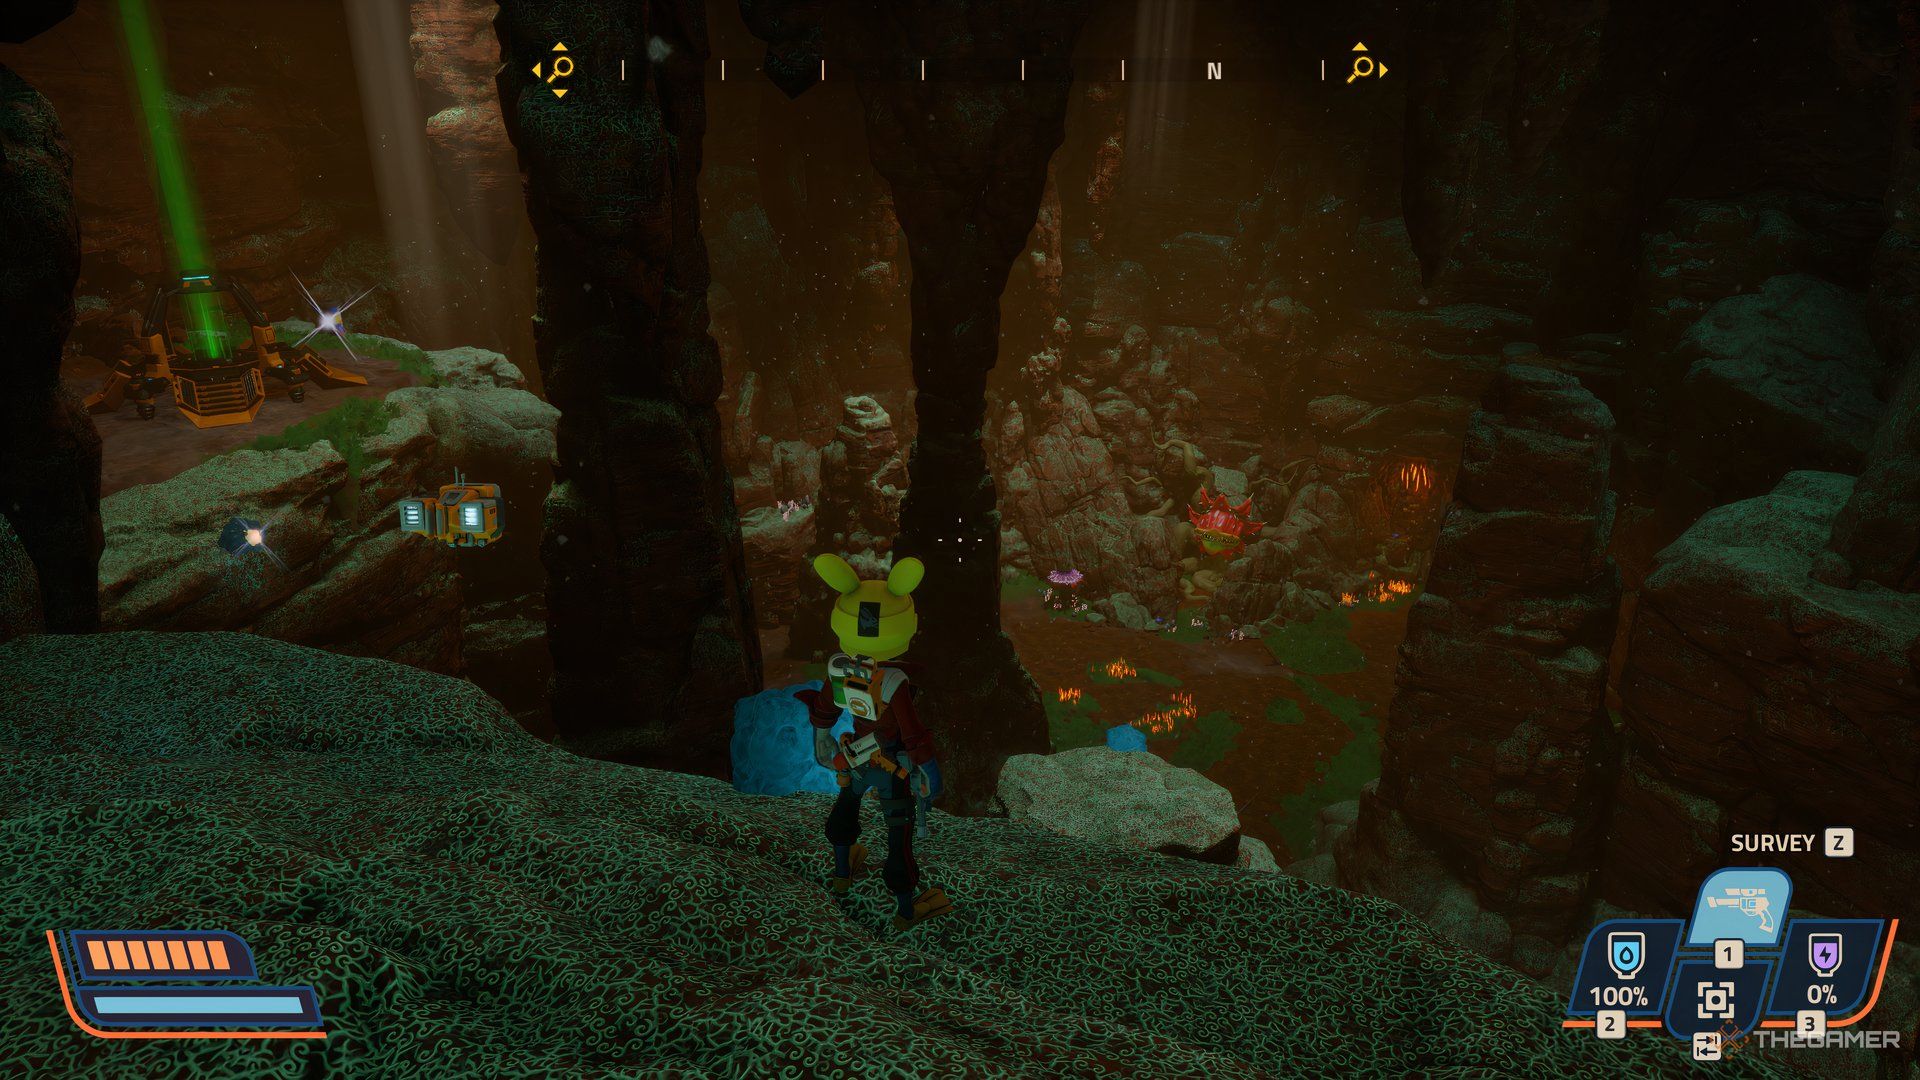
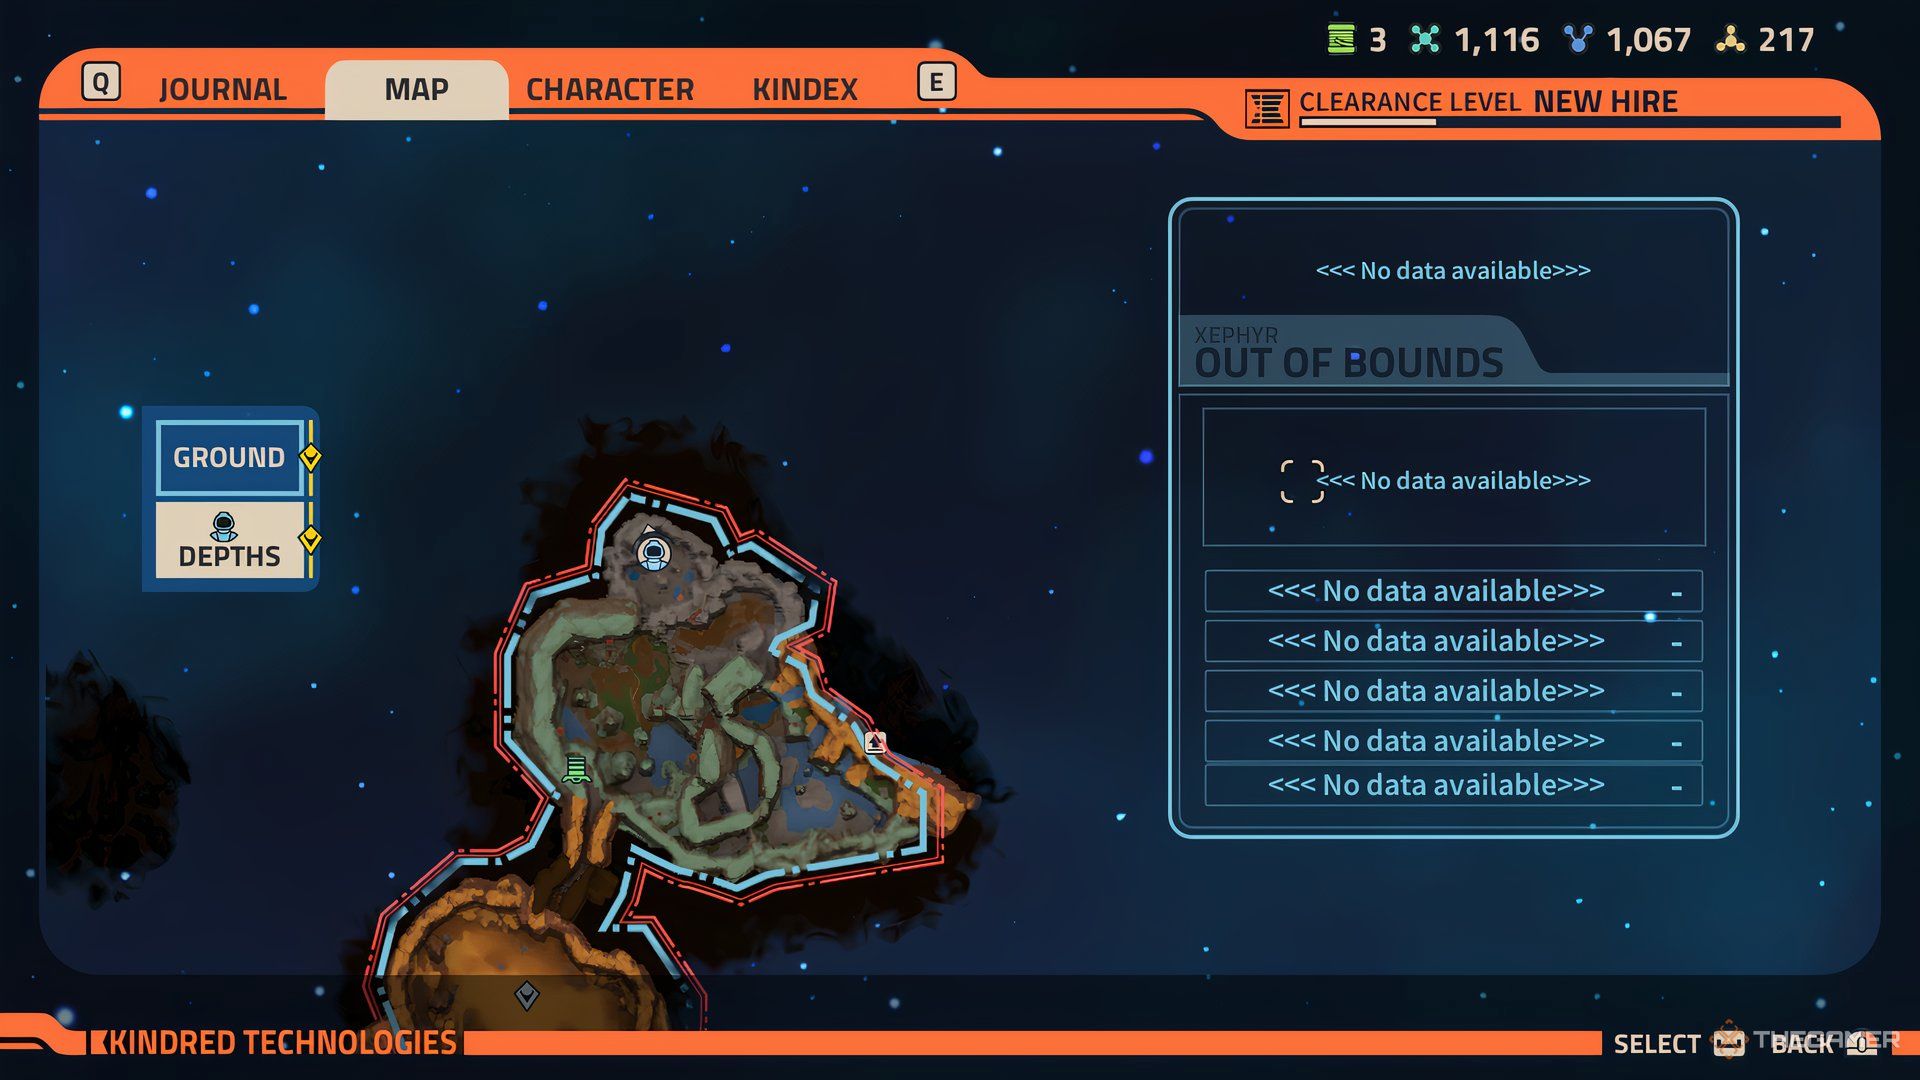
Xephyr has two levels: Ground and Depths. Getting to the Depths can be tricky if you can’t find an entrance. To easily find an access point, head to the northwestern part of G’Nortt’s High Rise. You can find a ledge, leading you to a cave.
Survey the area once you reach it. If you can be led to where the crate is, chances are you can find the entrance to the cave as well.
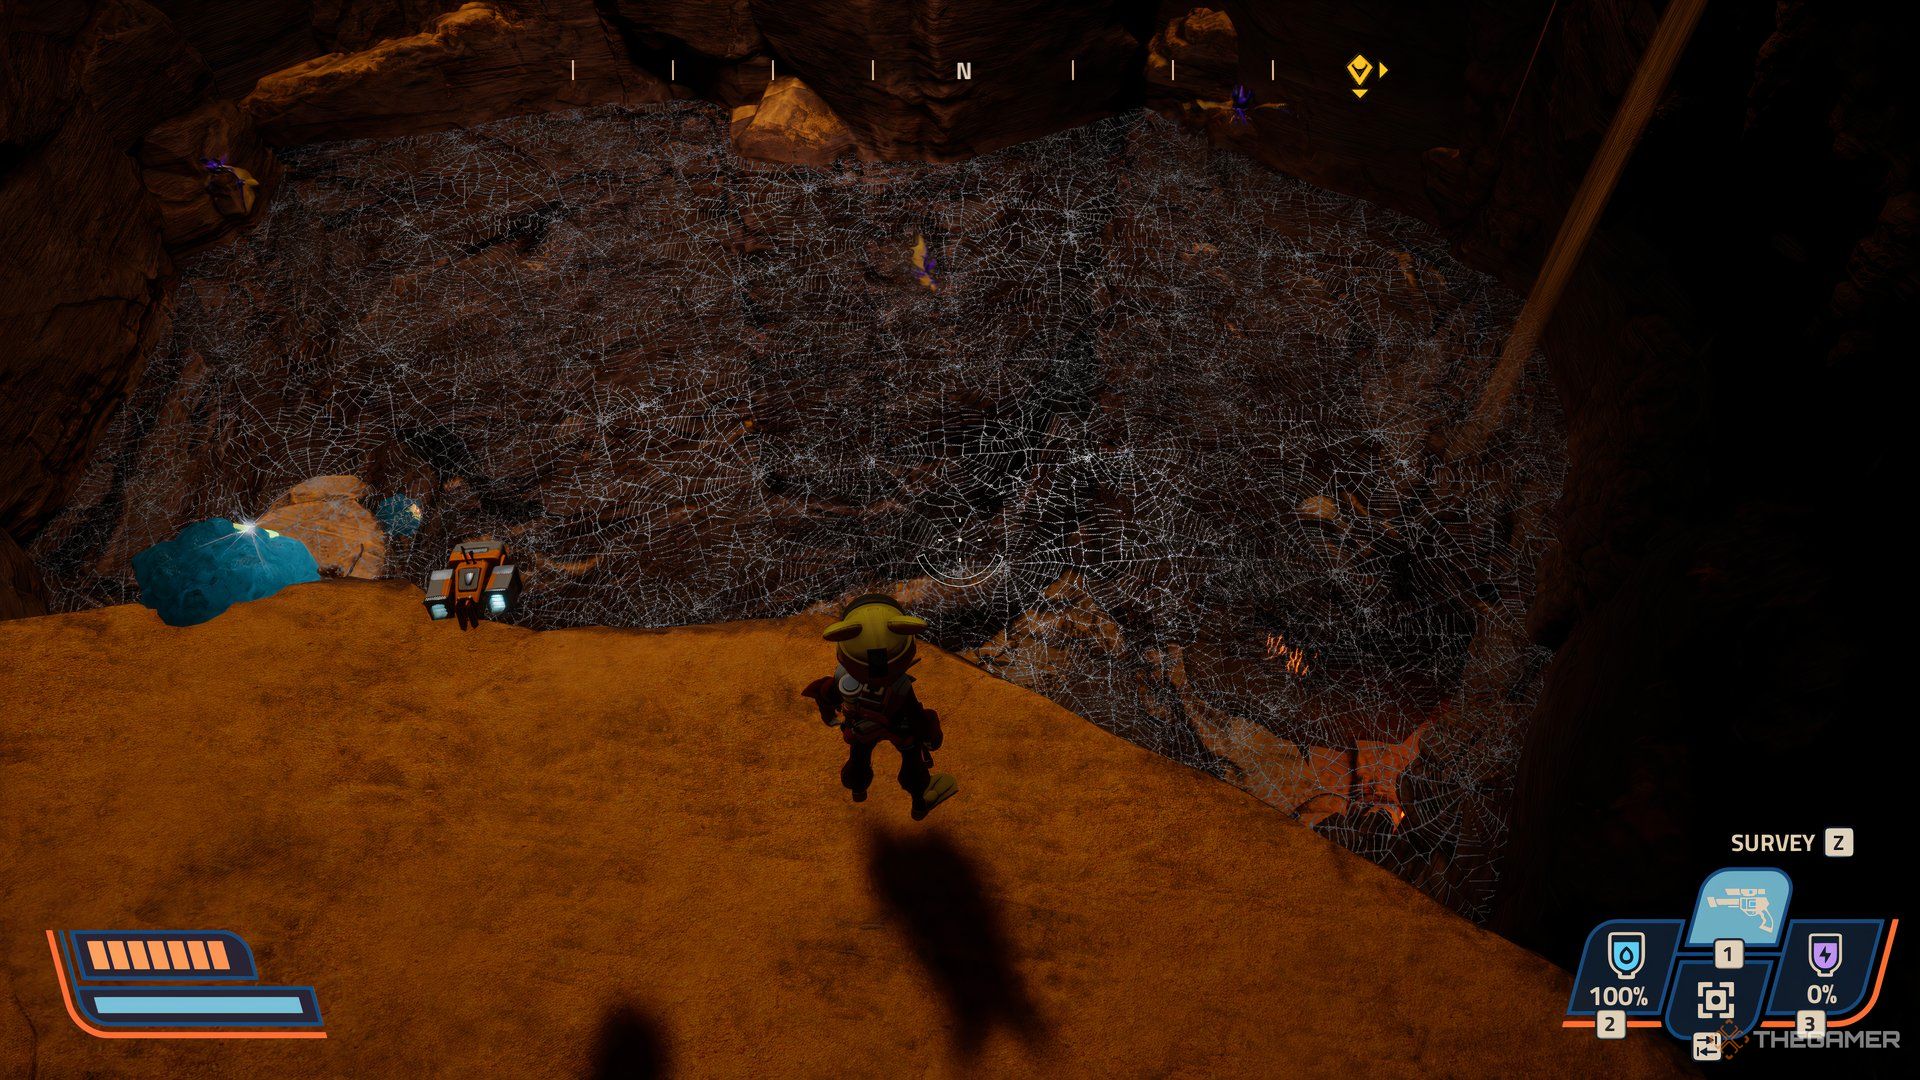
As you enter, look down and break down the spider webs with the Lava Tank. Once that’s done, use your Advanced Stomp Booster to break the crate at the bottom.
Again, if you don’t have the Lava Tank and the Advanced Stomp Boosters, get them first before attempting to obtain the sixth crate.
Sand Wastes
Crate 7
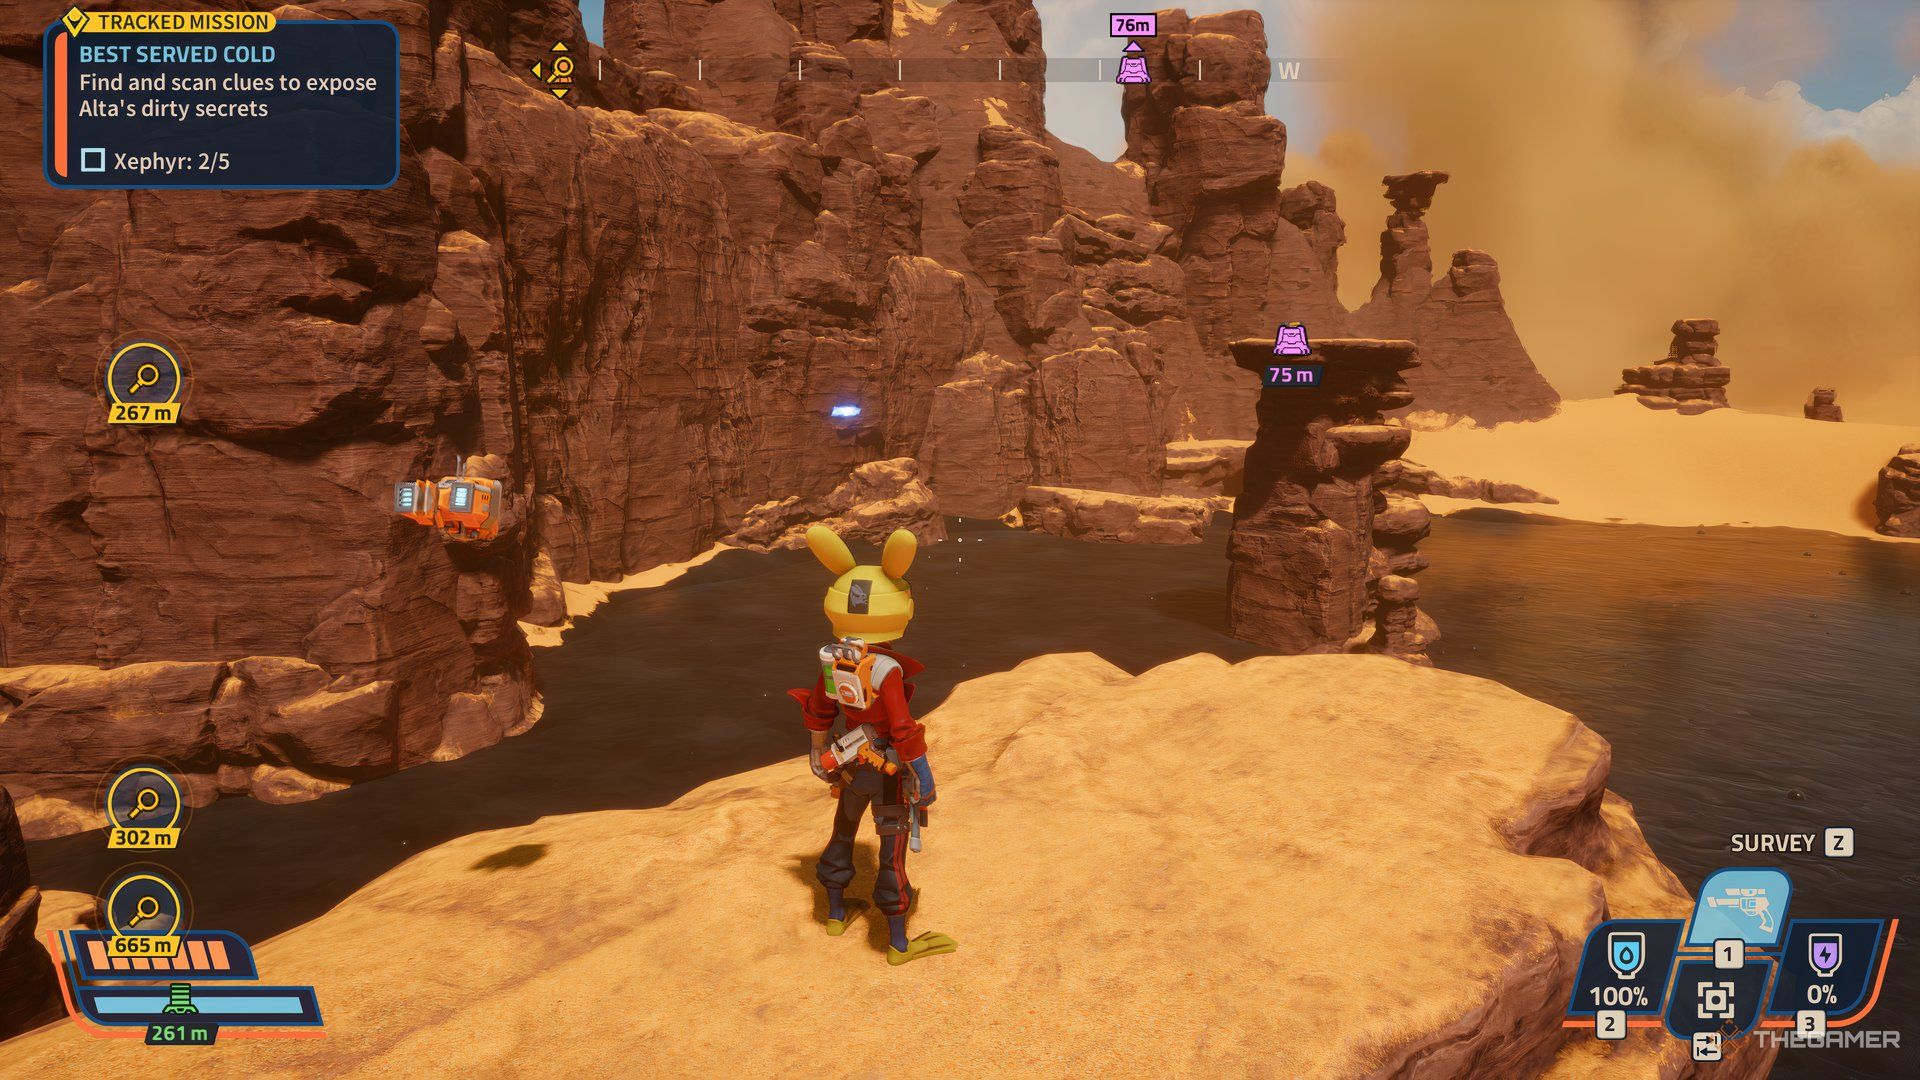
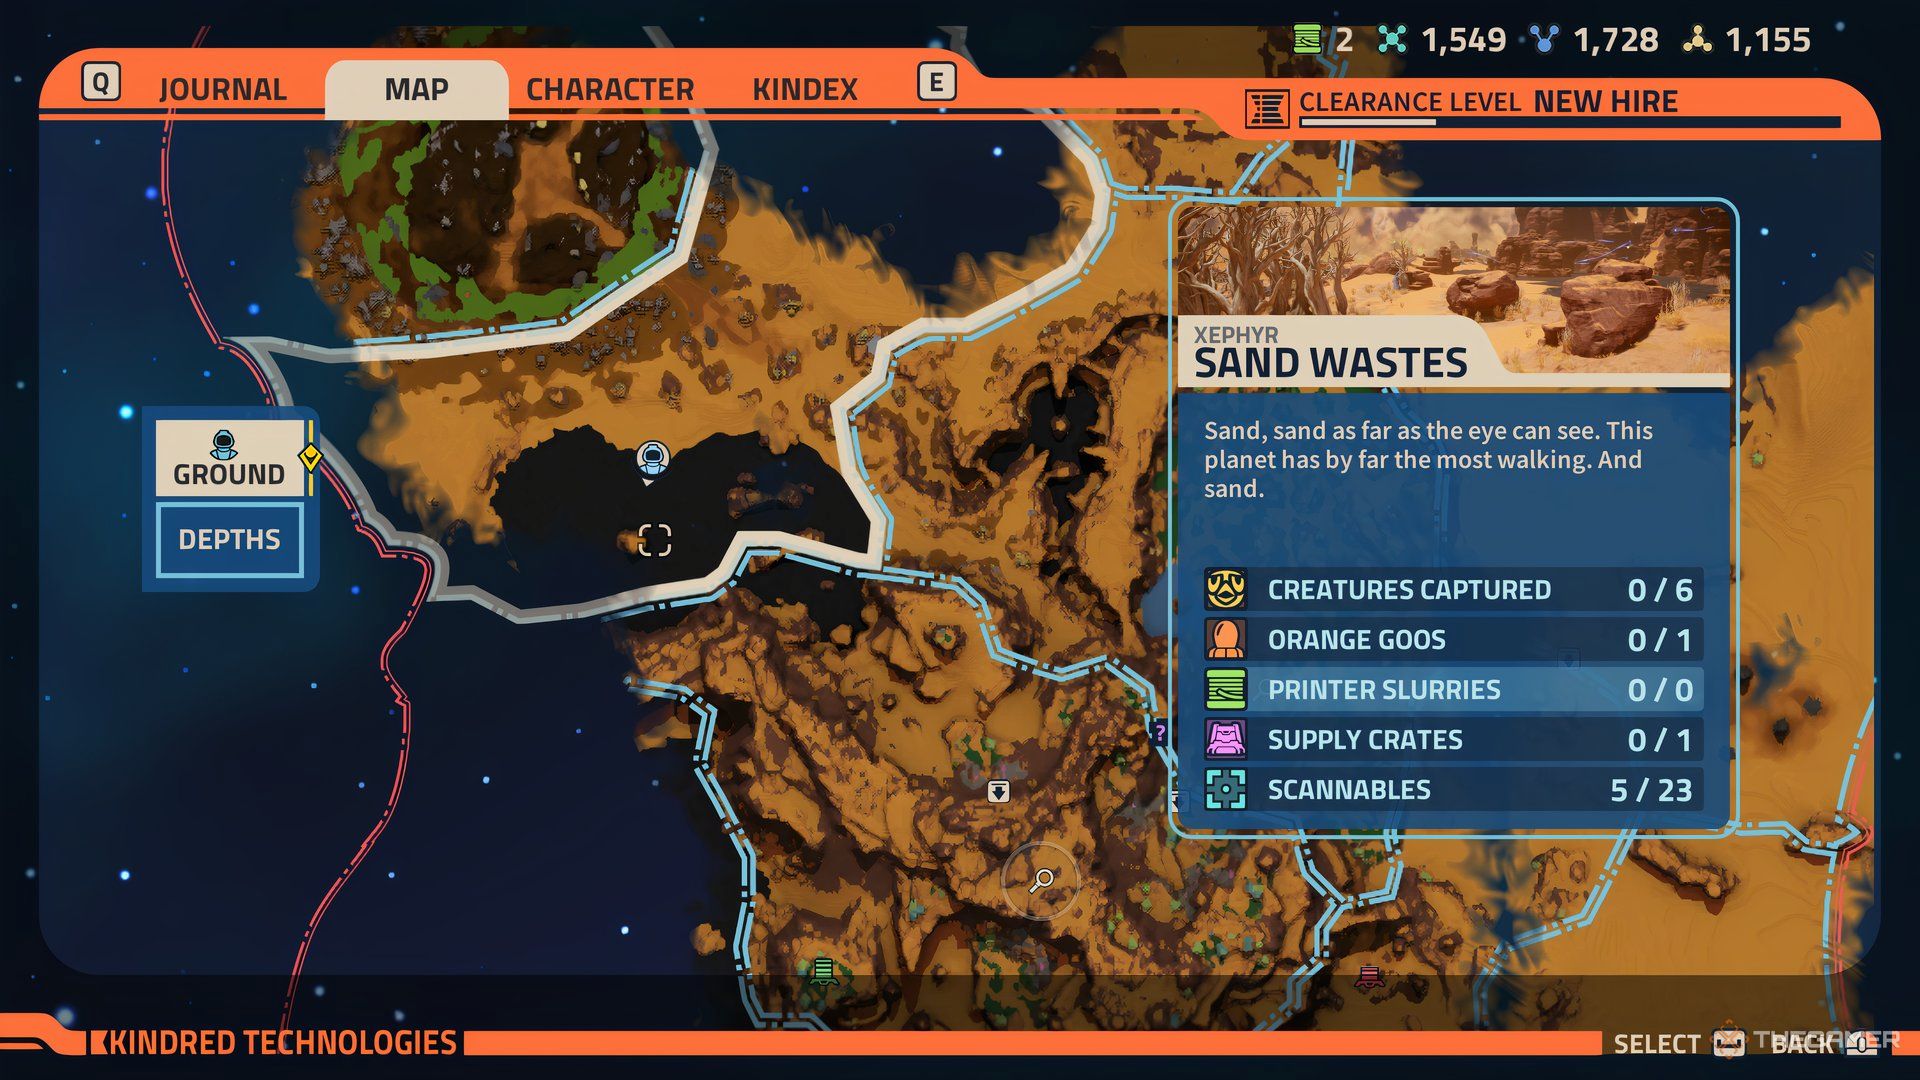
By heading to the northwest part of the map, you can find the seventh crate. However, make sure you’ve made the Hawx Rail Grinder first. You should already have this unlocked at the 3D printer in your Habitat.
Assuming you have the tool, you can easily reach this location by grinding to it.
Be careful, the base of the rock formation the crate is on is surrounded by black sludge.
Deadwood Gulch
Crate 8
This region is northwest of Sand Wastes, so it’s close by. When you reach this area, you can find a small open area in the middle. There will be a hacking device and the eighth crate behind it.
To start, have Eco hack the device first. When it does that, enemies will spawn. Survive for the duration of the hack to open this crate. But, take care to stay within the border, otherwise the hack will pause.
Getting this crate is important since you earn the second and final part of the Goo Ingestor upgrade.
When you get the upgrade and have the resources, this could be a good time to print the Goo Ingestor at the Habitat.
Crate 9
The ninth crate is directly behind the eighth one, but it’s much harder to get to. This is because you need the Lava Tank upgrade and possibly the Toxic Deshocker.
This crate is inside a cave that’s filled with toxic gas. It may be hard to navigate it, so use the survey feature to pinpoint the exact location of the crate when you’re exploring it. You can find it behind a wall that you can jump over.
There may also be a few spider webs to burn that might block your way, so take care of them as you move through the cave.
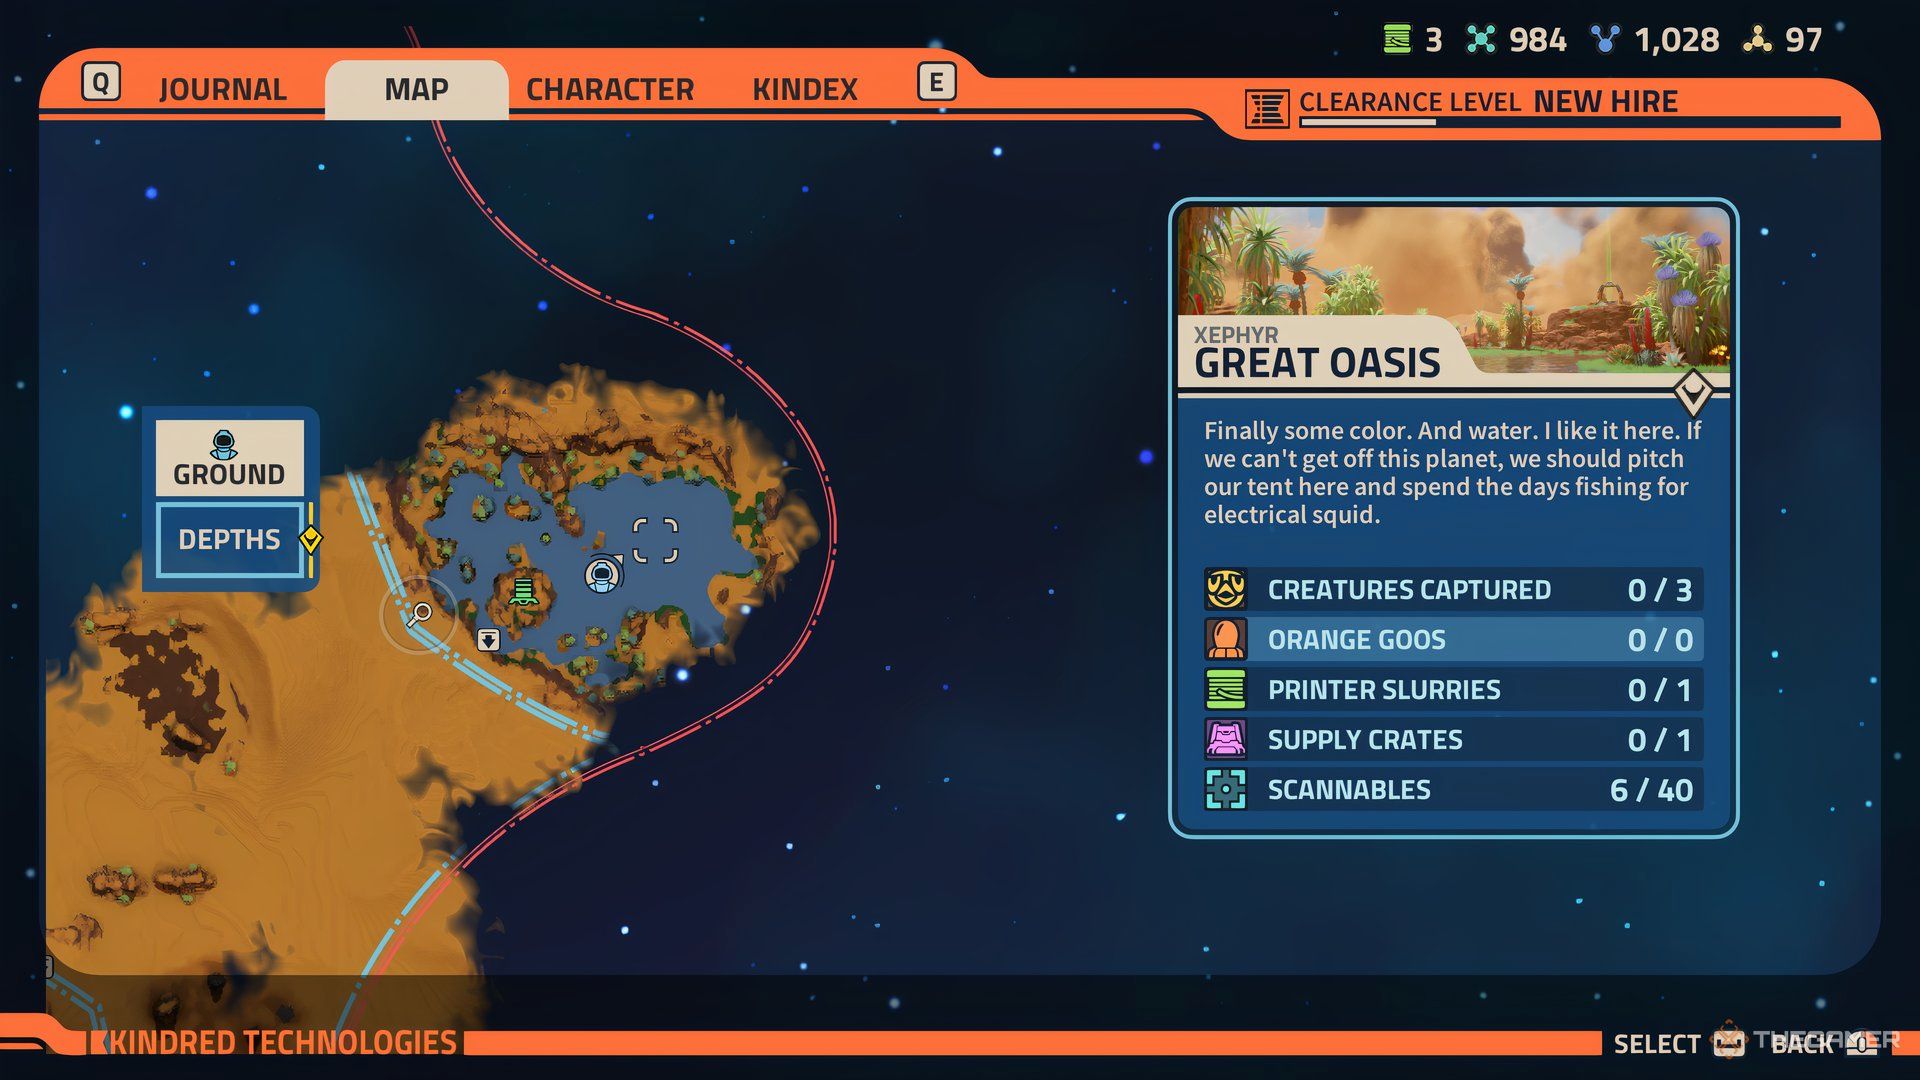
Great Oasis
Crate 10
You can locate this crate on the eastern side of the map underwater. When you reach the water, you can find small plants in a circular shape. That’s where you’ll need to be.
To reach this area underwater, you’ll need to print the Franx Underwater Scooter. Diving into the water won’t let you go that deep.
Caves Of Miranyth
Crate 11
You can’t miss this crate since it’s found during the May The Fork Be With You questline. When you get the ability to deflect oncoming attacks, you’ll end up fighting Wormzilla in Lavral Roost, where the eleventh crate initially is.
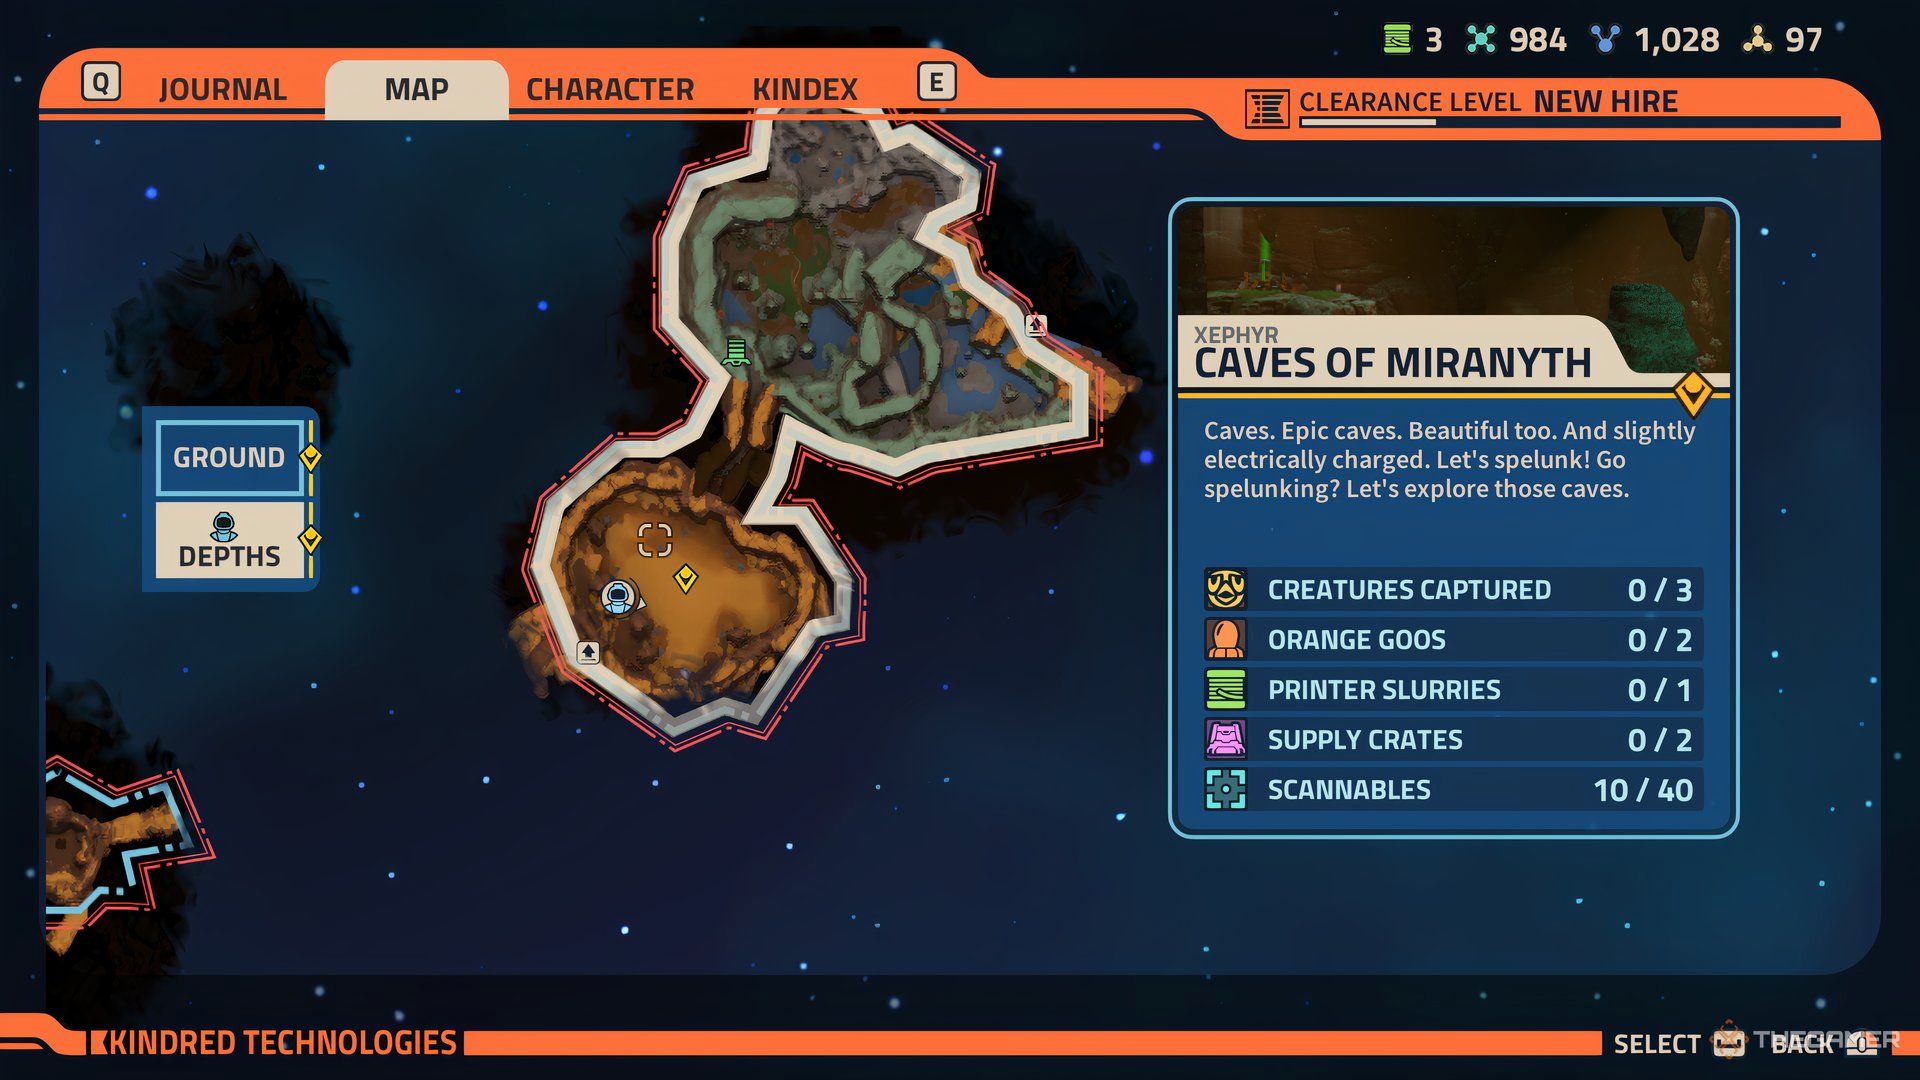
When you beat Wormzilla in the first stage, it’ll dip back into the sand, taking the crate with it. Now, you can go back to the Great Oasis and enter the Cave of Miranyth. It’ll be in front of the sole teleporter.
With the Goo Ingestor, create a path that allows the electricity in the cave to open up the blockage. When you follow the narrow path, you’ll get sent to another space. On your left will be a teleporter.
Jump and activate it, then turn around and follow the path leading you to a massive open area. You’ll face Wormzilla again, but don’t worry, it’s the last time.
This path won’t open if you don’t trigger the first stage of the boss fight. So, make sure that’s done before going in.
Upon beating it, you’ll get access to the crate.
Crate 12
The good news is that this crate is in the cave and much easier to obtain. Head back to the area with the teleporters and jump down.
You’ll see three carnivorous plants with smaller plants shooting material around them.
Feed the first two plants in the back of the room by deflecting the shots coming at you, and then feed the third one in the front to get access to another area in the cave.
Once that’s open, you can find the crate on top of a ledge in the back of this room.
Next
Revenge Of The Savage Planet: Every Boss, Ranked By Difficulty
Let’s see which boss in Revenge of the Savage Planet puts up the toughest fight.


